

Hydrangea Care
OK - you’ve popped the box and taken a few flower selfies (don’t forget to tag us with #FGFLOVE). What now? Whether this is your first foray into flowers or you’re a seasoned pro when it comes to cut stems we’ve got a pro tip (or ten!) to share with you to get your bouquet looking beautiful lickety-split.
Nitty Gritty
When it comes to hydrangeas, it’s all about hydration, hydration, hydration and they’re one of the few flower varieties that can drink through their petals. So if your cut hydrangeas ever look a little thirsty, try quickly dipping them in cool water (or a spritz with a mister!). Trimming the stems and sealing them in hot water (see the Fresh Cut section below for details) is another hack to help wilty hydrangeas rehydrate!

Fresh Cut
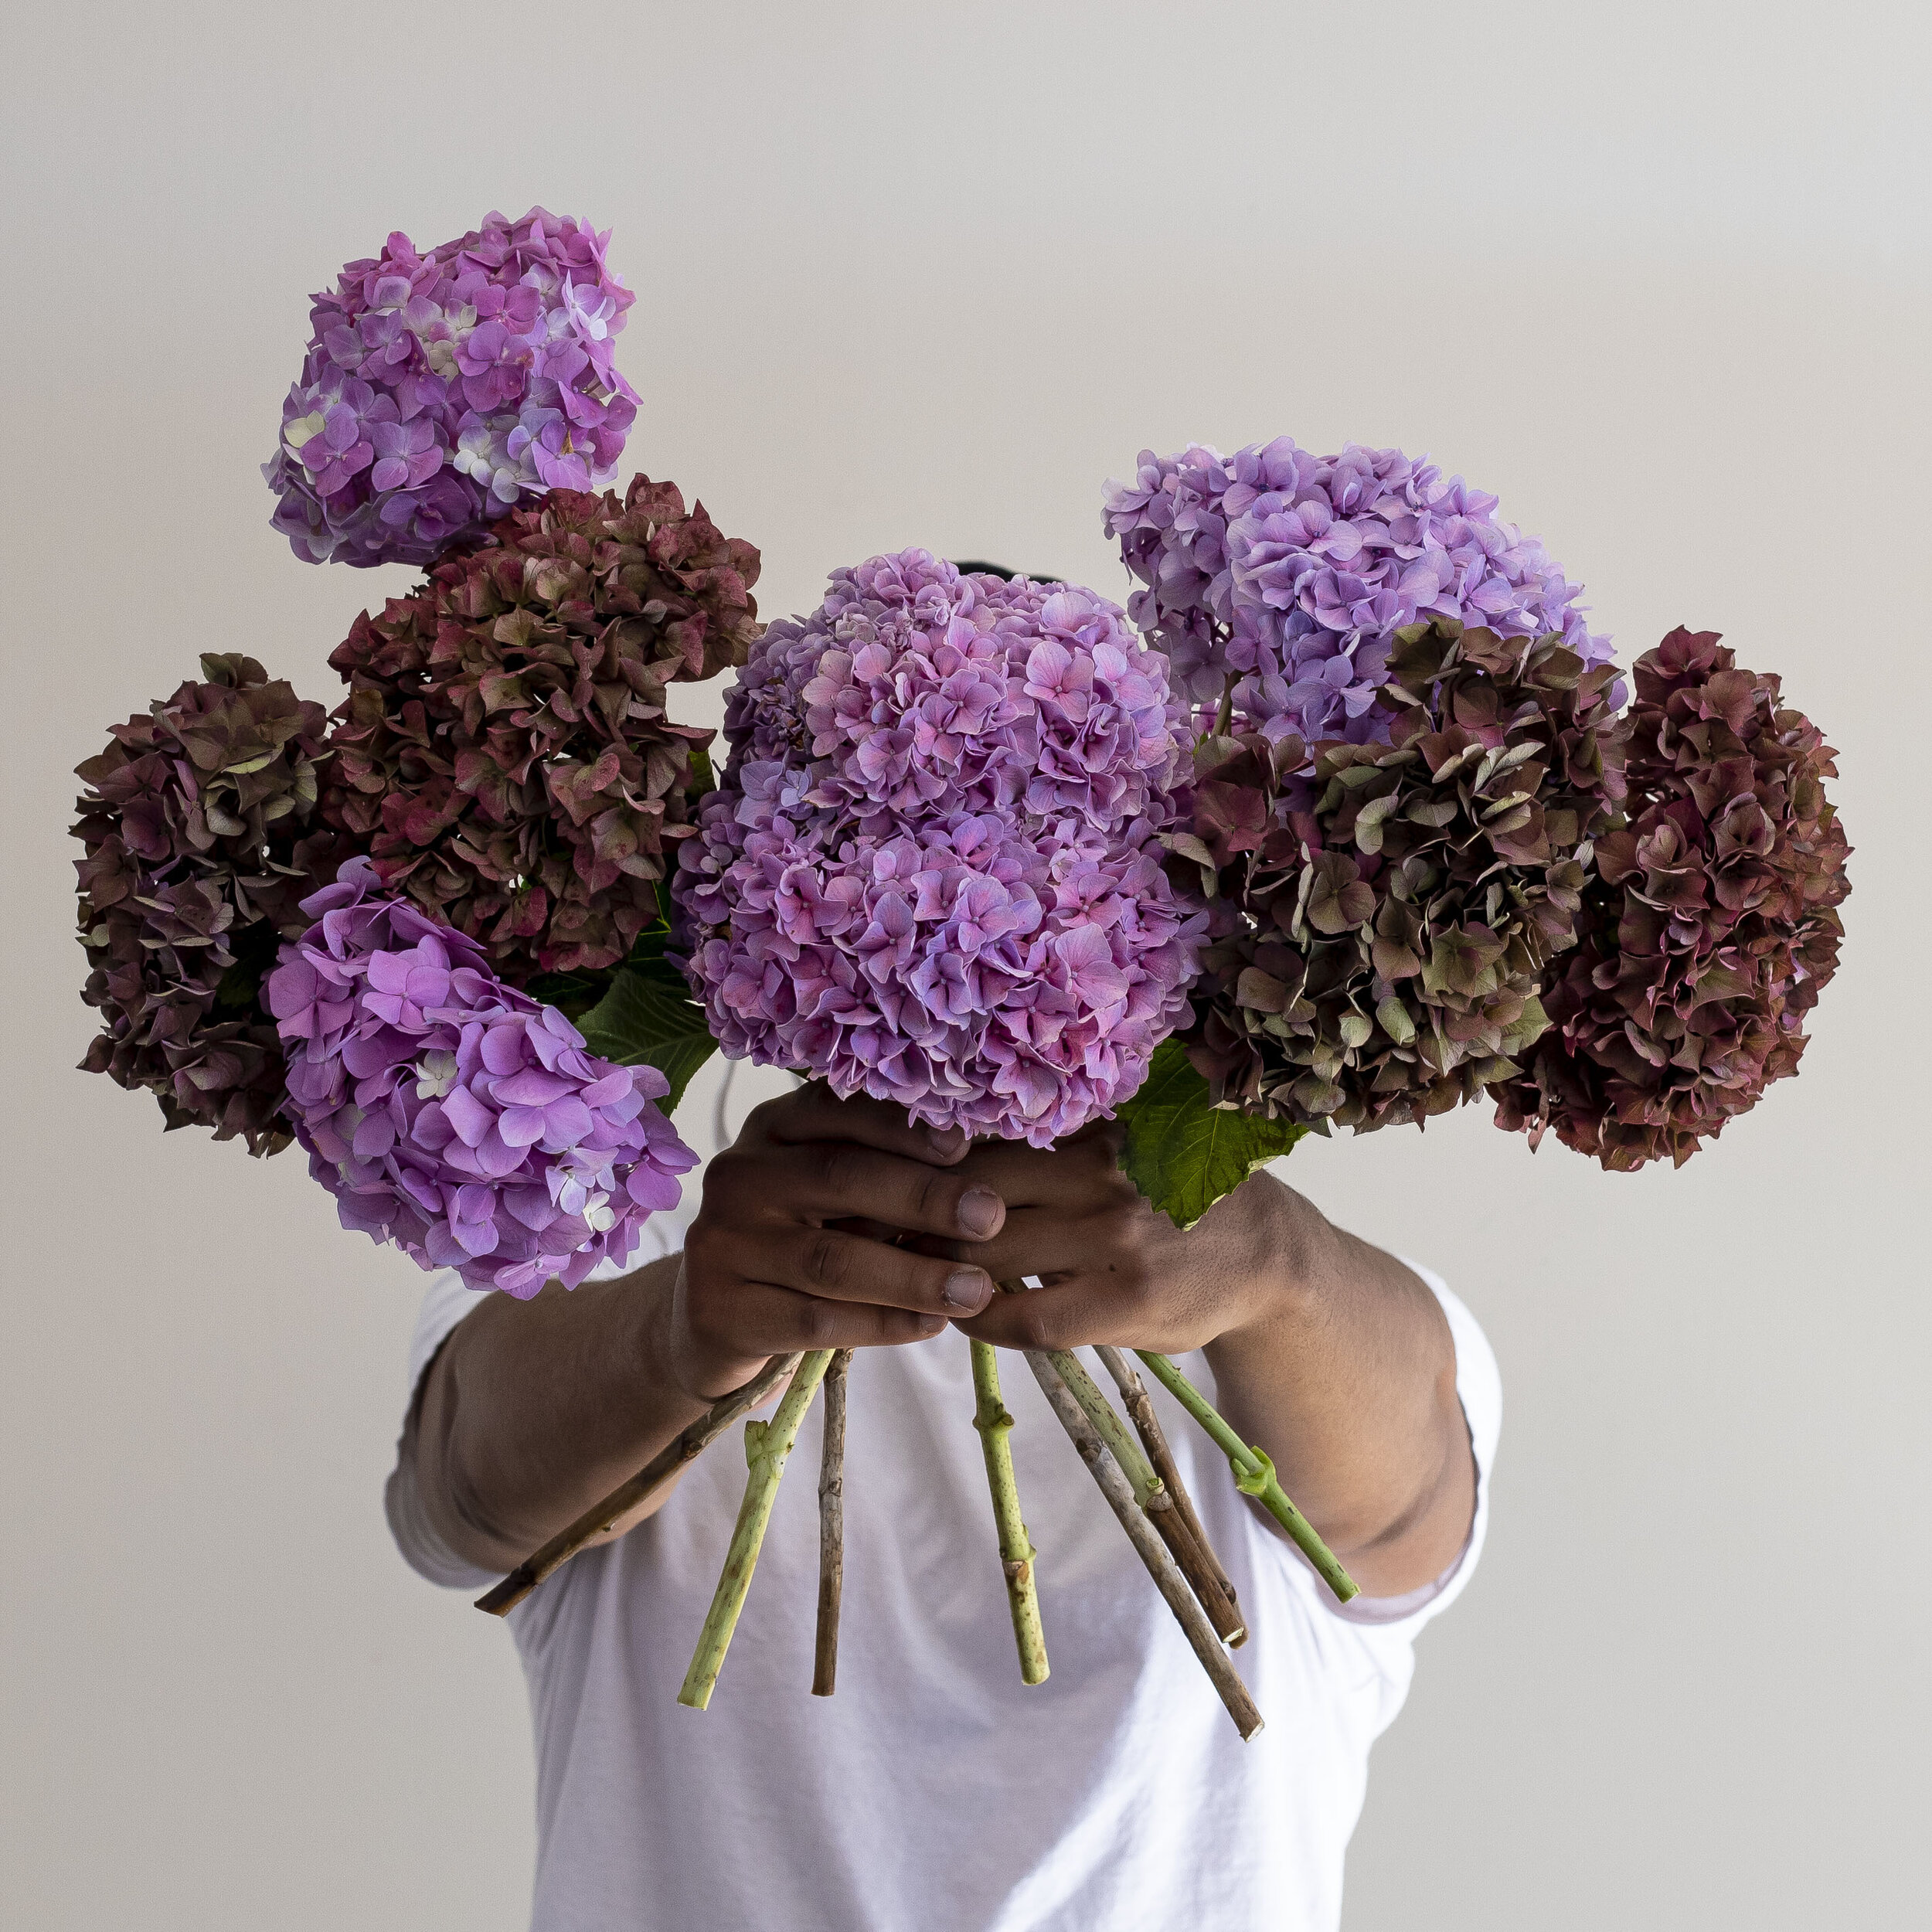
Start your hydrangea off on the right foot with a quick trim. Find a pair of scissors, kitchen shears or even a sharp kitchen knife and trim at least 1/2" off each stem.
Pro Tip: Aim to cut at a 45° angle. This provides more surface area for the flowers to drink from and prevents the stems from sitting flush to the bottom of the vase (where bacteria can build up). For thicker, woodier hydrangea stems, it may also be necessary to split the stem.
To do so, make a ½”-1” cut upwards into the stem with a sharp knife.
Some like it hot. Cut hydrangea emit a milky sap that can clog the stem and prevent proper hydration. So once trimmed, hold or dip the cut ends in hot water for five to ten seconds to seal in the sap. How hot? We recommend bringing the water to a boil and letting it cool down for a few minutes to get it to the ideal temp.
A trim a day! Daily stem trims (or as often as you can remember) ensure your stems can get a fresh drink as they age and will help extend their vase life. Psst – don’t forget to reseal the cut ends with hot water!
H2-WHOA!
Hydrangeas thrive with proper hydration so your stems will need a tall drink of water after the long trip. Just fill the vase with room temperature tap water and pop the trimmed and sealed stems in.
Pro Tip: Check and change the vase water daily (or as often as you can possibly remember). Water changes reduce bacterial growth which will help you to get the best bloom life from your bouquet.
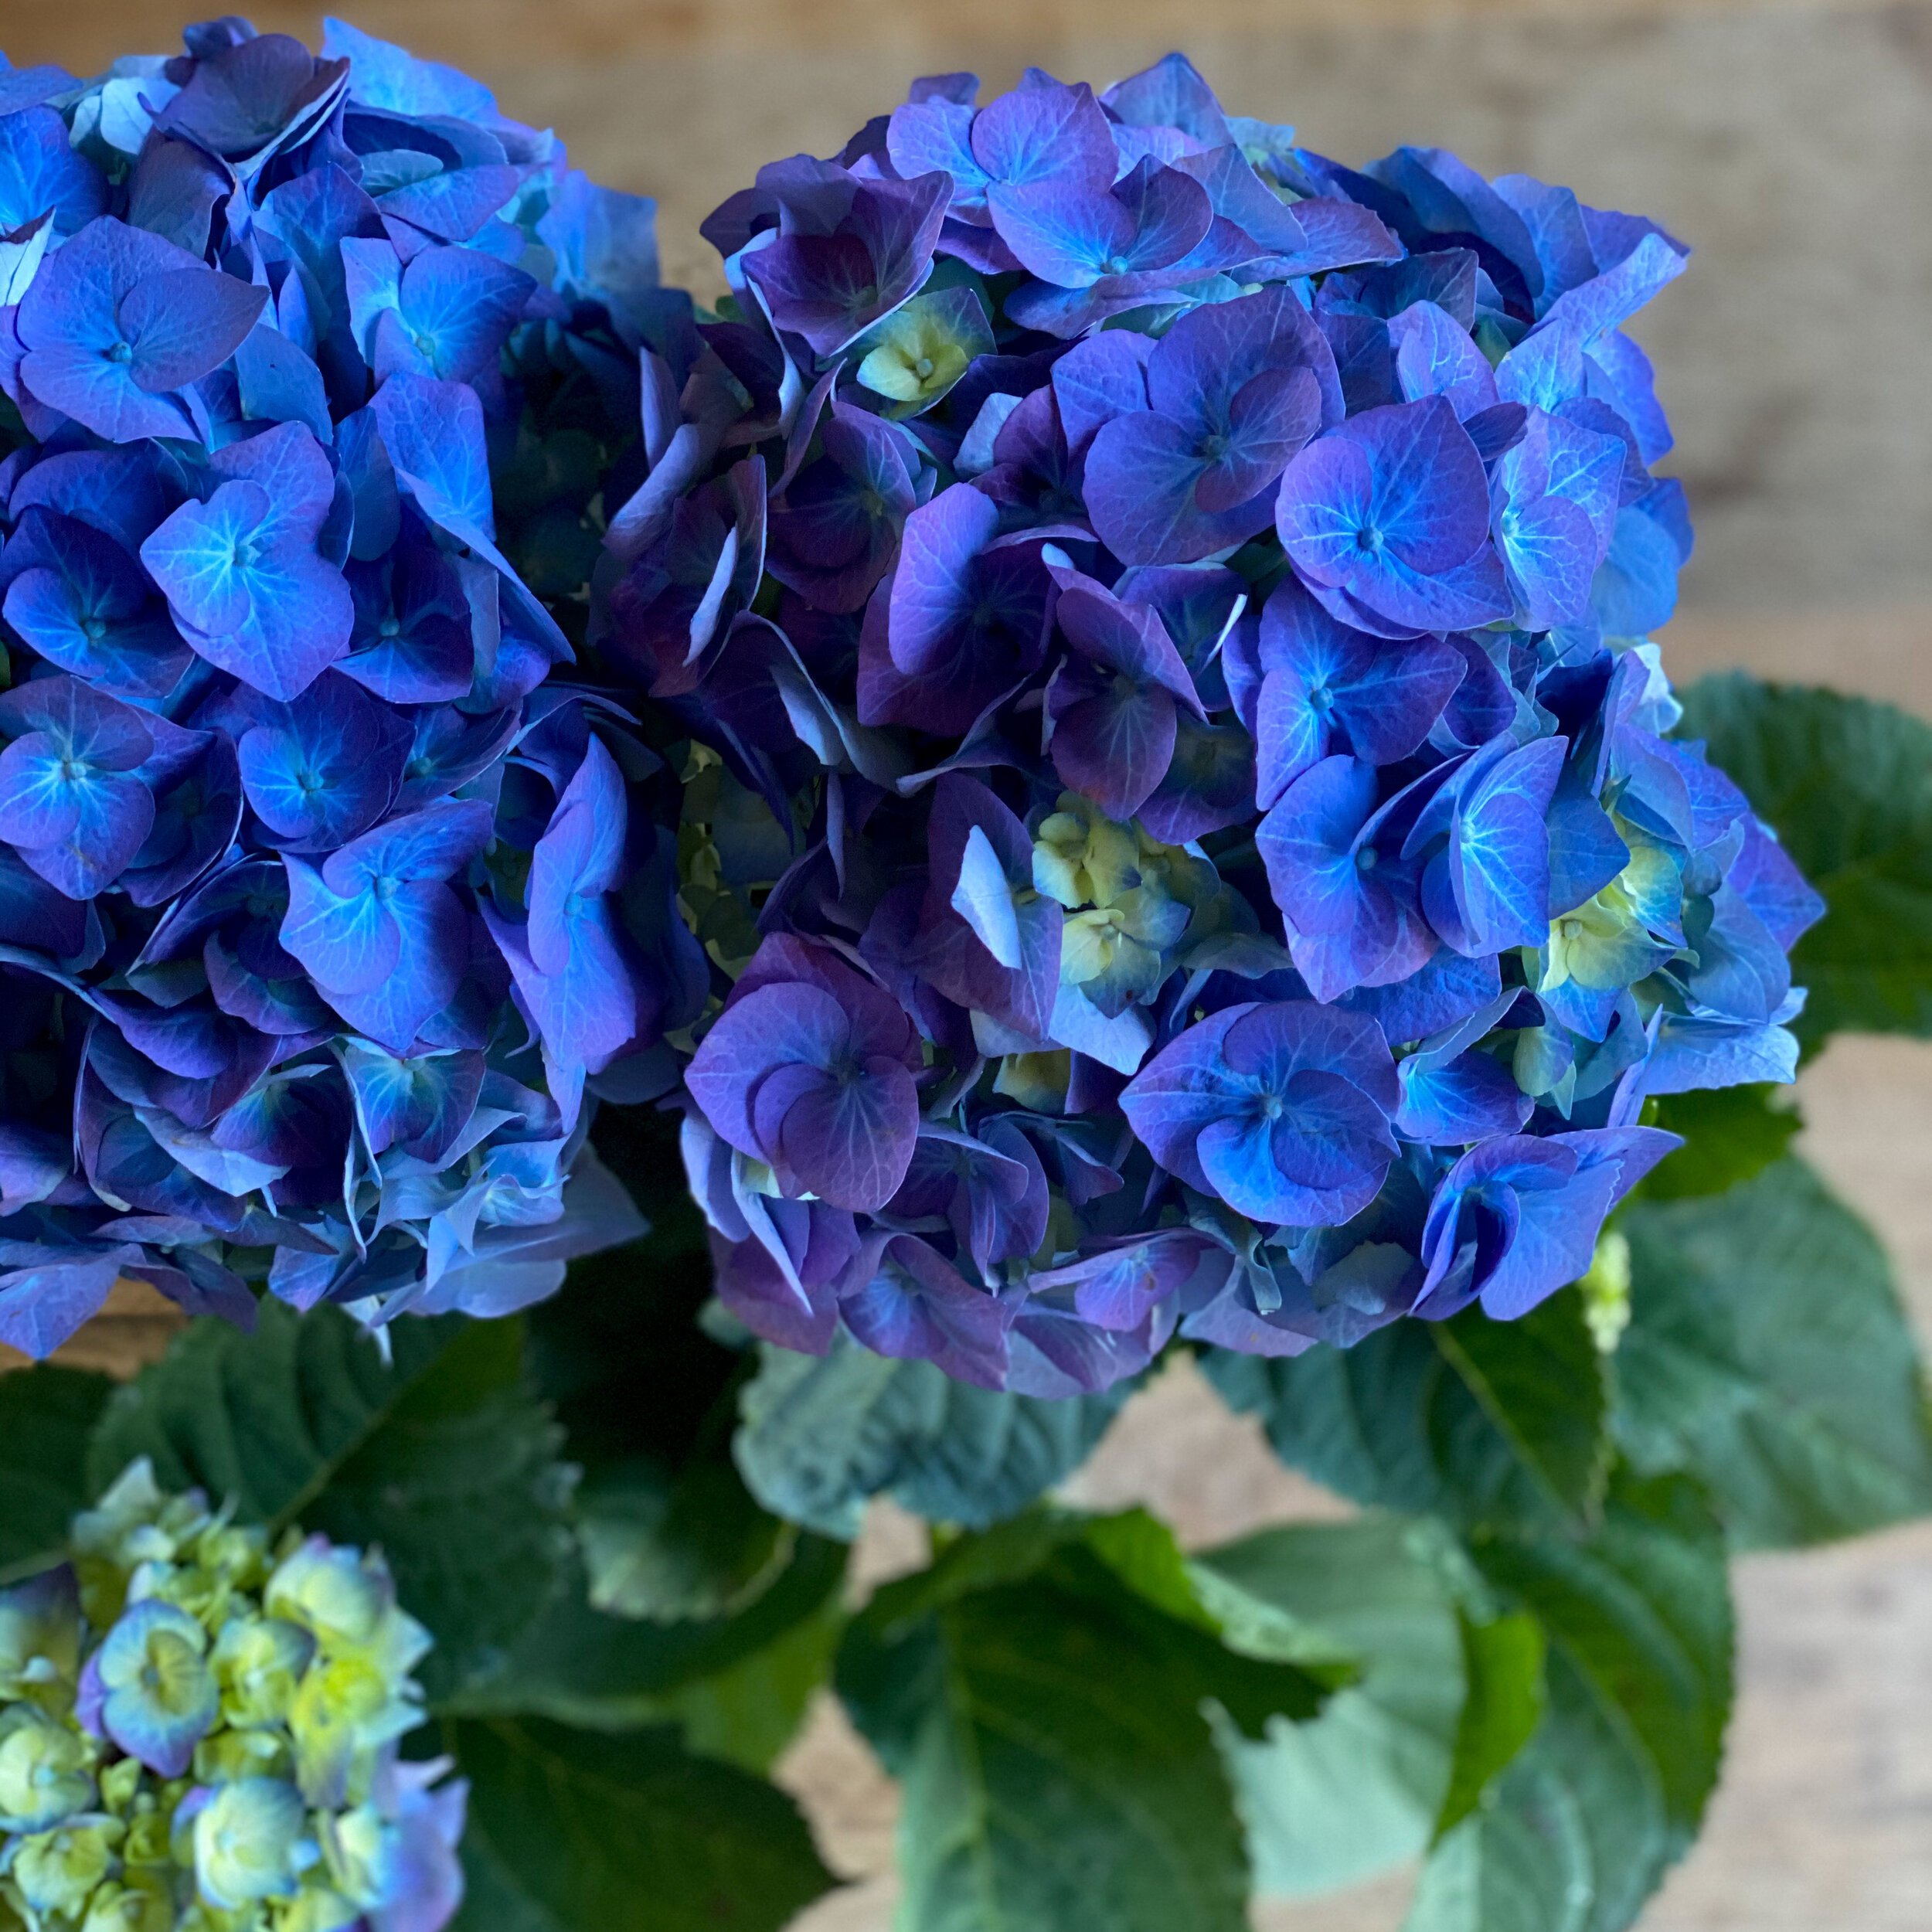
Quick dip! Remember – hydrangeas are one of the few flower varietals that can hydrate through their petals, so it’s a great idea to dunk the blooms in cool water before popping into the vase or if they’re looking less than perky upon arrival. Giving the petals a quick spritz with a mister will also work!
Design 101
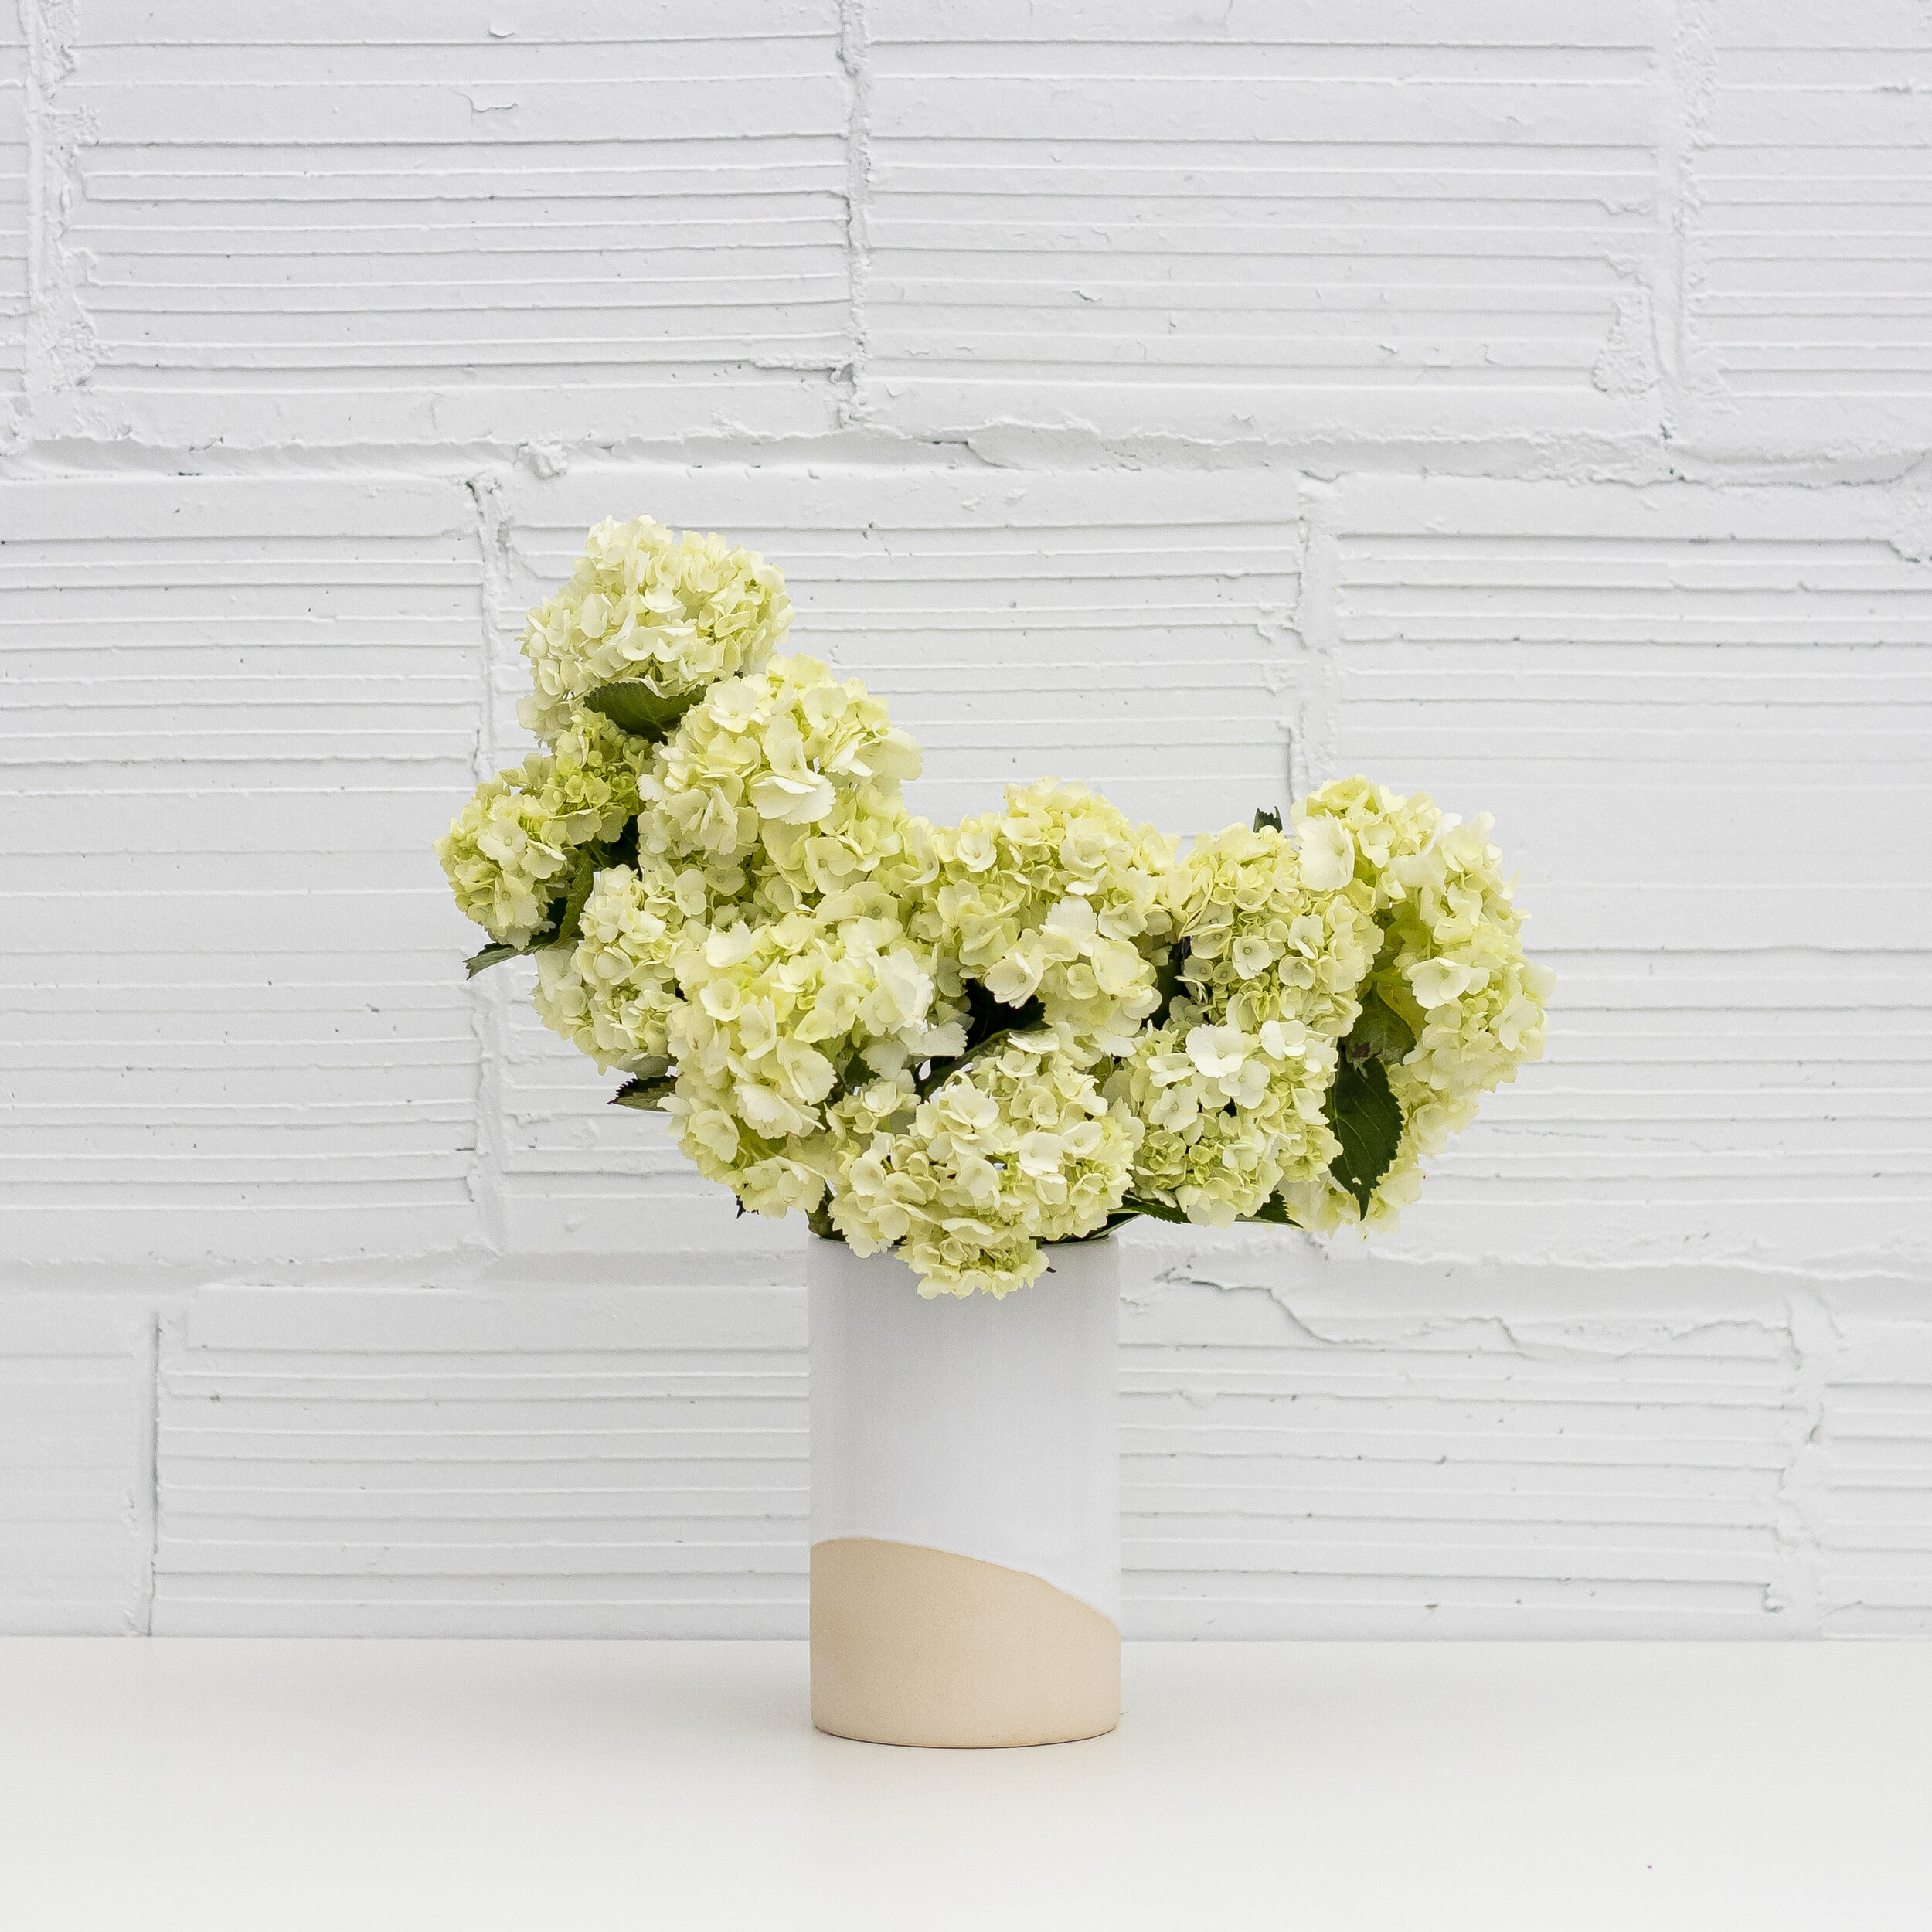
Hydrangeas don’t need much to look super styled. Into a more wild look? Simply stagger the stem height by 2-3” between each stem and gently rotate the stems so the heads of each flower fan out in all directions. Prefer a cleaner finish? Then keep the stems roughly the same height.
Criss-cross-applesauce. Whichever way you choose to style your all hydrangea arrangement, build your vase by placing your blooms on opposite sides of the vessel and working your way to the middle. Why? Starting on the outside allows the stems to criss-cross, which holds these bountiful blossoms in place.
Keep it Cool
Like most cut flowers, hydrangeas don’t love the sun. To keep them fresher longer, keep your vase in a cool spot out of direct sunlight and change the water as often as you can remember.
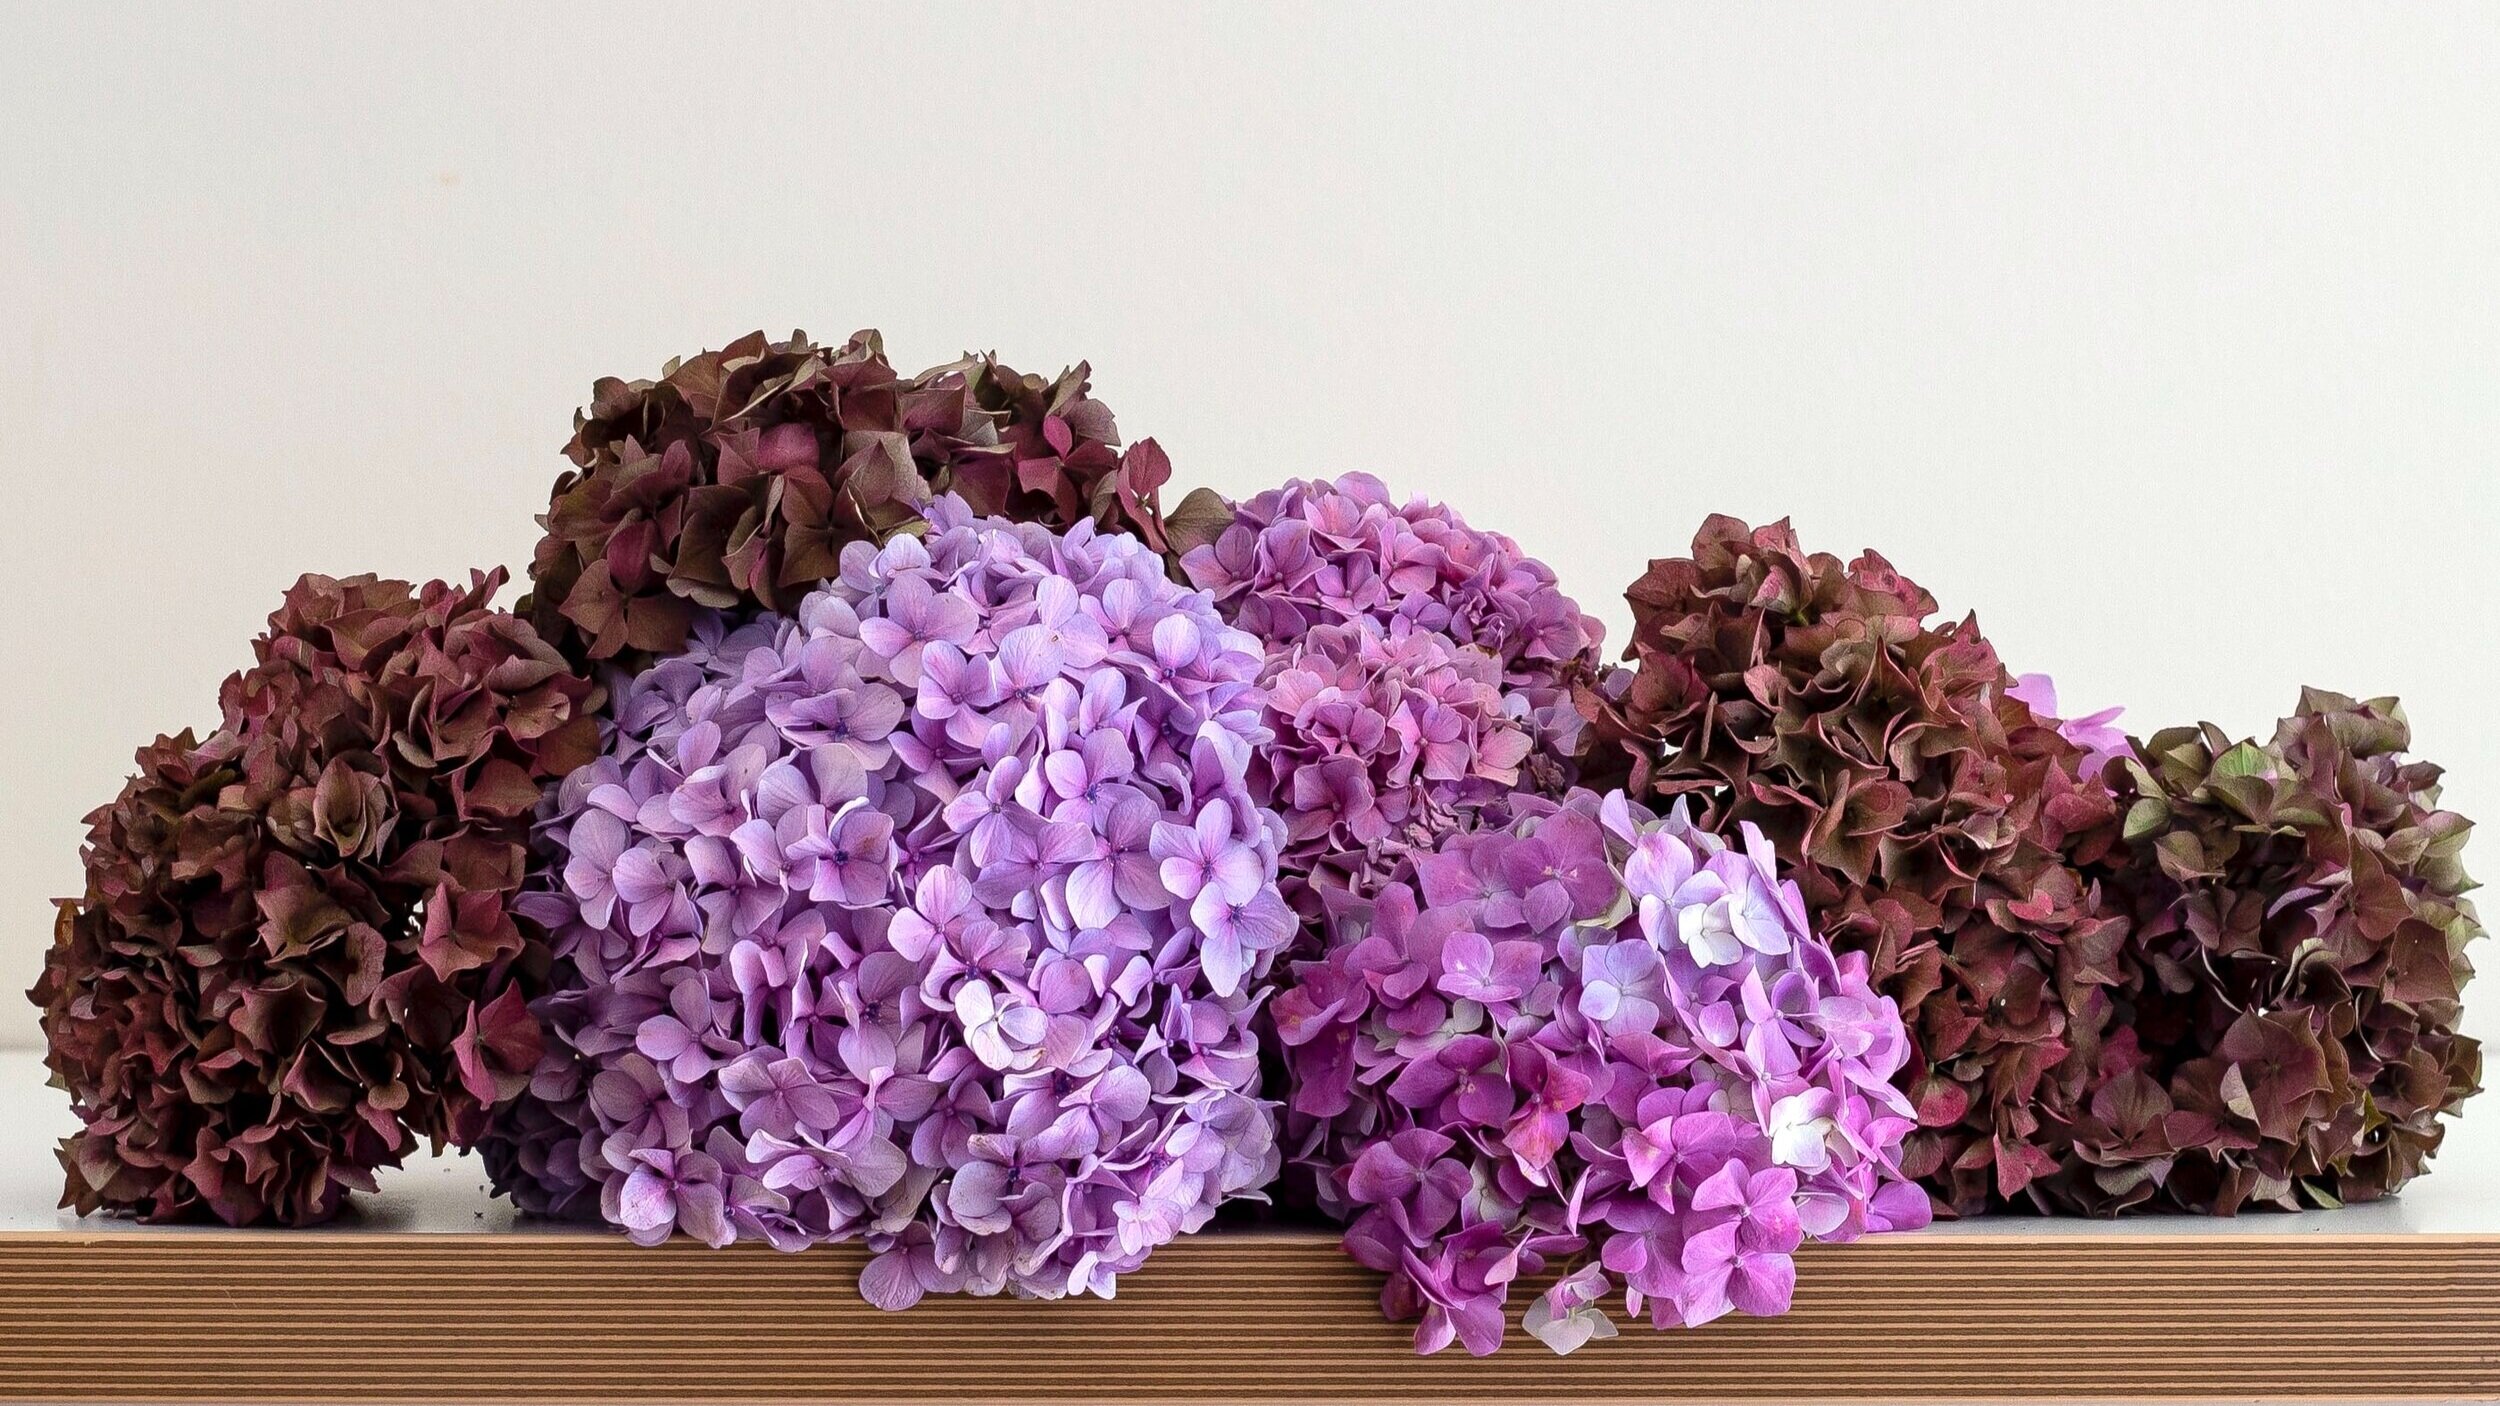
Out to dry! Once your hydrangeas start to wilt, hang them upside down by a string in a cool, dark place for two weeks or until dry to the touch. Pop them back in the vase (without water this time) and enjoy the dried version for months to come.