

Rose Care
Hey there! Before we dig into the details we have a very important FSA (that’s floral service announcement)! So if you only read one thing before enjoying your blooms read this: DO NOT REMOVE THE CORRUGATED WRAP ON YOUR FLOWERS! At least not yet! Got it? Good! Now for those deets!
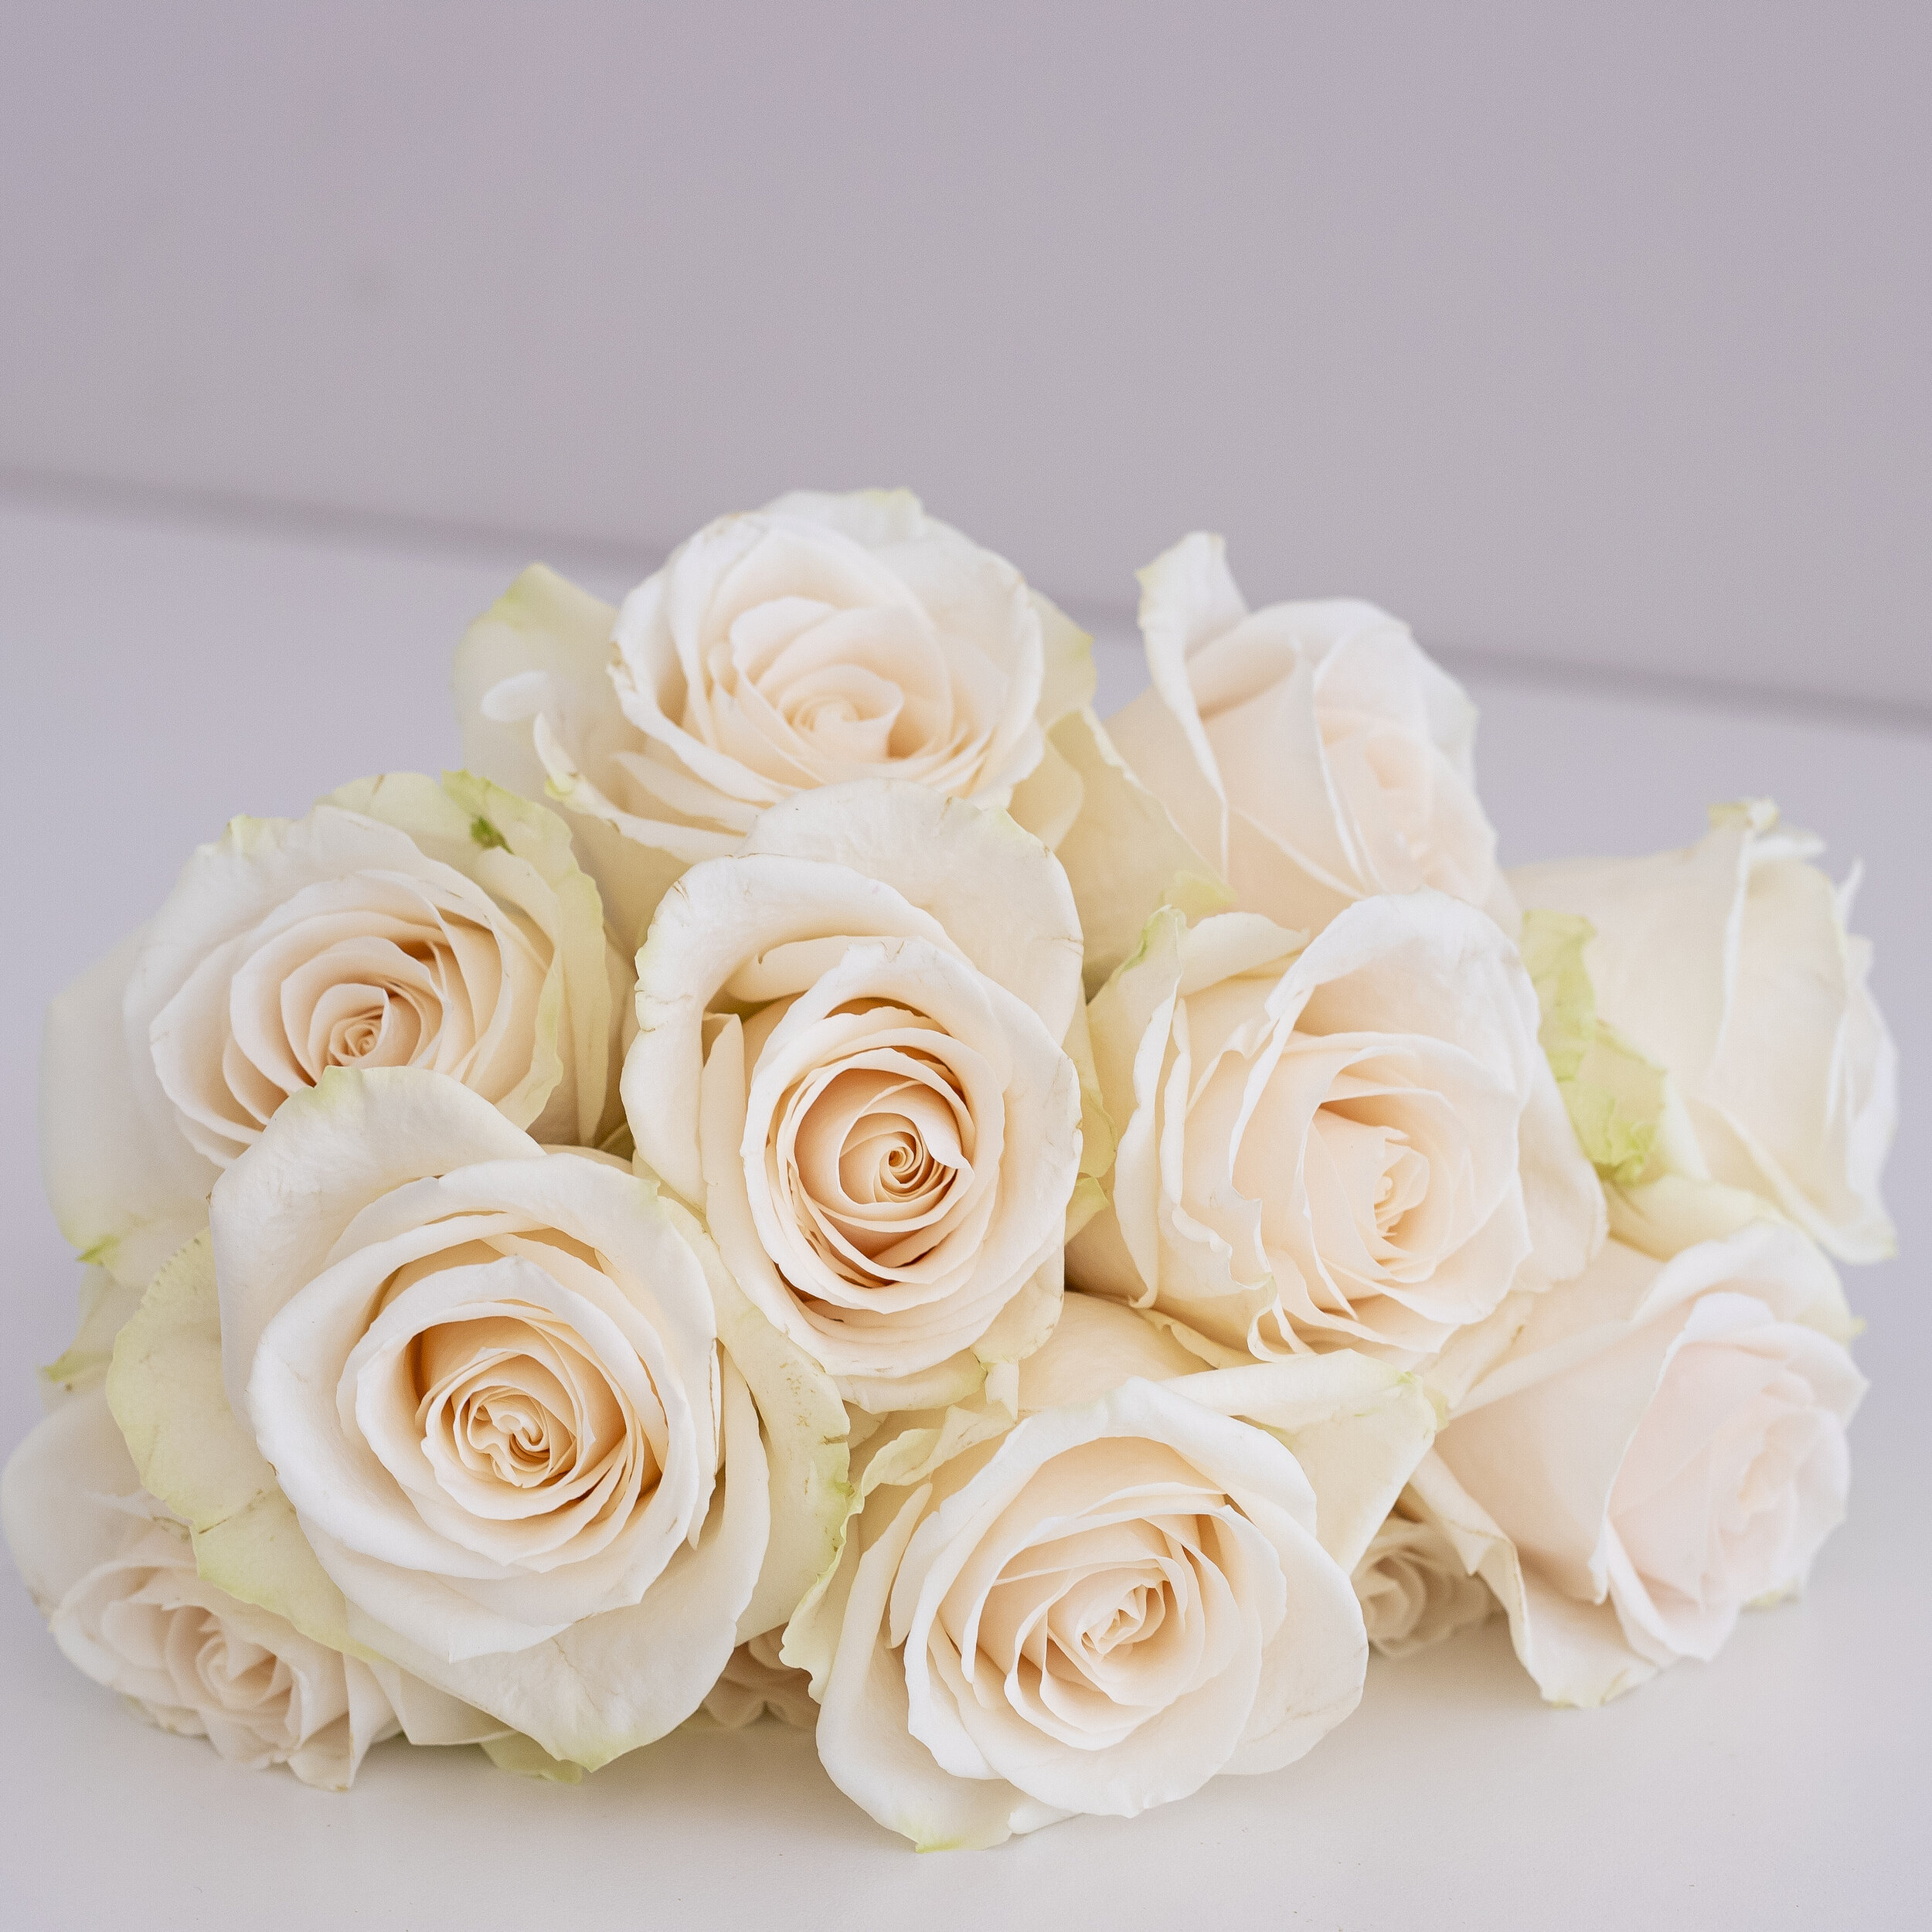
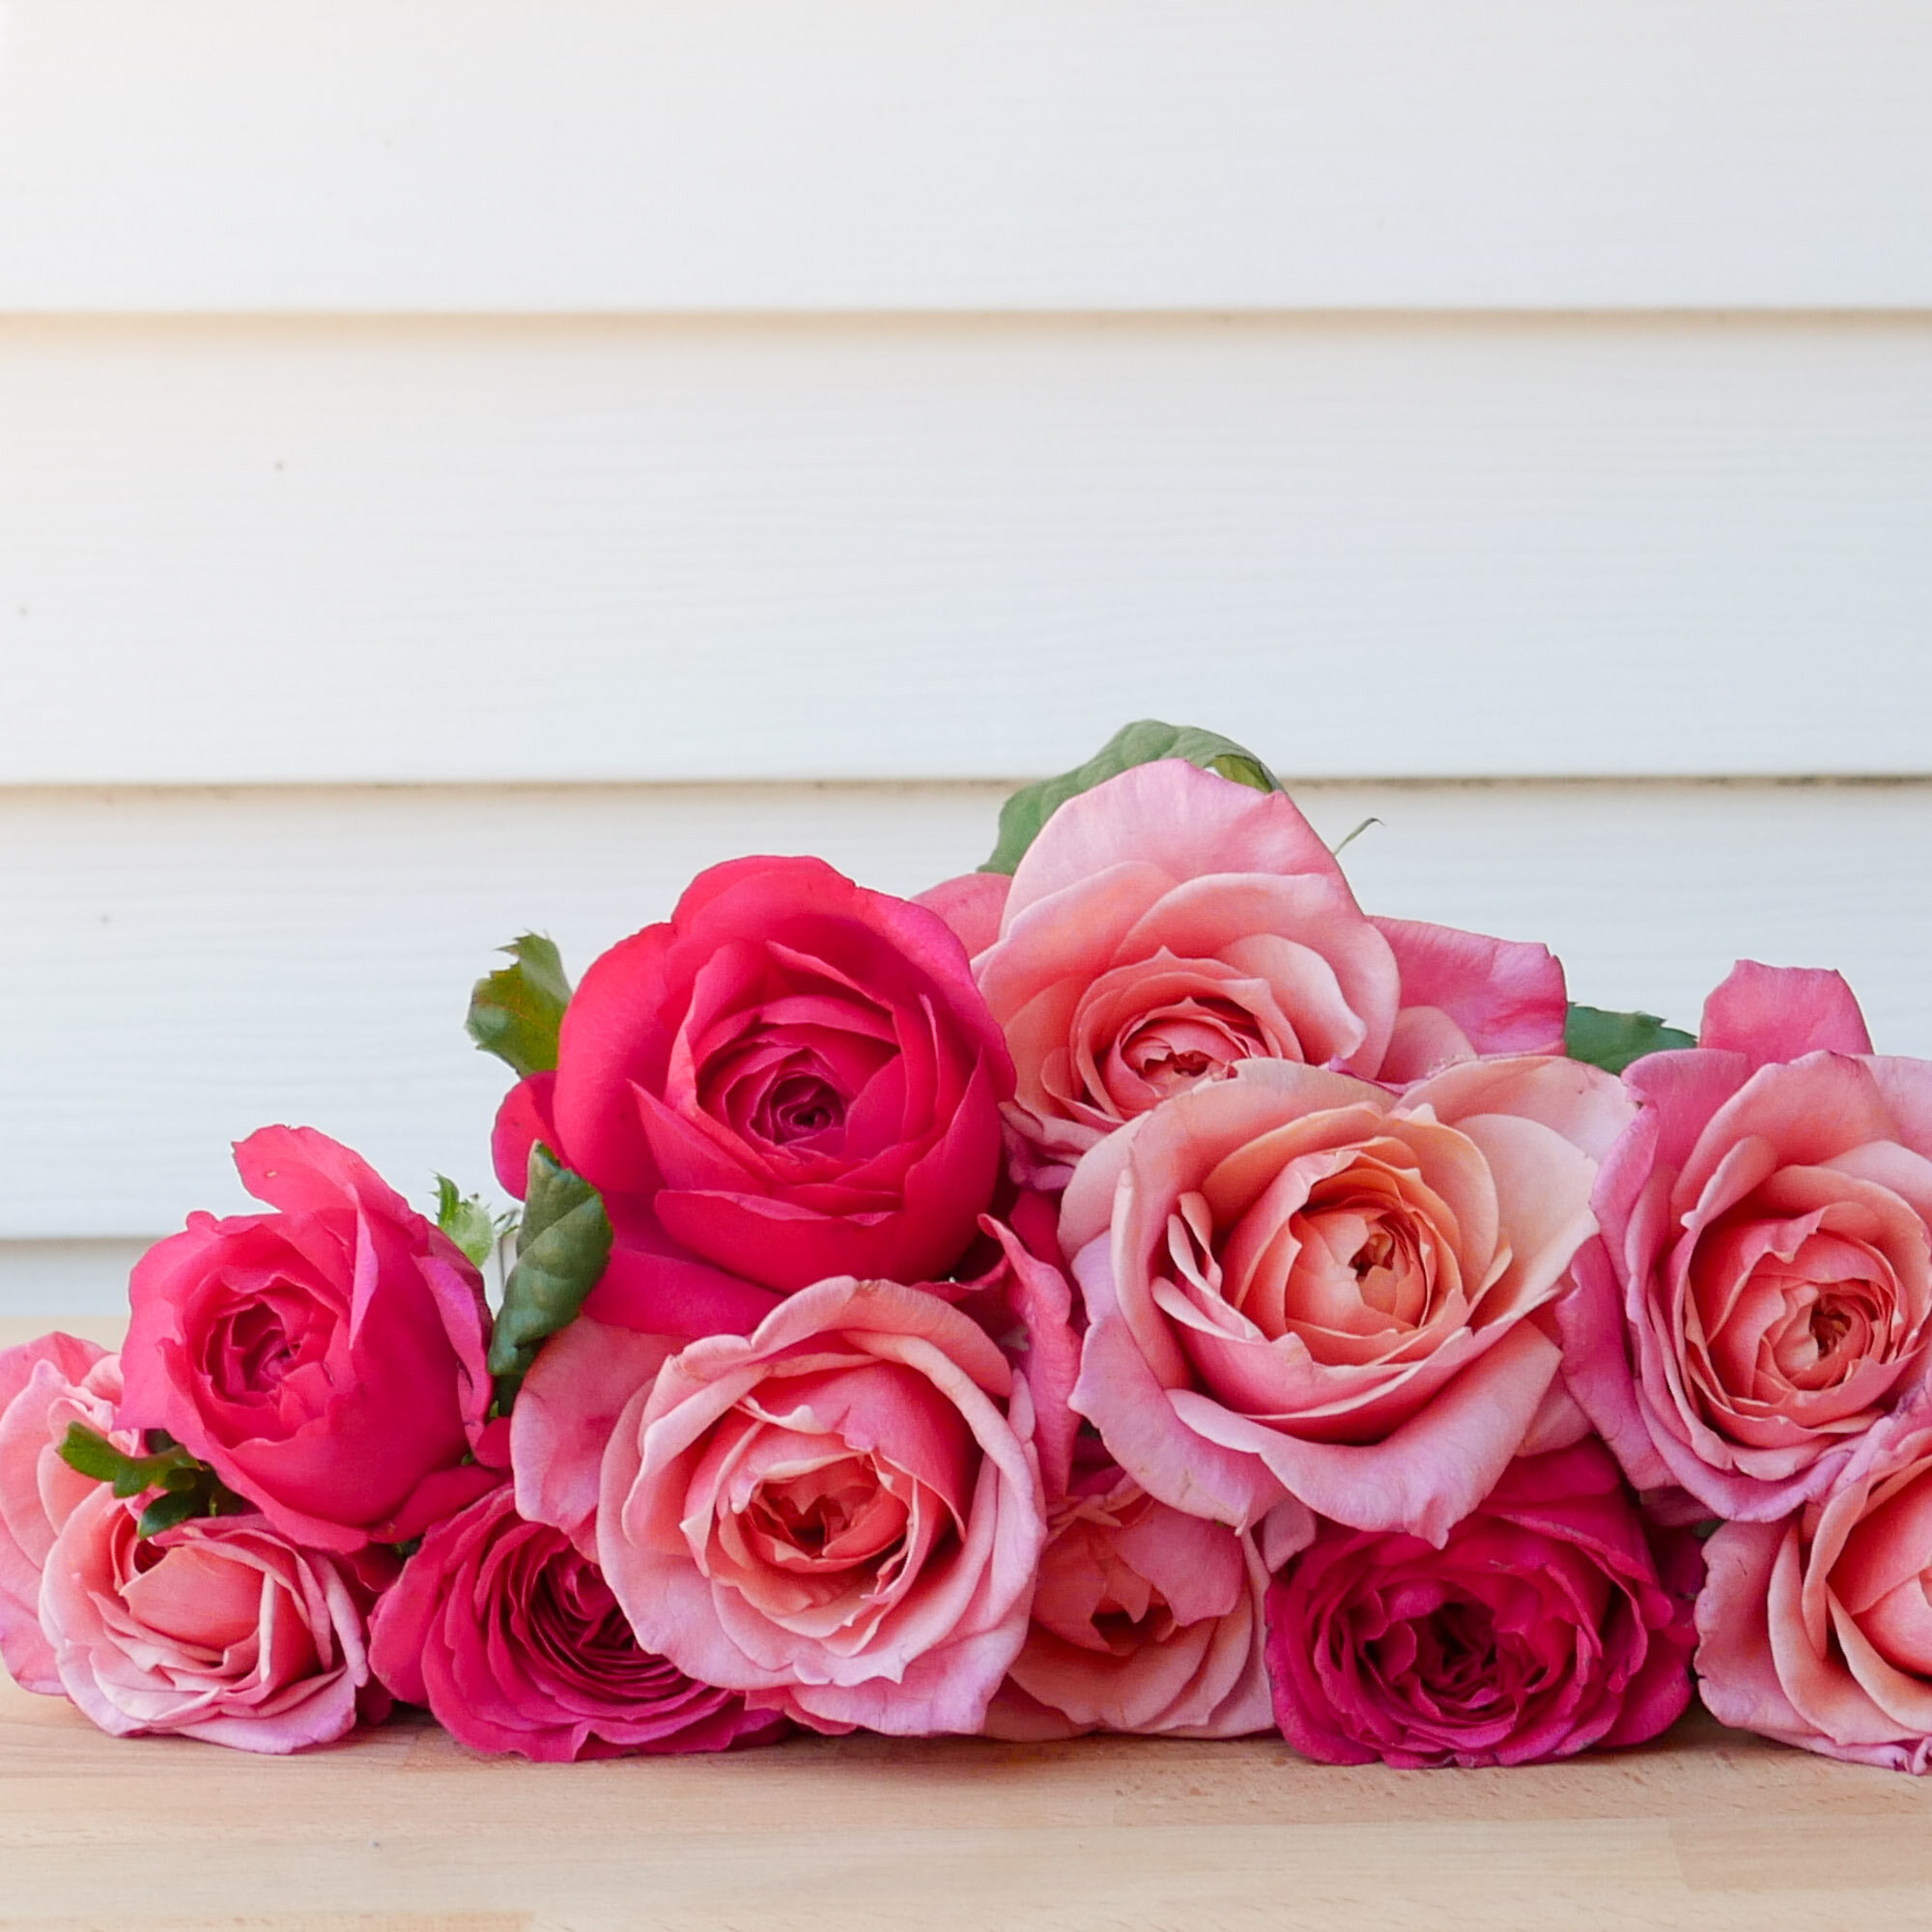
The rose - a true staple in most Farmgirl mixed bouquets. The large head of the rose makes for a show-stopping standout in any arrangement but the variety of colors and infamous scent alone make them a no-brainer to please any flower lover. They also stand alone beautifully in our single stem arrangements and winning them a permanent spot on our shop page!
A few fun facts for the road: Roses (genus Rosa) are perennial and the majority of the (10,000+) varieties can be grown in zones 7-9. They date back 35 million years and happen to be a favorite of the Ancient Romans (they had good taste even then!). Needless to say, they’ve earned their spot as the U.S. national flower and a top seller here at Farmgirl.
First thing’s First!
Find the largest vessel you can - a pasta pot, your coffee decanter, the mixing bowl you bought at Target when you first moved into your apartment. Good! Fill it with clean, cool water. Now find a sharp pair of scissors, kitchen shears, or if you’re a total pro, pruning shears from your garden. Use them to trim the stems of your roses by at least half an inch at an angle. Why an angle? It helps to maximize the surface area through which your ranunculus can hydrate. And believe us, after their trip, they’re thirsty!
Next, walk away! Set a time for two hours to let your blooms get a big drink of water. Reminder! DO NOT UNWRAP YOUR ROSES (just yet!).
Once the two hours are up, you are safe to unwrap and discard the corrugated wrap. Hooray! Once unwrapped, you might notice some roses in your bouquet with discolored or wrinkled outer petals. Don’t panic! These are what we call guard petals in the floral world and you can think of them as nature’s way of protecting the rose from any bumps and bruises in transit. Most importantly, they are no indication of the vitality or freshness of the flower beneath - whew! So go ahead and gently pick them off! Simply grab the base of the petal firmly and carefully pull up. Take care to not touch the other petals on the bloom as you do this as this can lead to bruising on the rest of the bloom.
No Time to Design? Chop & Drop!
Find a real vase (or vases!) and fill it ¾ of the way with clean, cool tap water. Not that we’re judging, but we prefer something a little sleeker than the pasta pot, mixing bowl, or whatever larger vessel you used for pre-hydration to show off your stems (that said – work with what you’ve got)!
To prepare your roses for the vase(s), simply remove any foliage that will fall below the vase waterline, drop your stems into the vessel(s) of your choice, and you’re done!

Got a second? Get arranging!
Have some more time on your hands? We know the feeling! Get out of your head and into your hands and get arranging!
Gently grasp the bundle of roses in your hand (beware of thorns!). Pretending like your hand is the vase, work to stagger the heights of each bloom. Aim for a highest, lowest, high pattern here (sort of like the letter V) and give the stems on your left a little extra height than the rest.
Create a valley with the shorties in the center and then add a little bit of drama with a little more height on the right. Last, fan the heads out in all directions so your vase is gorgeous from any angle!
Once you’re satisfied with the height and overall feel of your roses, measure your stems against the height of your vase. This will help you determine where you need to make your cut. Next, grab your sharp scissors or shears and trim your stems to your desired height. Place your stems in the vessel and enjoy!

Routine Maintenance
Help your blooms live their best life by keeping them out of the direct sun and any extra toasty areas in your home. We recommend placing your vase at least three feet away from any sunny window and away from any obvious heat sources (like a radiator). Bacteria buildup is natural (and unavoidable) as the stems age. Change the water daily (or as often as you remember) so your ranunculus are always getting a fresh drink. Trimming the stems at the same time will also ensure they’re hydrating efficiently!
Pro tip: Some blooms may die off sooner than others. Removing any dying flowers will keep its vase mates looking fresher longer!