

Tulip Care
OK - you’ve popped the box and taken a few flower selfies (don’t forget to tag us!). What now? Whether this is your first foray into flowers or you’re a seasoned pro when it comes to cut stems we’ve got a pro tip (or ten!) to share with you to get your bouquet looking beautiful lickety-split.
Let’s start off with a few basics. Tulips (genus Tulipa) are perennial bulb flowers that grow best in zones 3-8 and are winter hardy. The peak season for tulips is between March and May, but we’re lucky to have them at our design disposal year-round!
Nitty Gritty
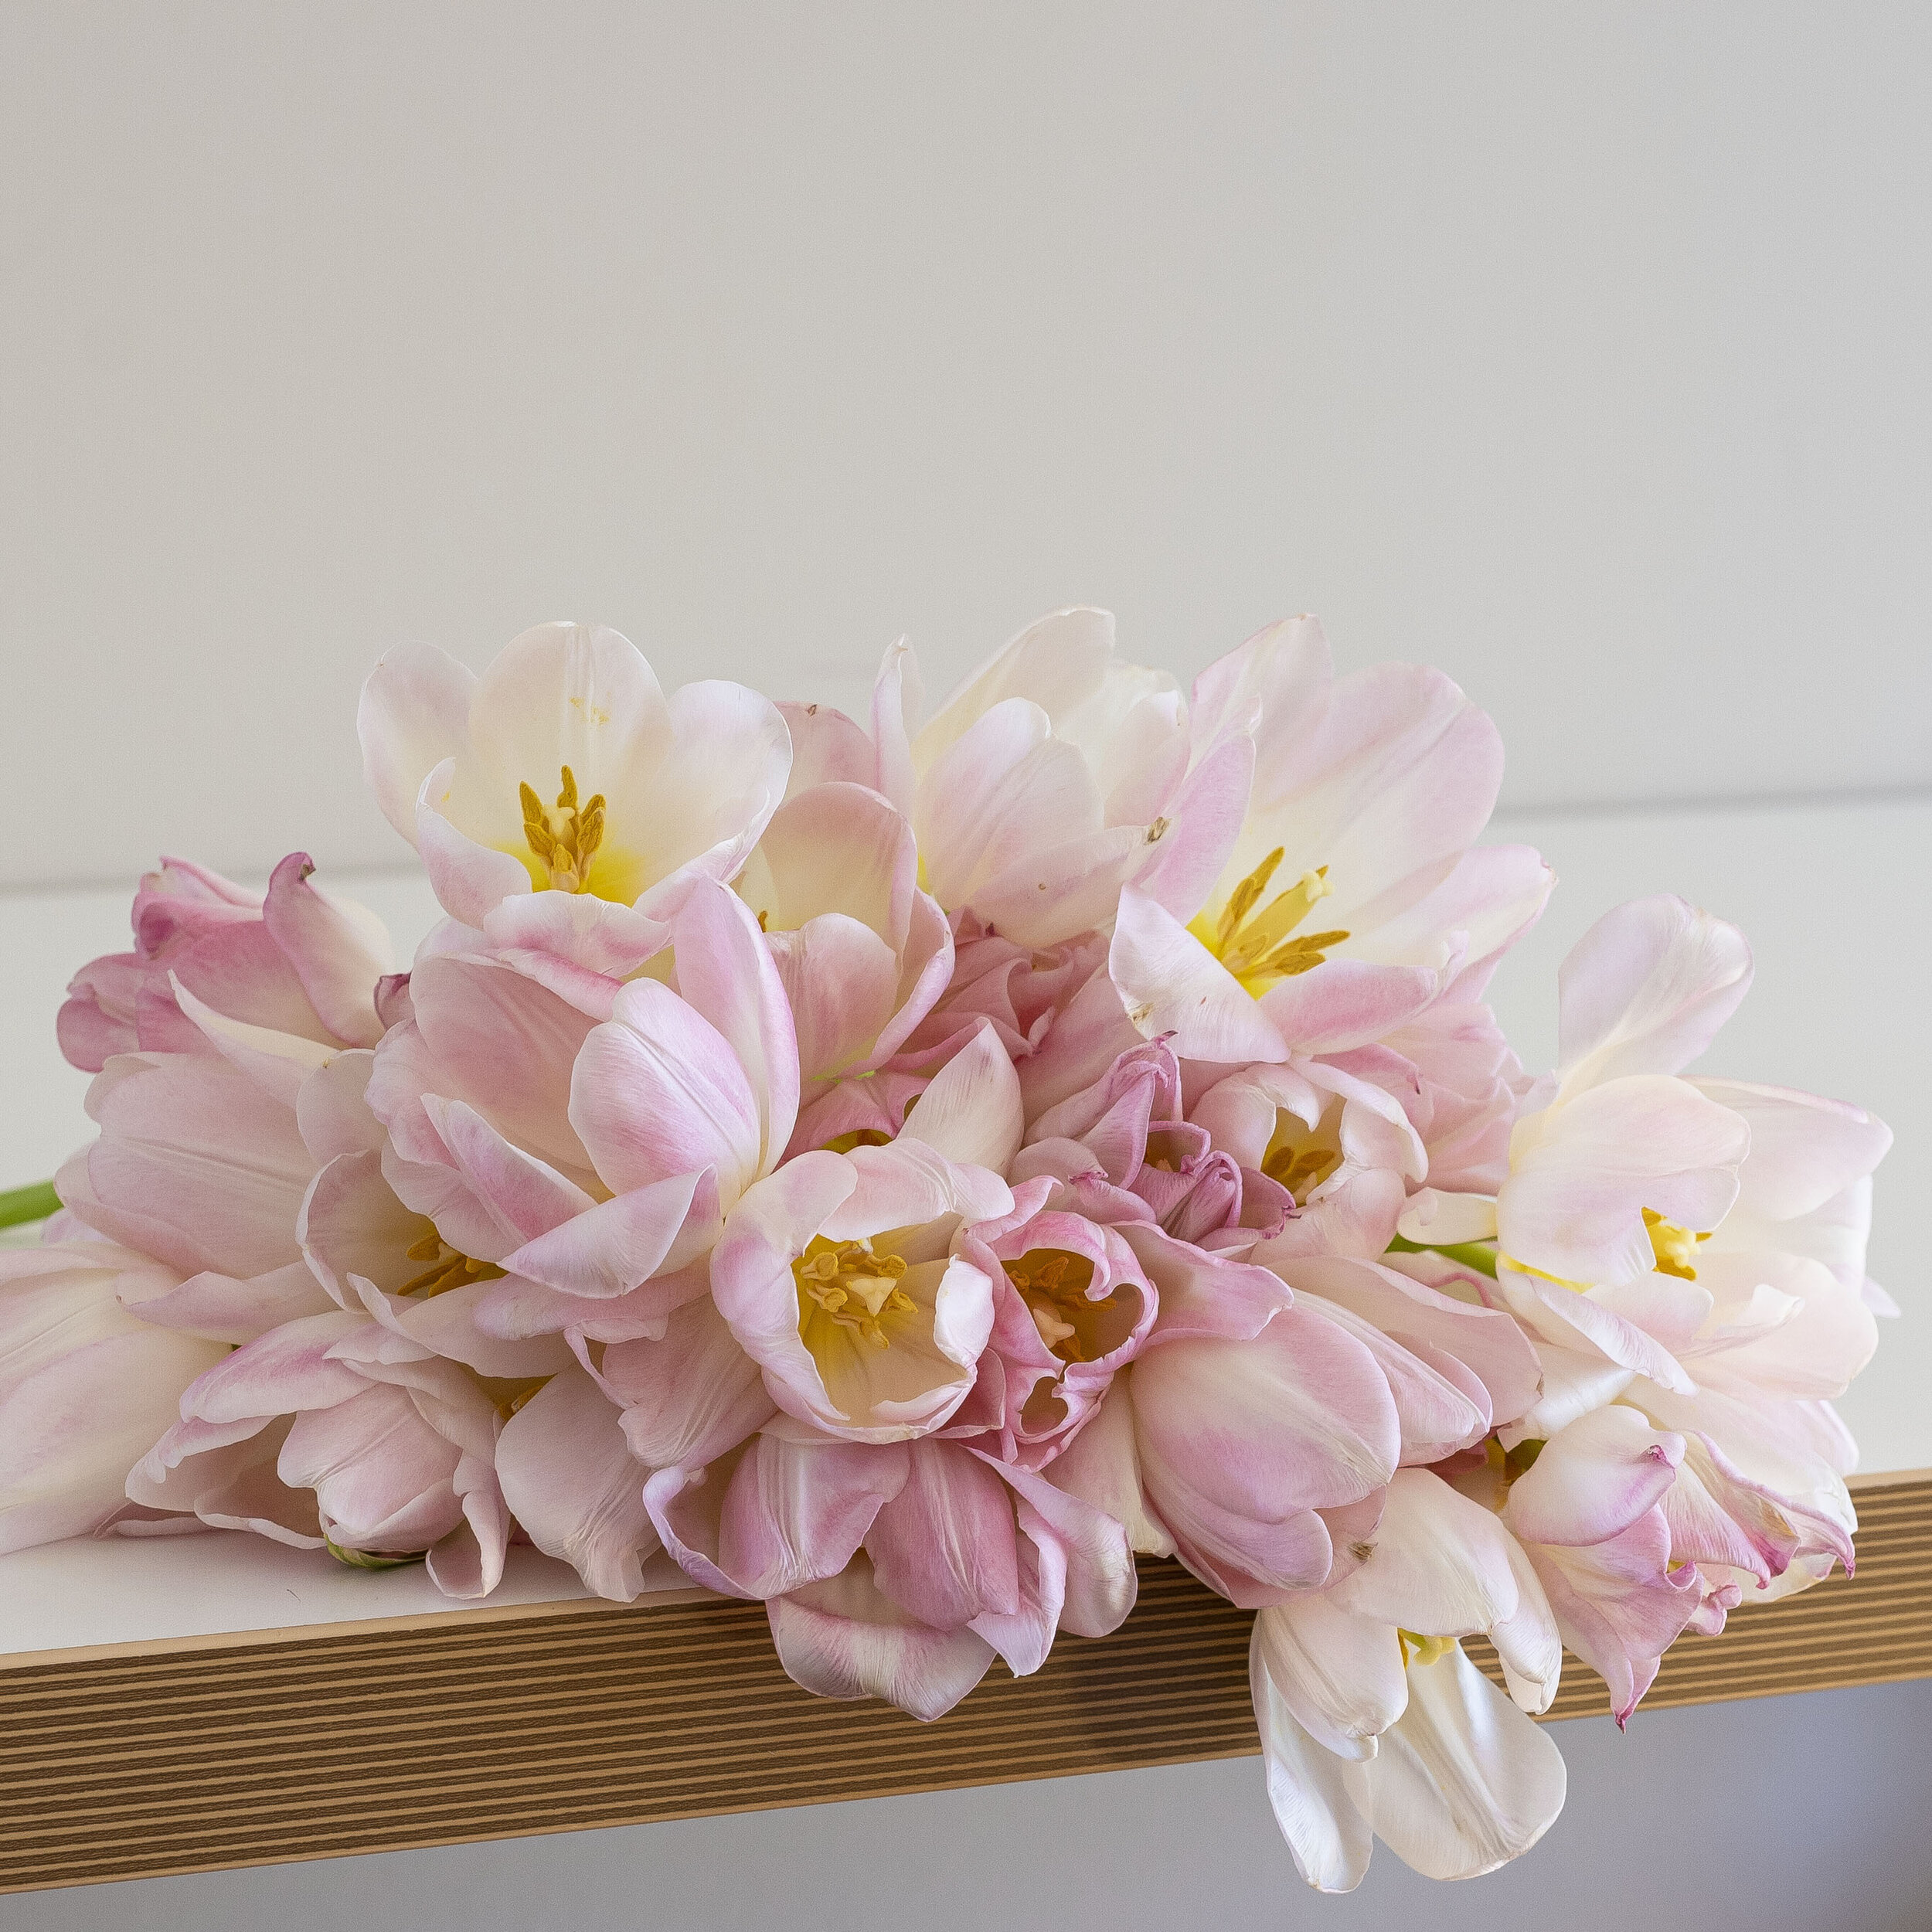
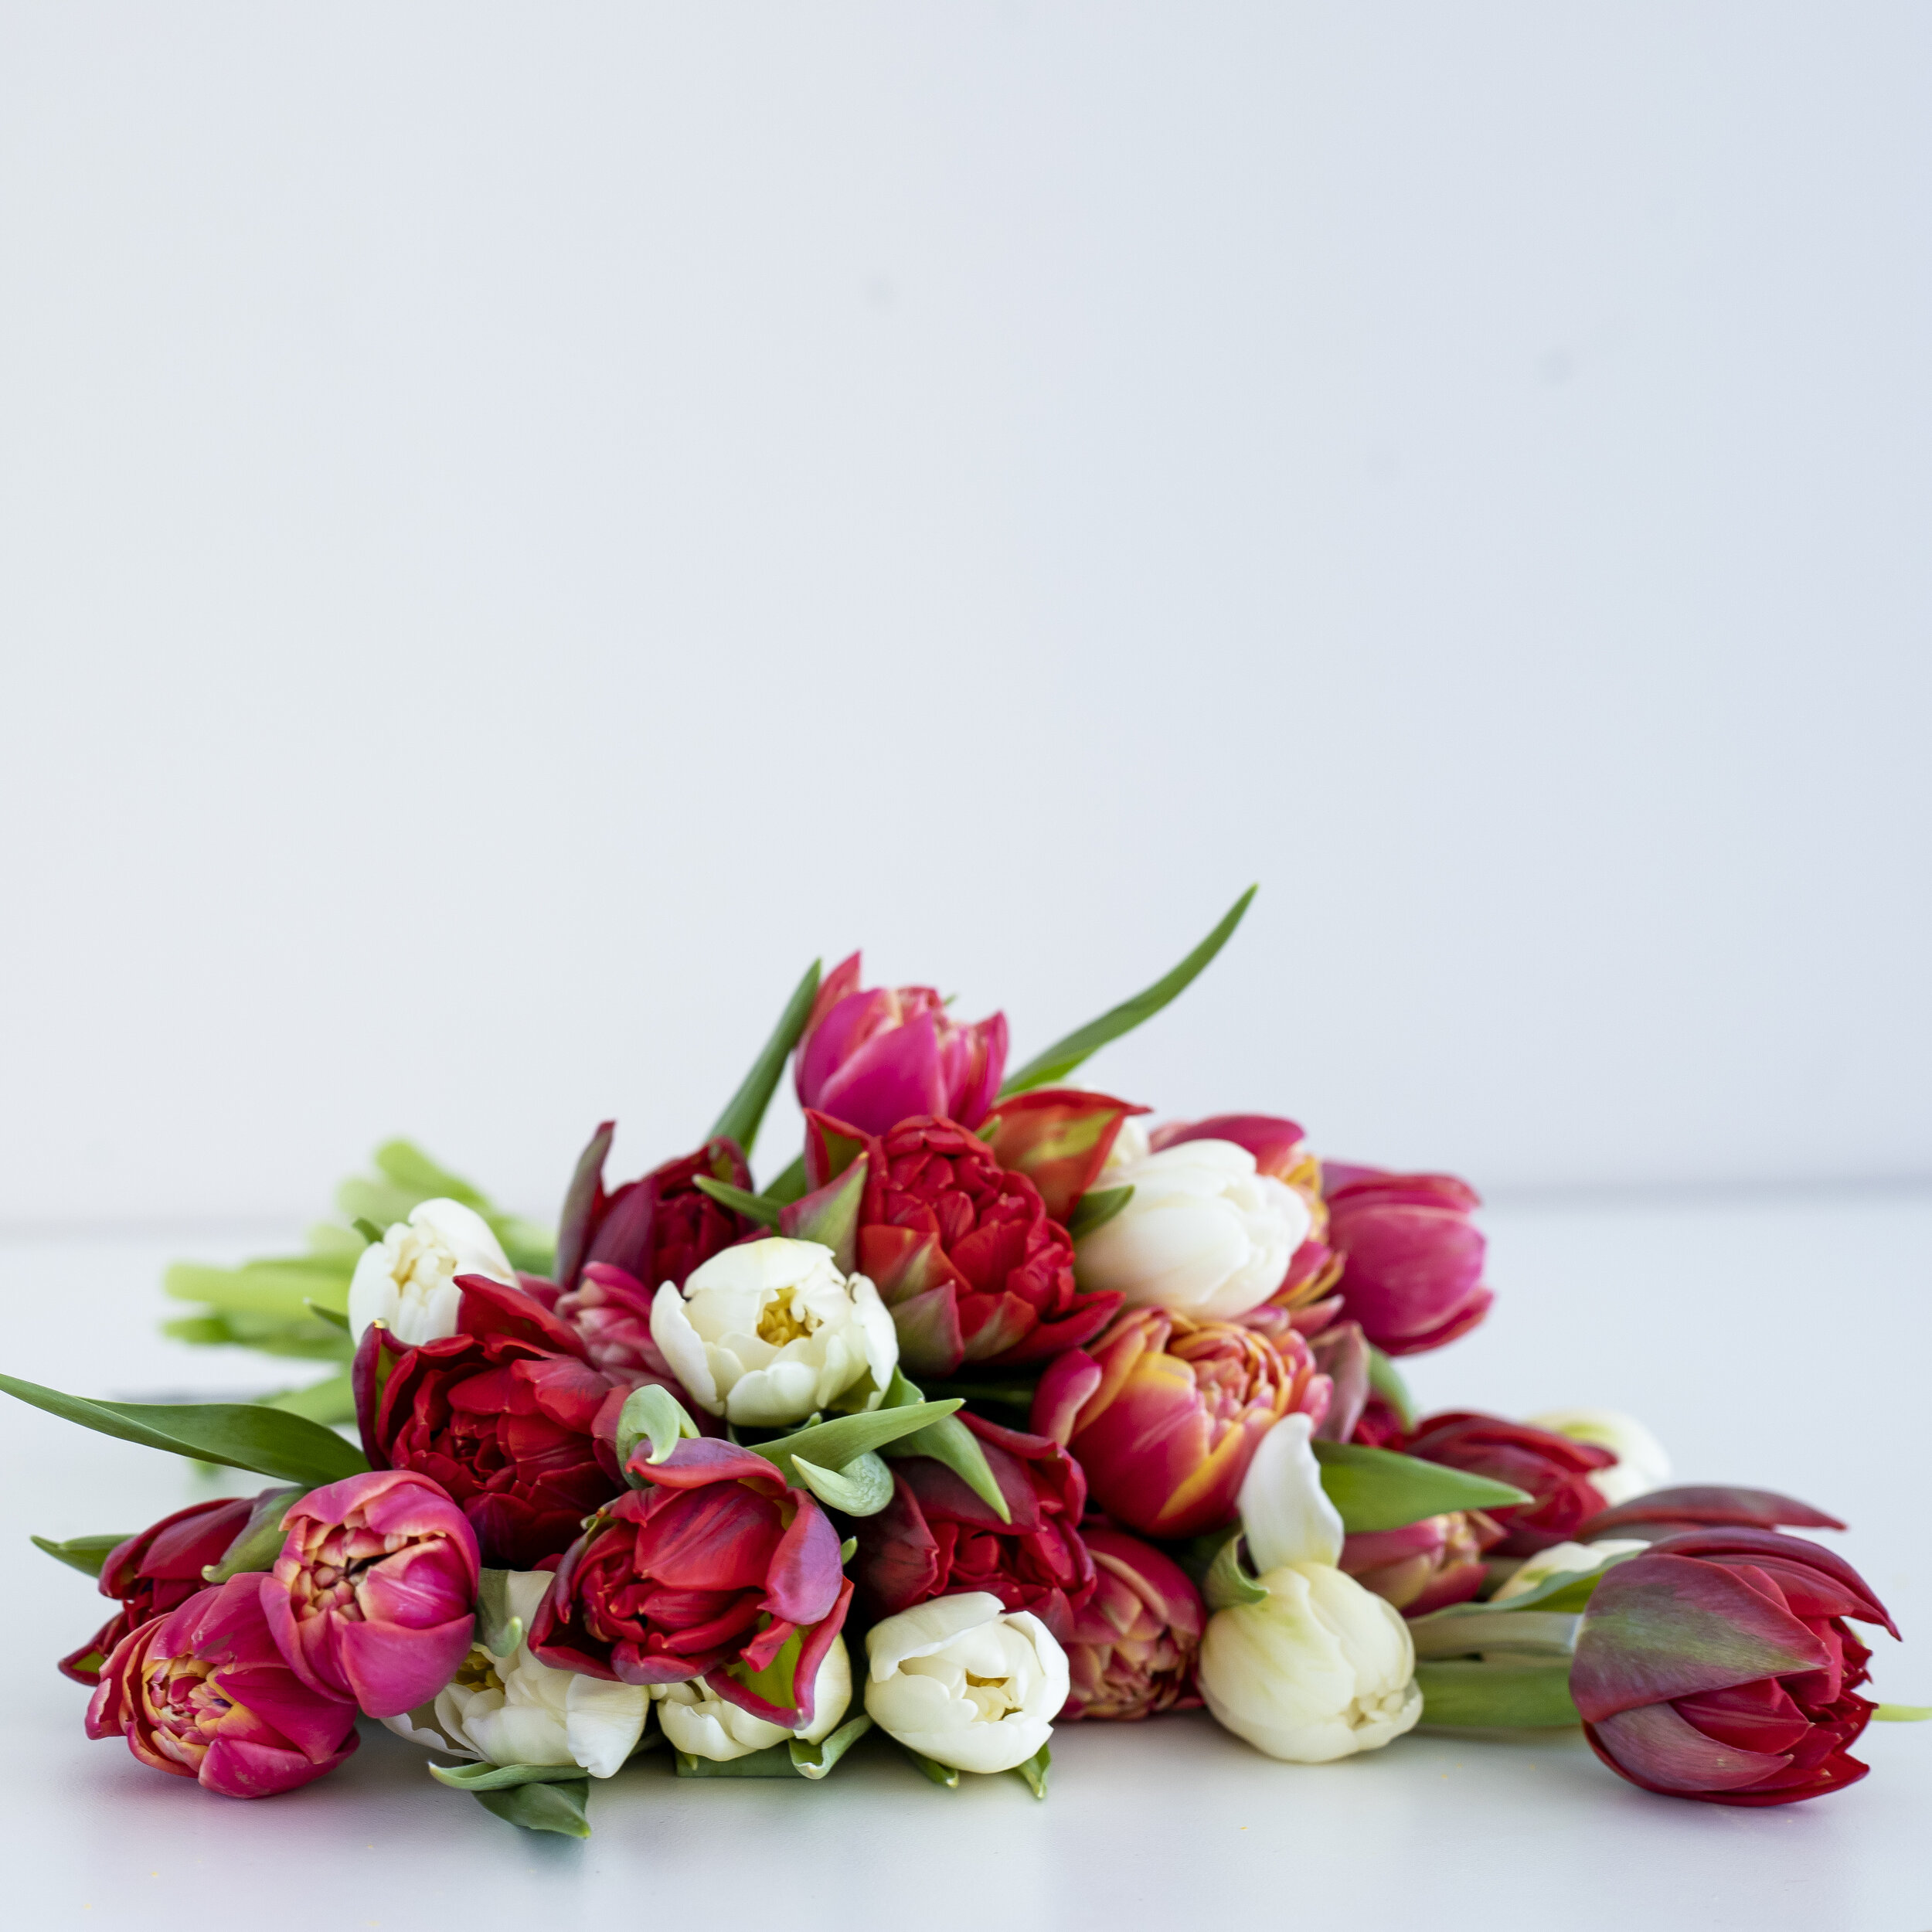
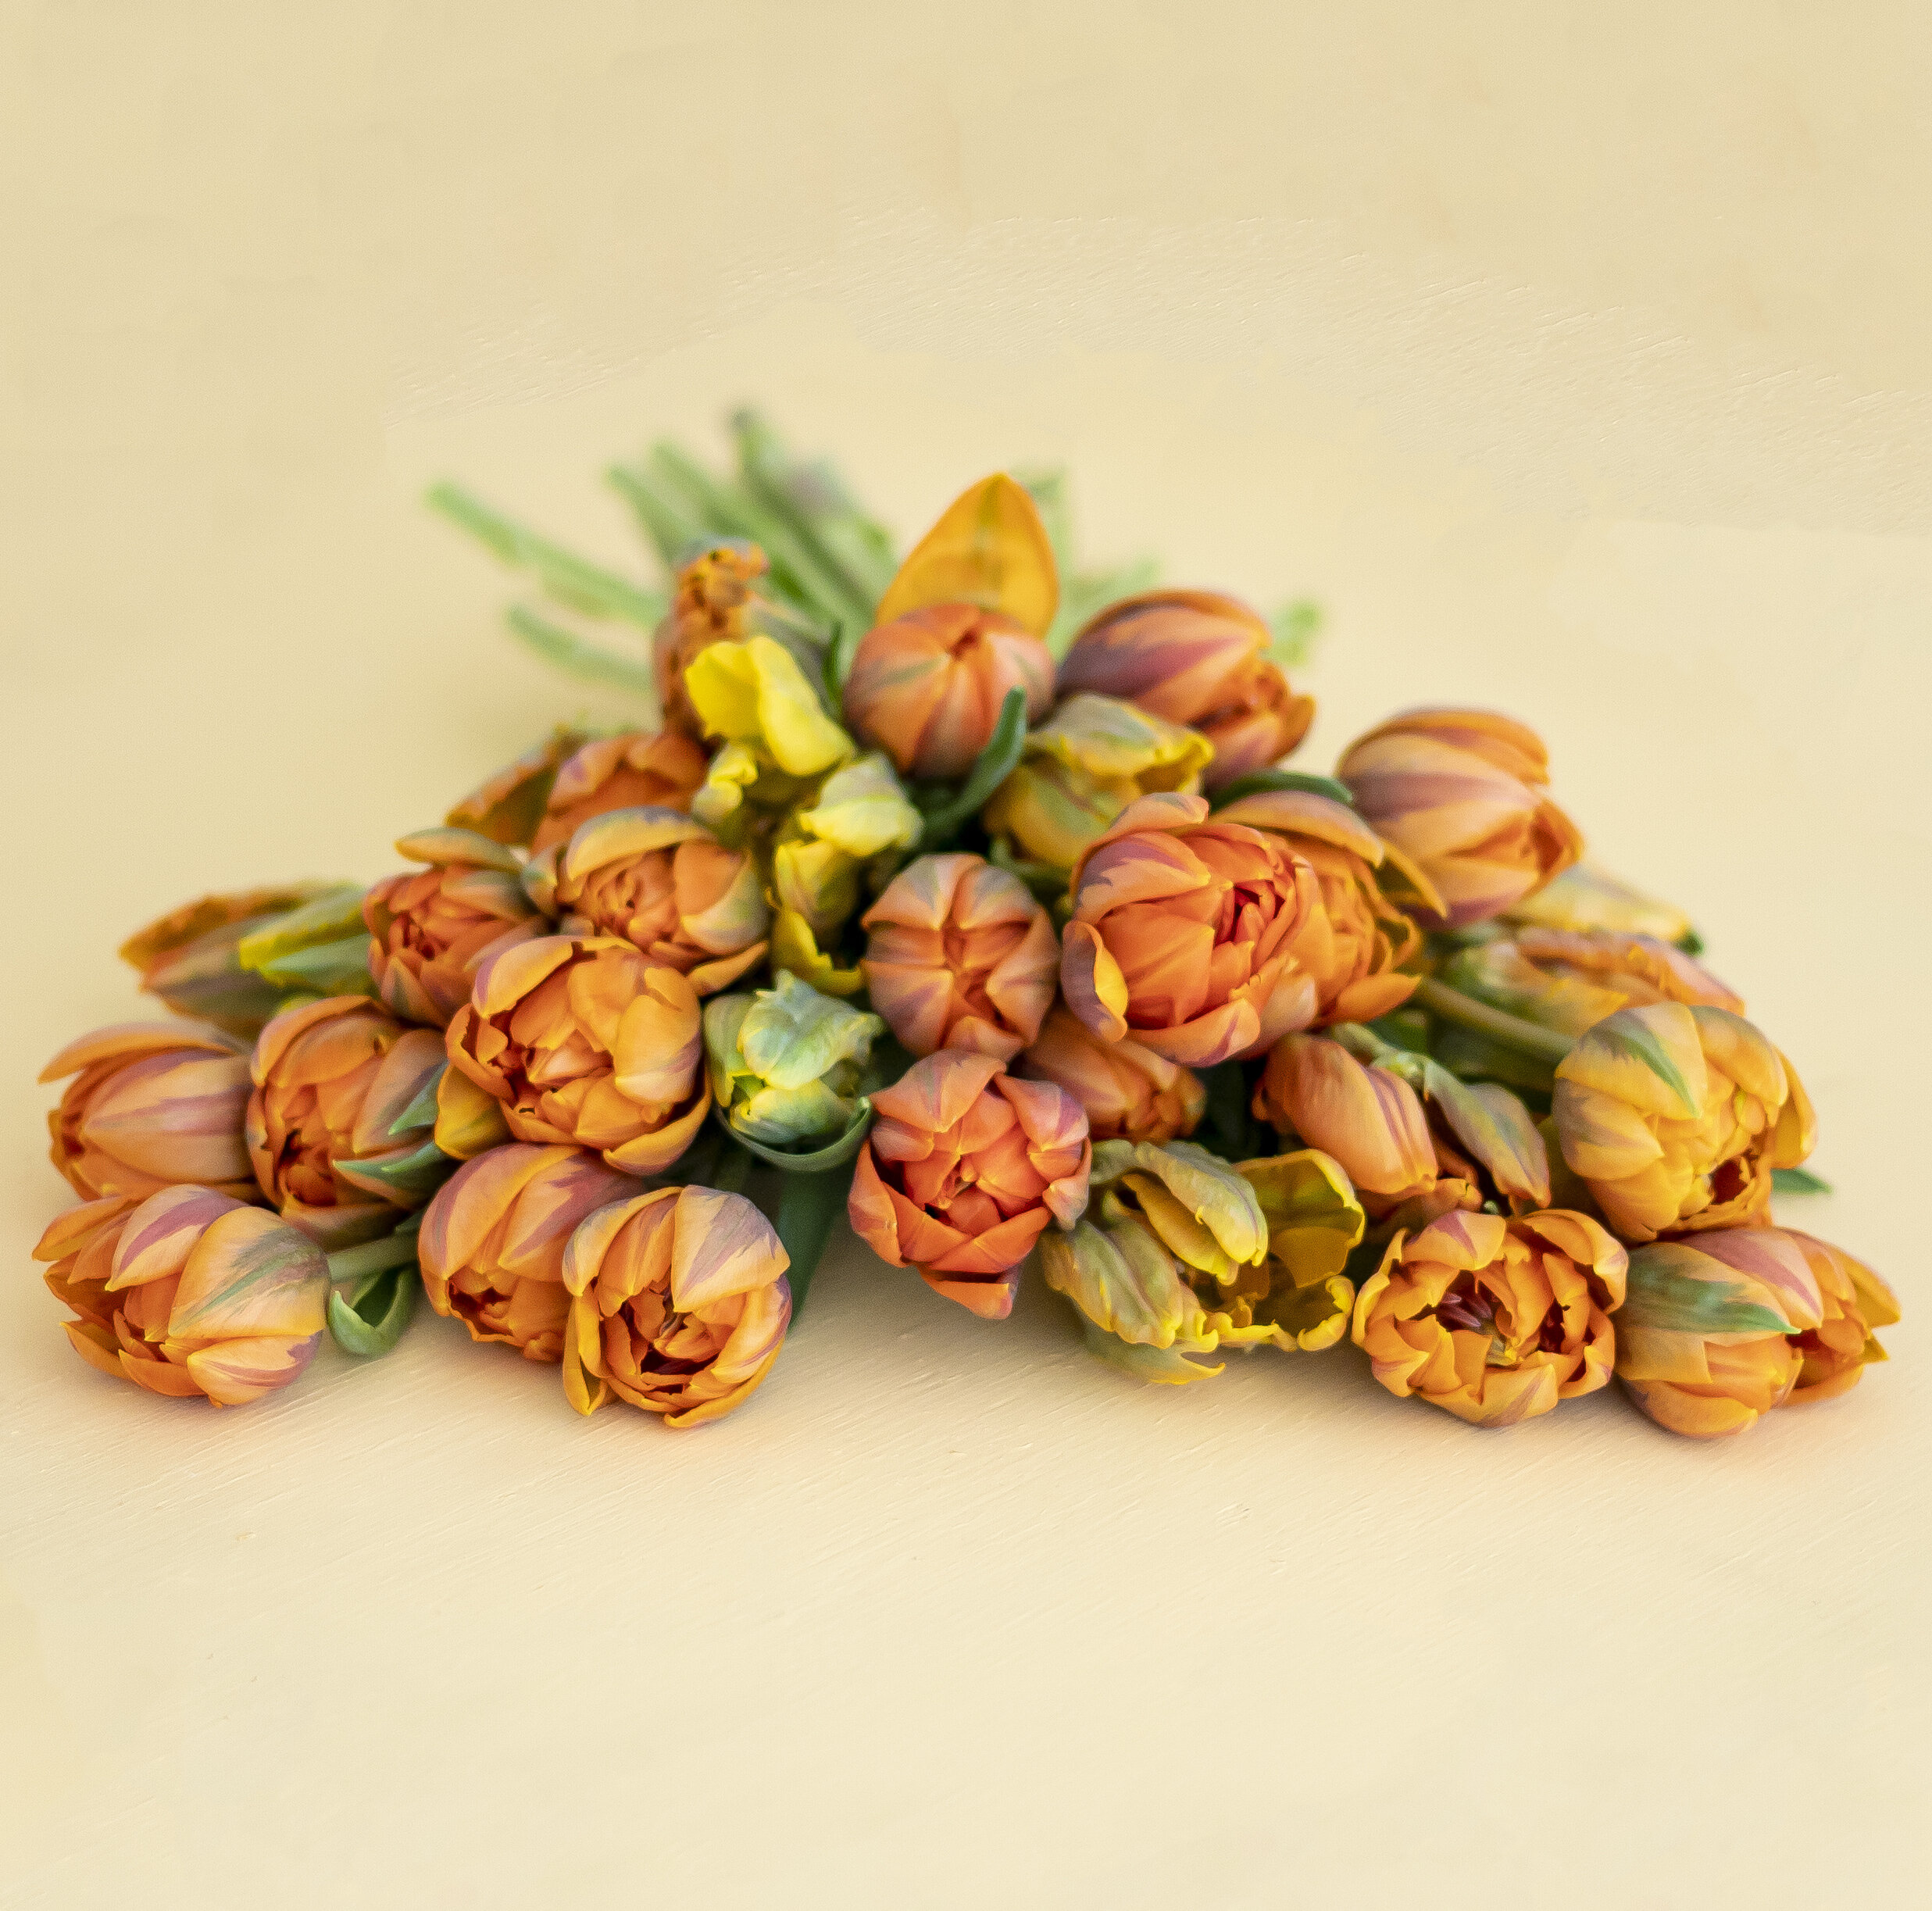
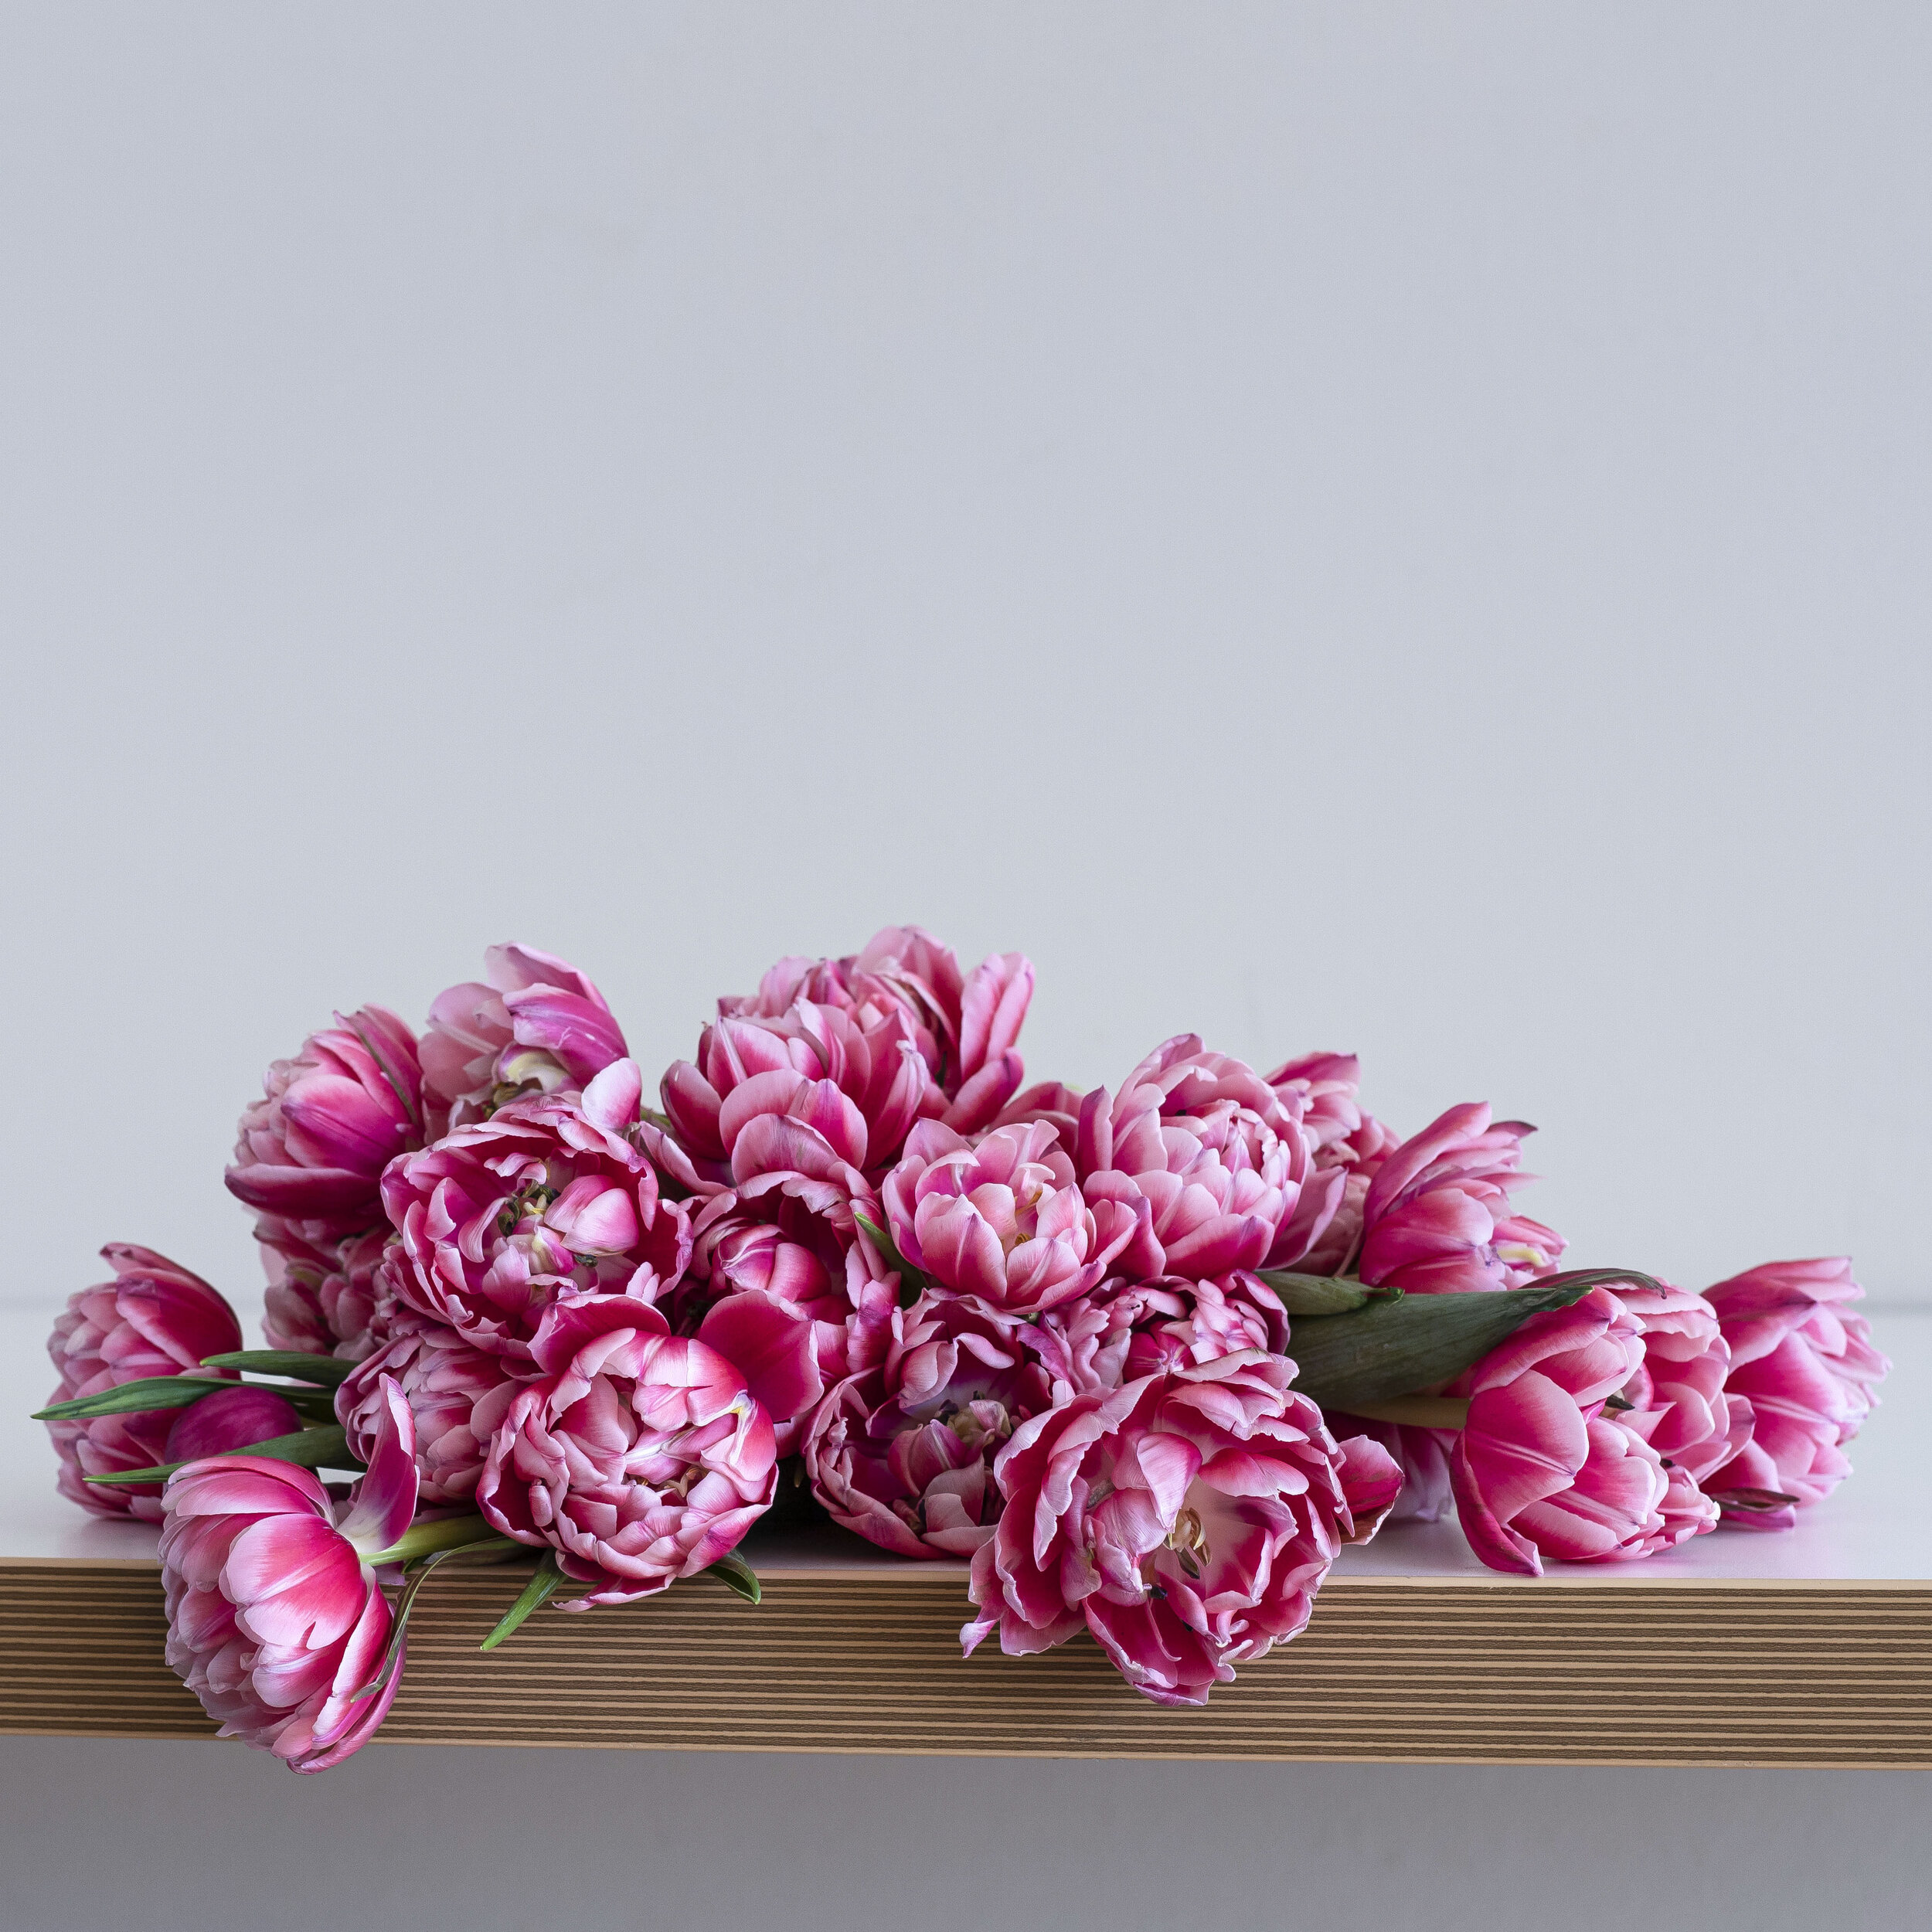
Ready for a wild fact? There are about 14 (sometimes 15 or 16, depending on the source) categories or types of tulips with over 3,000 registered sub-varieties. What does all that mean? Tulips come in all sorts of shapes, sizes, and colors and have crafty names like Parrot and Rembrandt. And one of our personal favorites is the Double Late tulip which can pass for a peony in size and petal count, but still has the distinct vibrancy of a standard tulip.
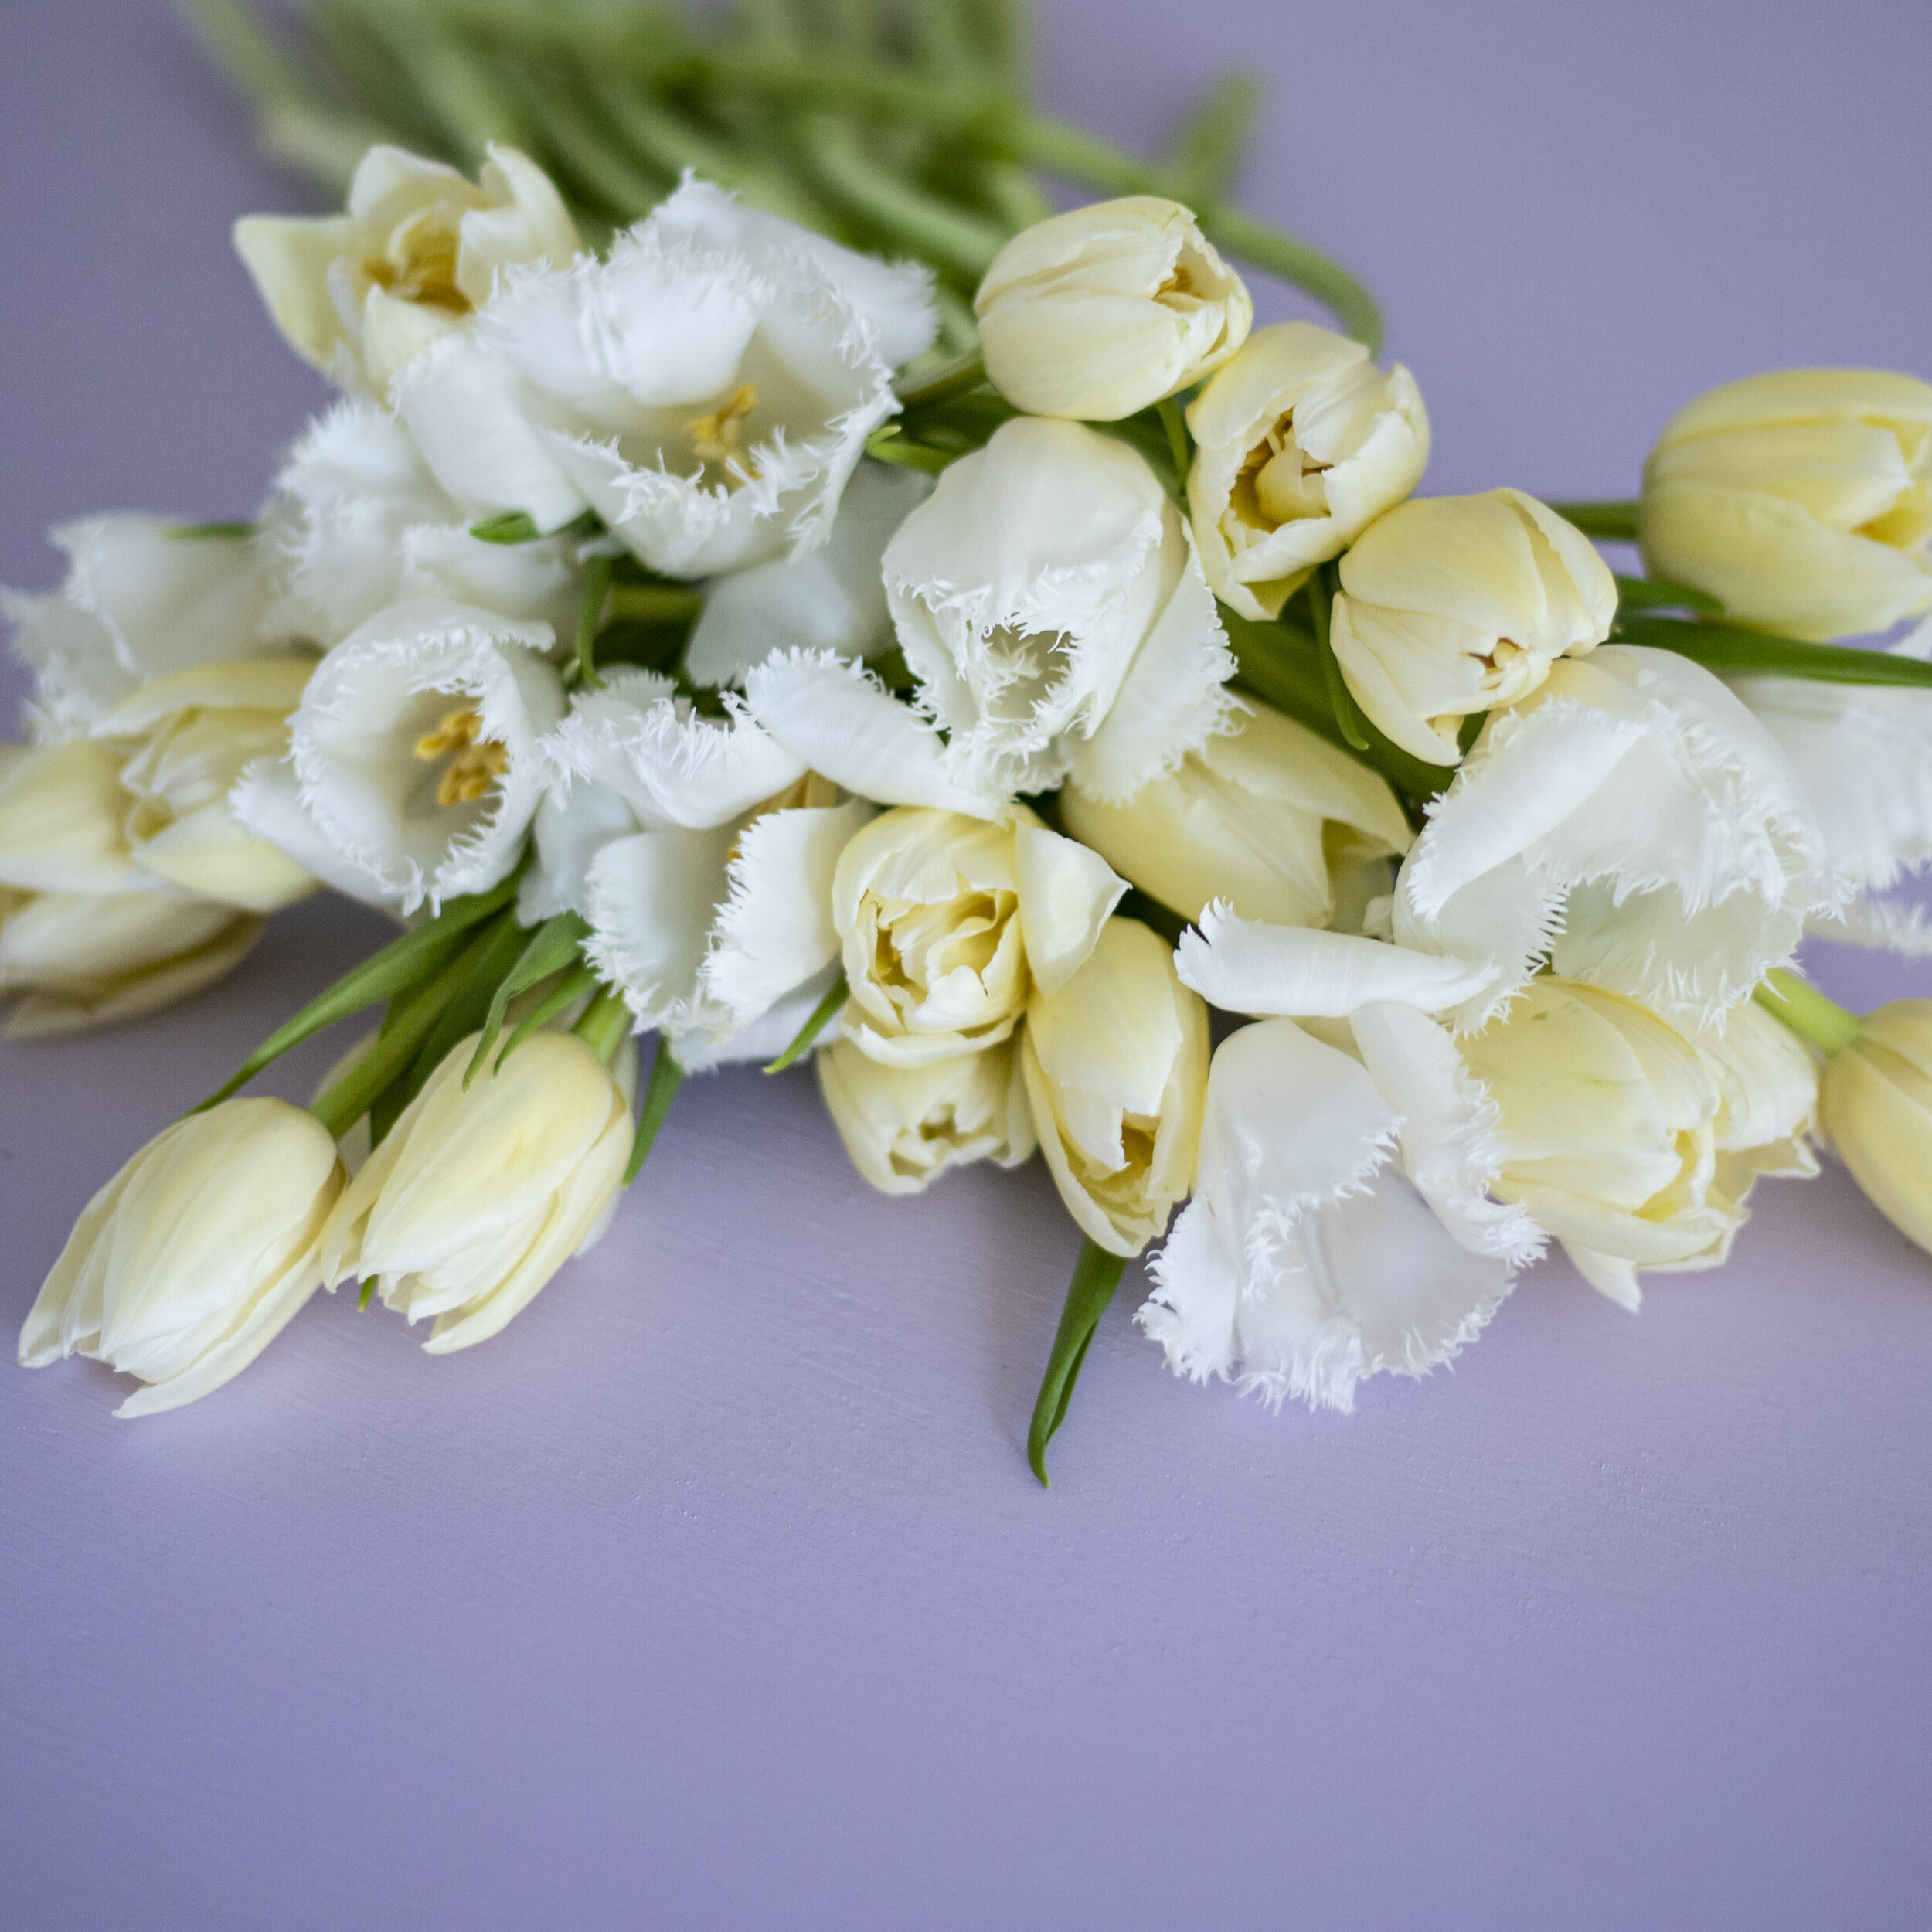
Speaking of types, you’ll often see us use the word “fancy” when we’re talking about the type of tulips included in a bouquet. We use “fancy” to refer to a family of tulip types that are just a little bit, well, fancier than what most of us are used to when we think of tulips. This may mean larger than life blooms, extra petals, and little embellishments like fringed or curled edges! Our favorite fancies? Frill, parrot, and double and French tulips - or, better yet, a mix of all of the above. Bottom line – when we say we’re sending fancy tulips, we hope you enjoy the surprise of seeing which beautiful bulbs show up!
Don’t Stop Me Now!
Did you know that cut tulips grow in water?! That’s why we ship our tulips without a wet pack, so don’t fret when you don’t see one! That’s also why your tulips might “play dead” upon arrival. After a stem trim and an hour or two in a tall vase (6-8” is good!) with water, your tulips will be sitting (and growing!) pretty.
Start your tulips off on the right foot with a quick trim! Find a pair of scissors, kitchen shears or even a sharp kitchen knife and trim at least 1/2" off each stem. Daily stem trims (or as often as you can remember) ensure your stems can get a fresh drink as they age and will help extend their vase life!
Pro Tip: Aim to cut at a 45° angle. This provides more surface area for the flowers to drink from and prevents the stems from sitting flush to the bottom of the vase (where bacteria can build up).
Fresh Cut
Miracle Grow! Remember - cut tulips grow (up to one (1!) inch!) in water. That means your tulips will get taller over time so regular stem trims are important to maintain your design and make sure your tulips aren’t toppling over (especially for top-heavy fancy varieties!).
Your tulips will need a tall drink of water after the long trip! Just fill the vase with cool tap water and pop the stems in (after you’ve trimmed them of course)!
Pro Tip: Change the vase water daily (or as often as you can possibly remember!). Water changes reduce bacterial growth which will help you to get the best bloom life from your bouquet.
H2-WHOA!
Design 101
Have a little extra time on your hands these days? We know the feeling! Get out of your head and into your hands and get arranging!
Pretend like your hand is the vase and gently grasp your bouquet of tulips. Careful! Tulips have a notoriously delicate stem so take care to use a gentle grip. Using your free hand, stagger the heights of your blooms in your fist. Once you’re happy with the overall look and feel, use your kitchen shears or scissors to trim the stems so the bouquet will maintain your design in the vase.
Pro Tip: Think sisters, not twins, when you’re staggering! No two stems should be the same height.
Advanced Maneuver. To really give your all tulip arrangement that Farmgirl look, stagger your stems so that the lowest bloom starts around 1” to 2” above the lip of the vessel and the tallest flower is around twice the height of the vase. Work these heights into a highest/lowest/high pattern, making sure your tallest stems live on the left of the vase, your shortest stems are grouped in the center, and your mid-height stems live on the right. Last, gently rotate the stems so the heads of each flower fan out in all directions.
#nailedit? Find us at @farmgirlflowers on Instagram and send us a photo!
Keep it Cool
Help your tulips live their best life by keeping them out of direct sunlight and extreme heat. In fact, both can dramatically shorten their lifespan in the vase. That means that sunny windowsill is off-limits, but three feet (or so!) away is a prime location!
Pro Tip: Some blooms may die off sooner than others. Removing any dead flowers will help to keep its vase mates looking fresher longer!