

Market Box Care
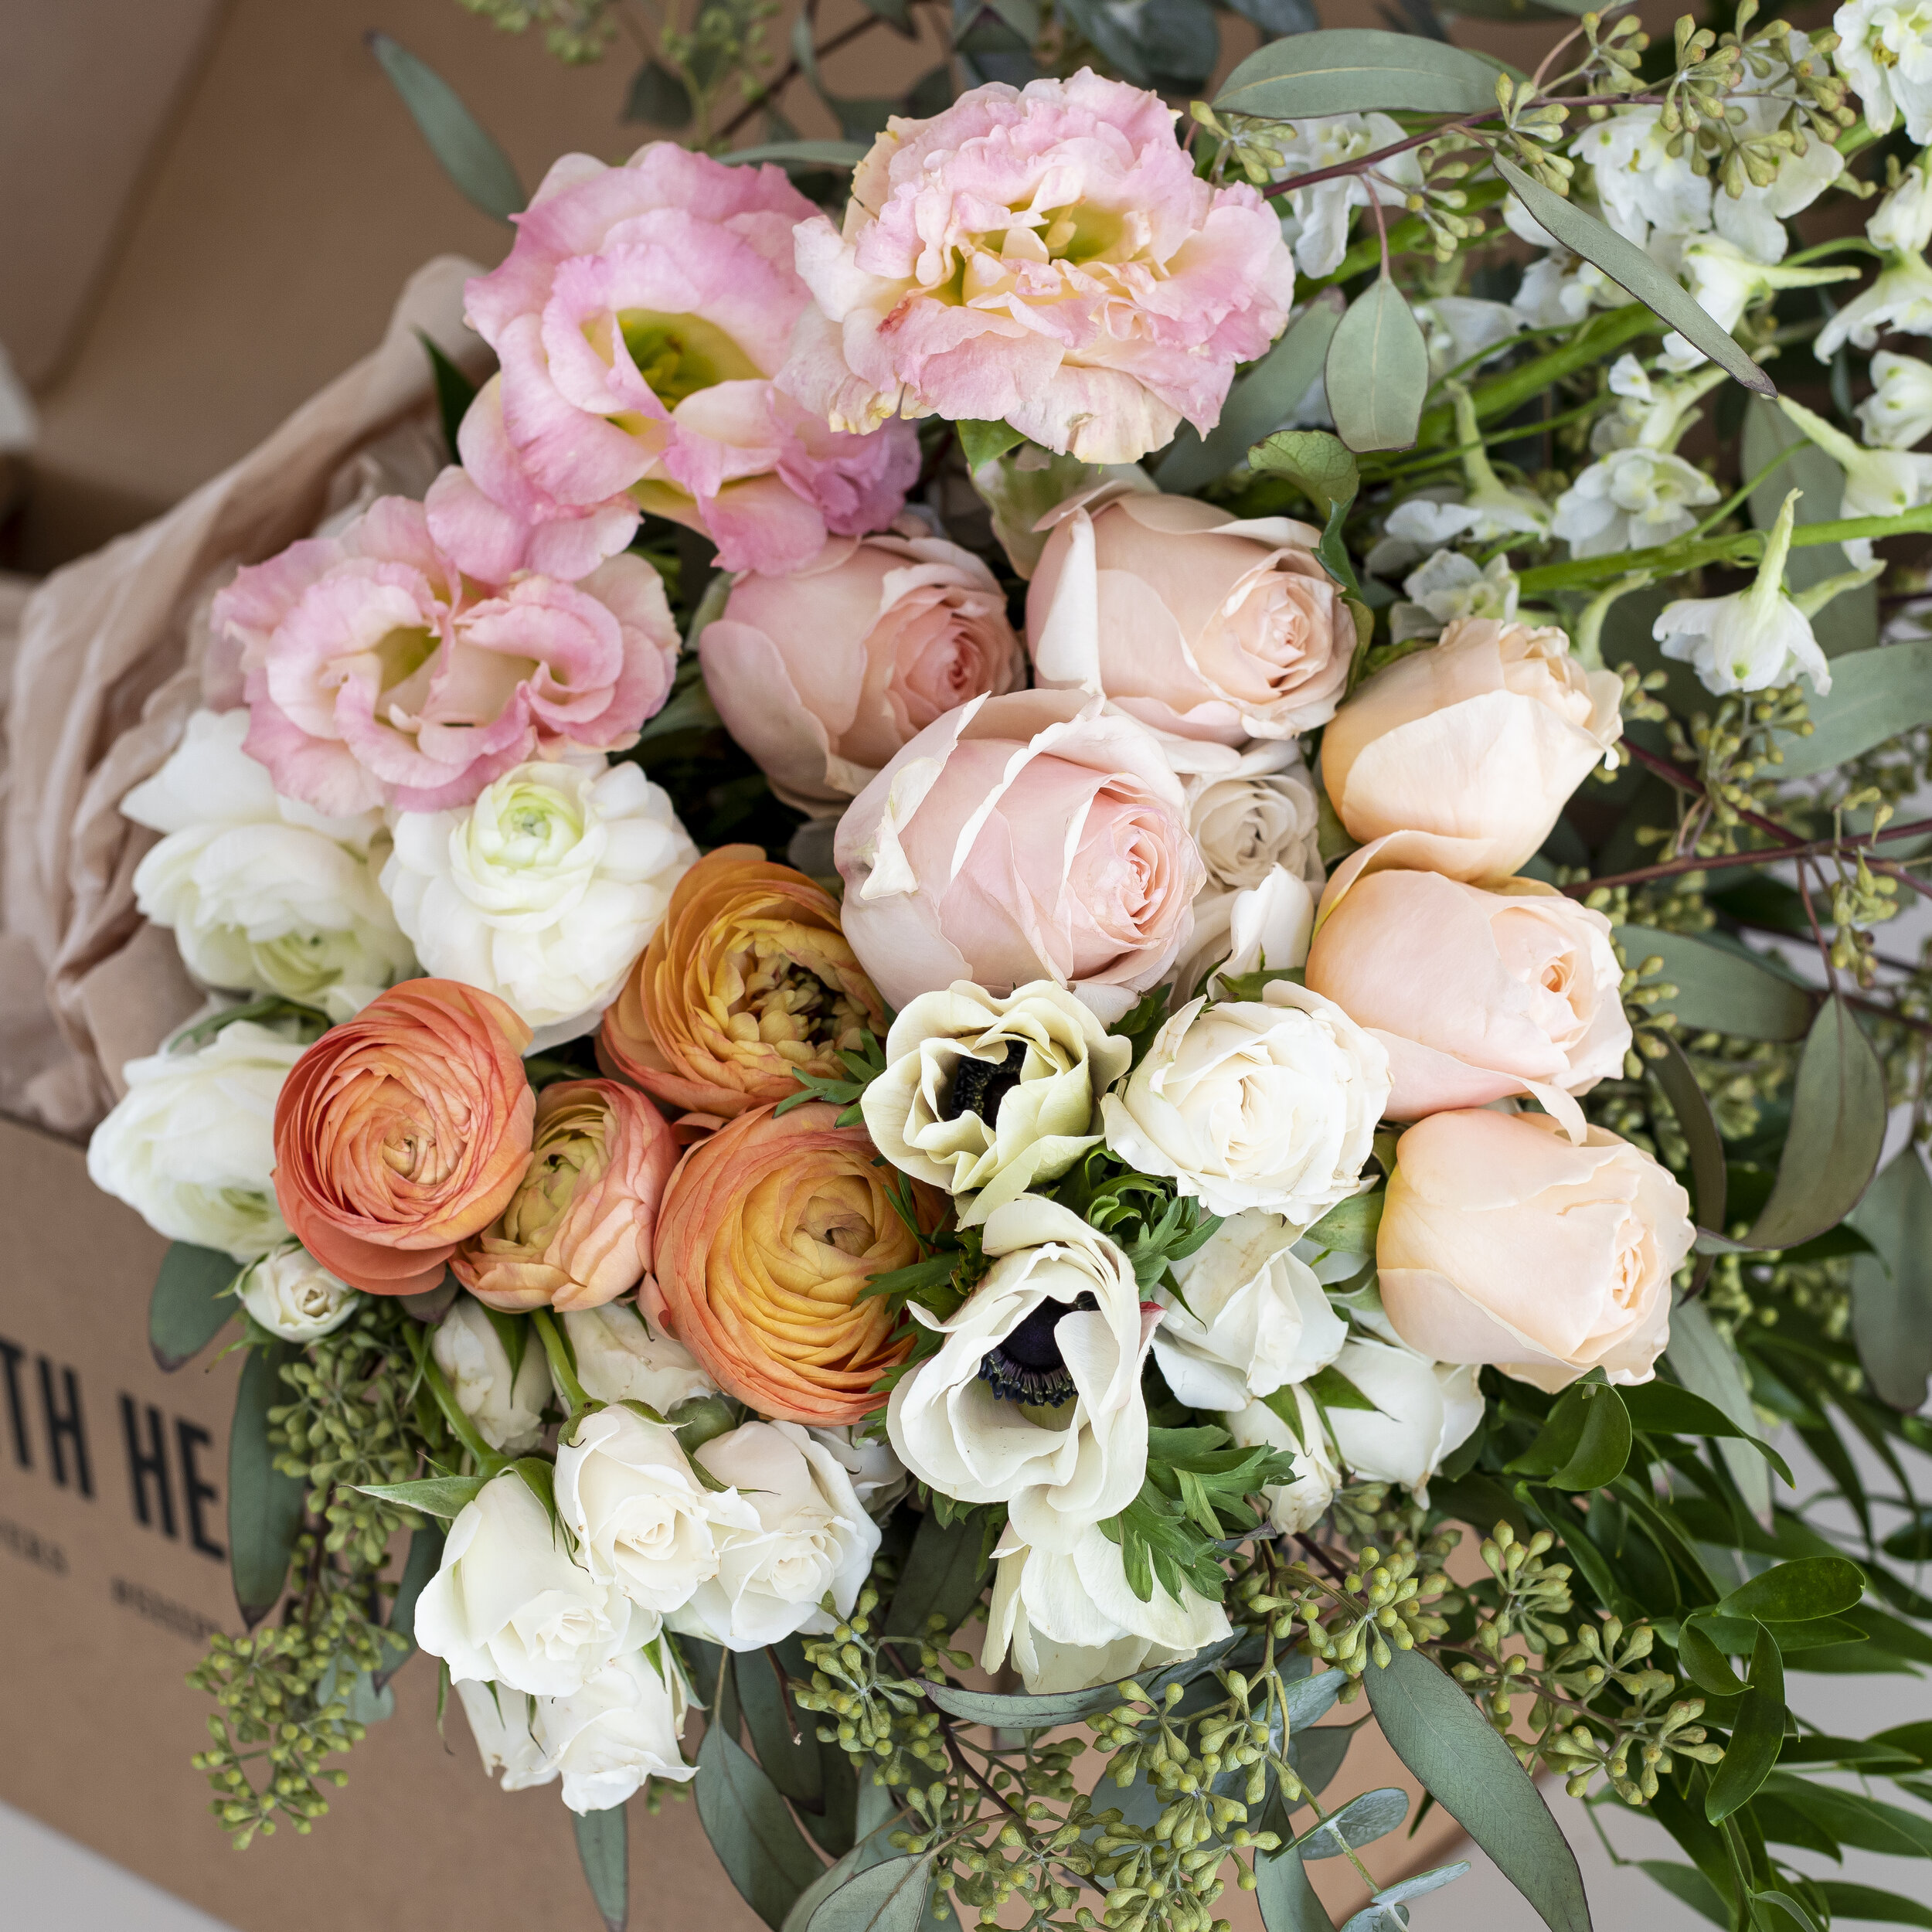
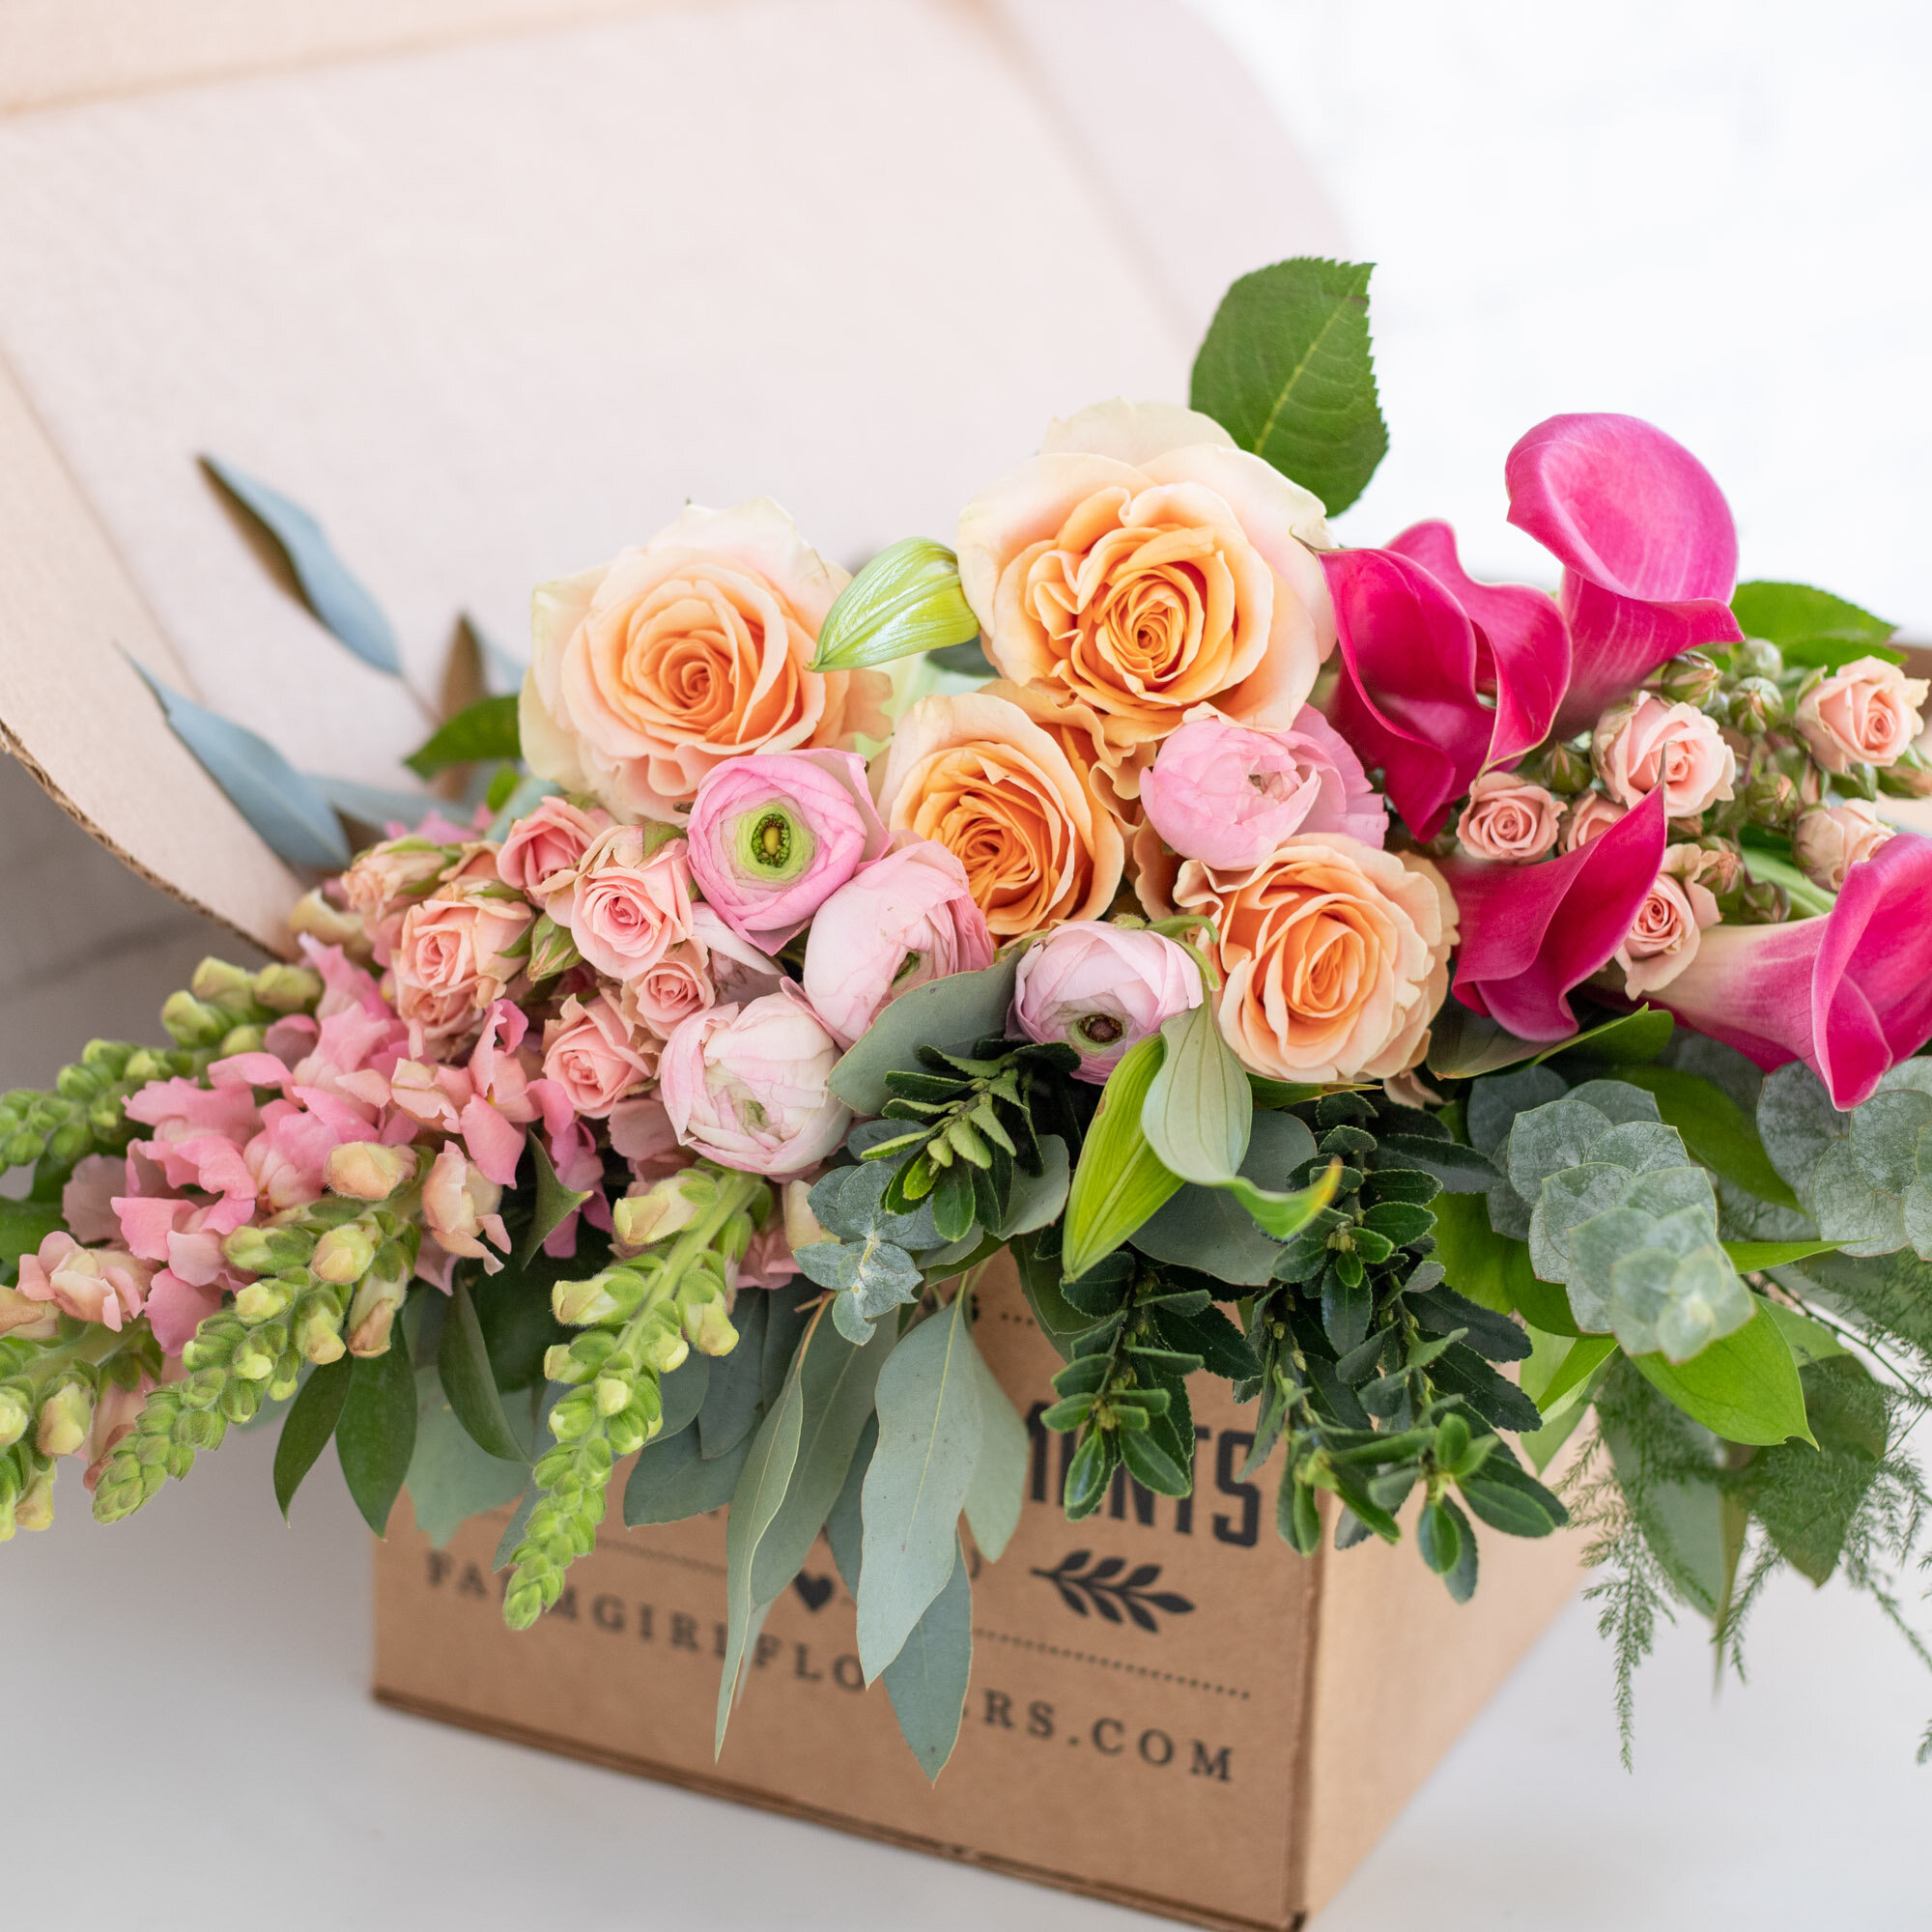
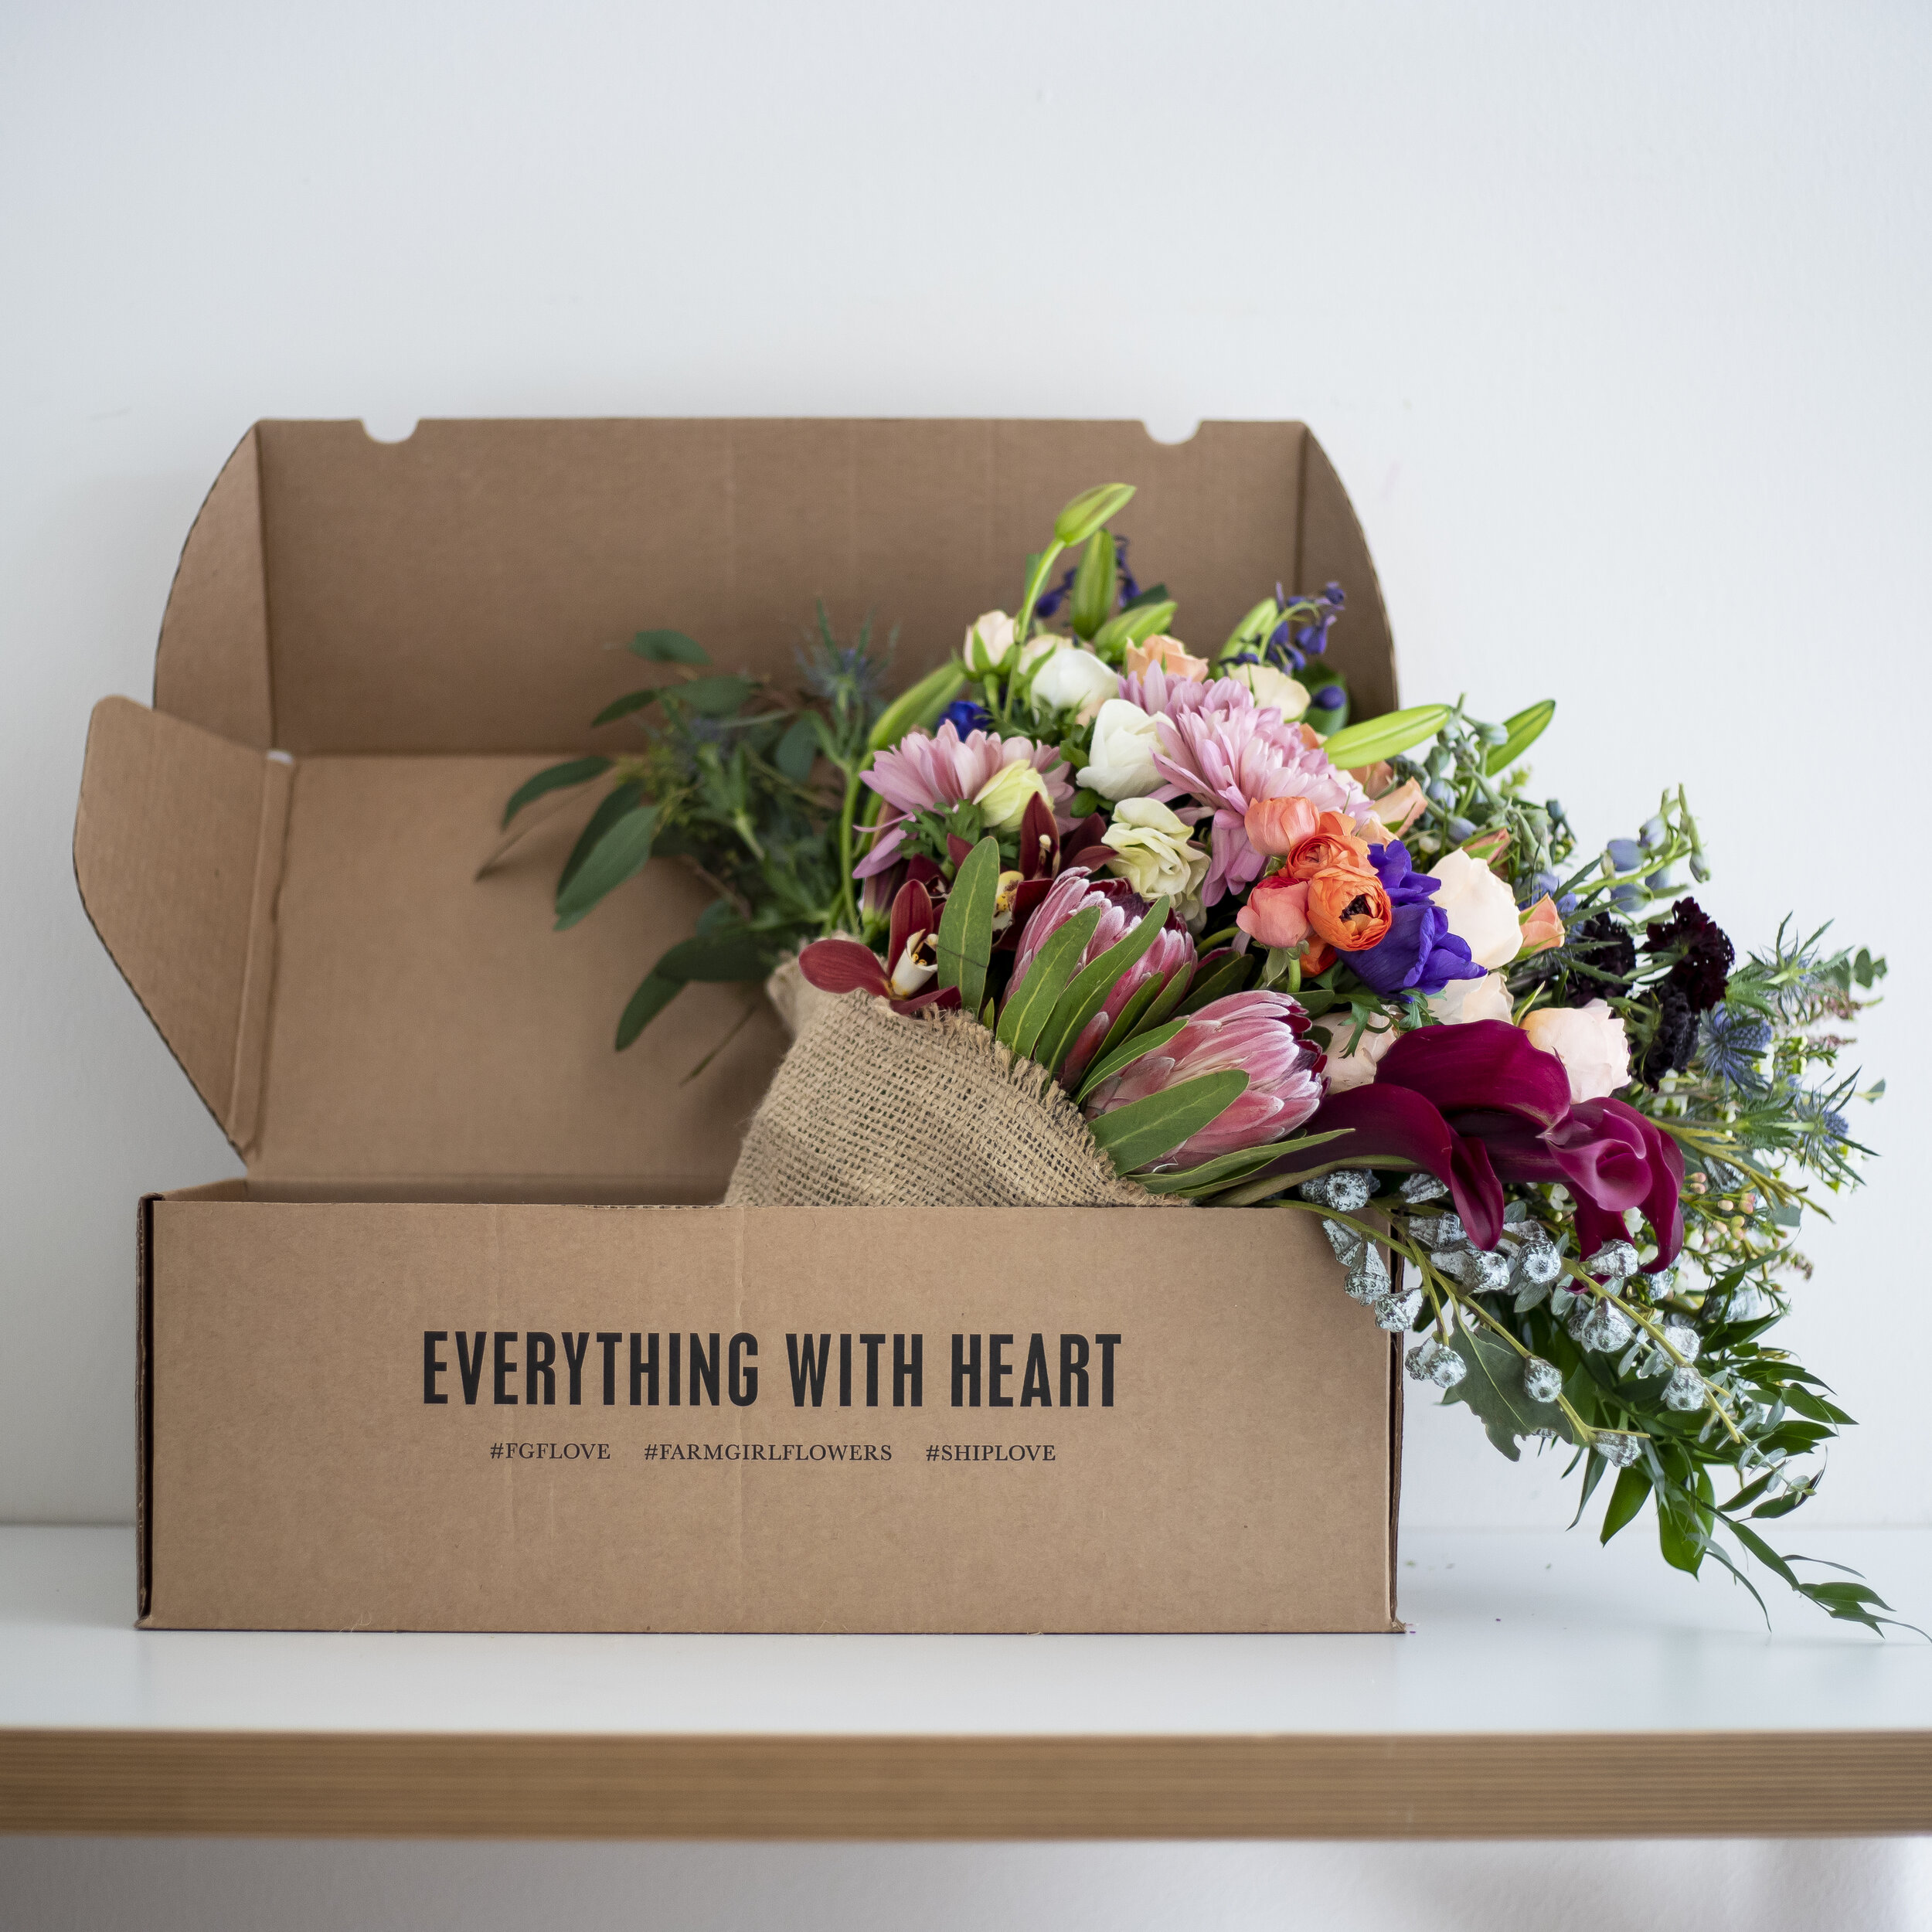
From the farmers market to your doorstep, our Market Boxes and Hauls are DIY arrangements that come with stems of our growers’ best blooms, bits and greens ready for the vase of your choosing and your design prowess! This pick is perfect for anyone itching to do a little arranging of their own right at home. Pro Tip: go big and make a single arrangement in a vase from your private collection! We recommend one that is just slightly larger than the stems themselves. Or, if you’re feeling fancy, make a series of minis and bud vases to scatter about your house! Below you’ll find a step by step guide to DIY arranging at home, as well as our best care tips to keep your arrangement happy and healthy!
DIY Design!
Our Market Box is the ultimate Farmgirl Flowers DIY. We provide you all the freshest, seasonal blooms that we use to make our burlap arrangements in our studio - you provide a little elbow grease! Follow the steps below for some of our favorite Farmgirl tips and tricks for arranging and flower care!
Tools You’ll Need:
Floral shears
sharp scissors or a sharp kitchen knife
the vessel(s) of your choosing - we like to use one with a mouth that is four inches or less in diameter
Cool tap water
Get Designing
Find a clean workspace that is at least three feet by three feet. You’ll want a flat surface that is OK to get wet and that can be cleaned easily of any cuttings. Next, remove all flowers from your box. Unwrap your stems but keep the wrapping! We like to use this to line your workspace - it makes cleanup a snap after all your trimming!
Find and fill the vessel(s) of your choosing ¾ of the way with cool tap water.
Using your shears, scissors or knife trim the ends of your stems. We recommend at least a ½” trim from every stem. This will help your flowers to hydrate more easily! Next, remove all leaves or bits that will fall below the waterline in the vase. Pro Tip: at Farmgirl Flowers we call this processing! Extra leaves or foliage below the waterline will decay and cause bacteria build up in the water. This can shorten the life of an arrangement. Cleaning these extra bits off (and frequent water changes!) will help to keep the water bacteria free and your blooms extra happy!
Now you’re ready to design! Unless you’re working with the teeniest of bud vases, we recommend starting with your greens and bits. Place around the mouth of the vase making sure to criss cross the stems. This will create structure for your blooms later on!
Remember, sisters, not twins! By that we mean, the key to really designing like a Farmgirl is to stagger heights. Varying the heights of your greens, bits and blooms will help it to look effortless and visually interesting. Lowest pieces should start 1” to 2” above the lip of the vase - the tallest stems are up to you!
Pro Tip: To make your vase look extra Farmgirl, make like our designers and think diagonally! Using some taller greens and stems, add a little more height to the left side of your vase. Use your softer bits and blooms, add a little waterfall to the right side of your vase. This high left/low right movement helps to lead your eye across the arrangement and gives your work a professional touch!
Use the buddy system! 90% of the time we like to place flowers in pairs - this helps to add fullness and balance to your arrangement. Remember your staggering rule here! We like to hold both stems in one hand and gently pull one head higher than the other (1” or 2” will do!). Measure the stems against your vase to gauge where you’d like to trim them - then snip and place in your vase!
It’s all in the last 10%! Your shape will really come together in the last bit of your work. Use extra greens and blooms to fill in any holes near the vase line or the center of your arrangement. Don’t be afraid to get your hands into it and rework anything that needs a little zhush - you’re the designer!
Find a special place for your vase and enjoy! Flowers always look great in the dining room or on a coffee table but we also love them by the bedside, in the bathroom or on your desk!
Fresh Cut
Start all your flowers off on the right foot with a quick trim! Find a pair of scissors, kitchen shears or even a sharp kitchen knife and trim at least 1/2" off each stem. Pro Tip: aim for a 45° angle. This provides more surface area for the flowers to drink from and prevents the stems from sitting flush to the bottom of the vase (where bacteria can build up). Daily stem trims (or as often as you can remember) will also help to ensure your stems can get a fresh drink as they age!
H2-WHOA!
Your flowers traveled a long way to get to you! After their adventure they're definitely feeling a little thirsty - give 'em a drink stat!! Fill a vase with cool tap water and pop the bouquet in (after you’ve trimmed the stems of course)!
Pro Tip: change the water daily (or as often as you can possibly remember!) This helps reduce the growth of bacteria in the vase water which will help you to get more bloom life from your bouquet.
Extra Credit.
Help your flowers live their best life and keep them out of direct sunlight and extreme heat. Unlike in the field, cut flowers don't love sunshine or heat. In fact, both can dramatically shorten their lifespan in the vase. That means that a sunny windowsill is off-limits, but three feet (or so!) away is a prime location!