
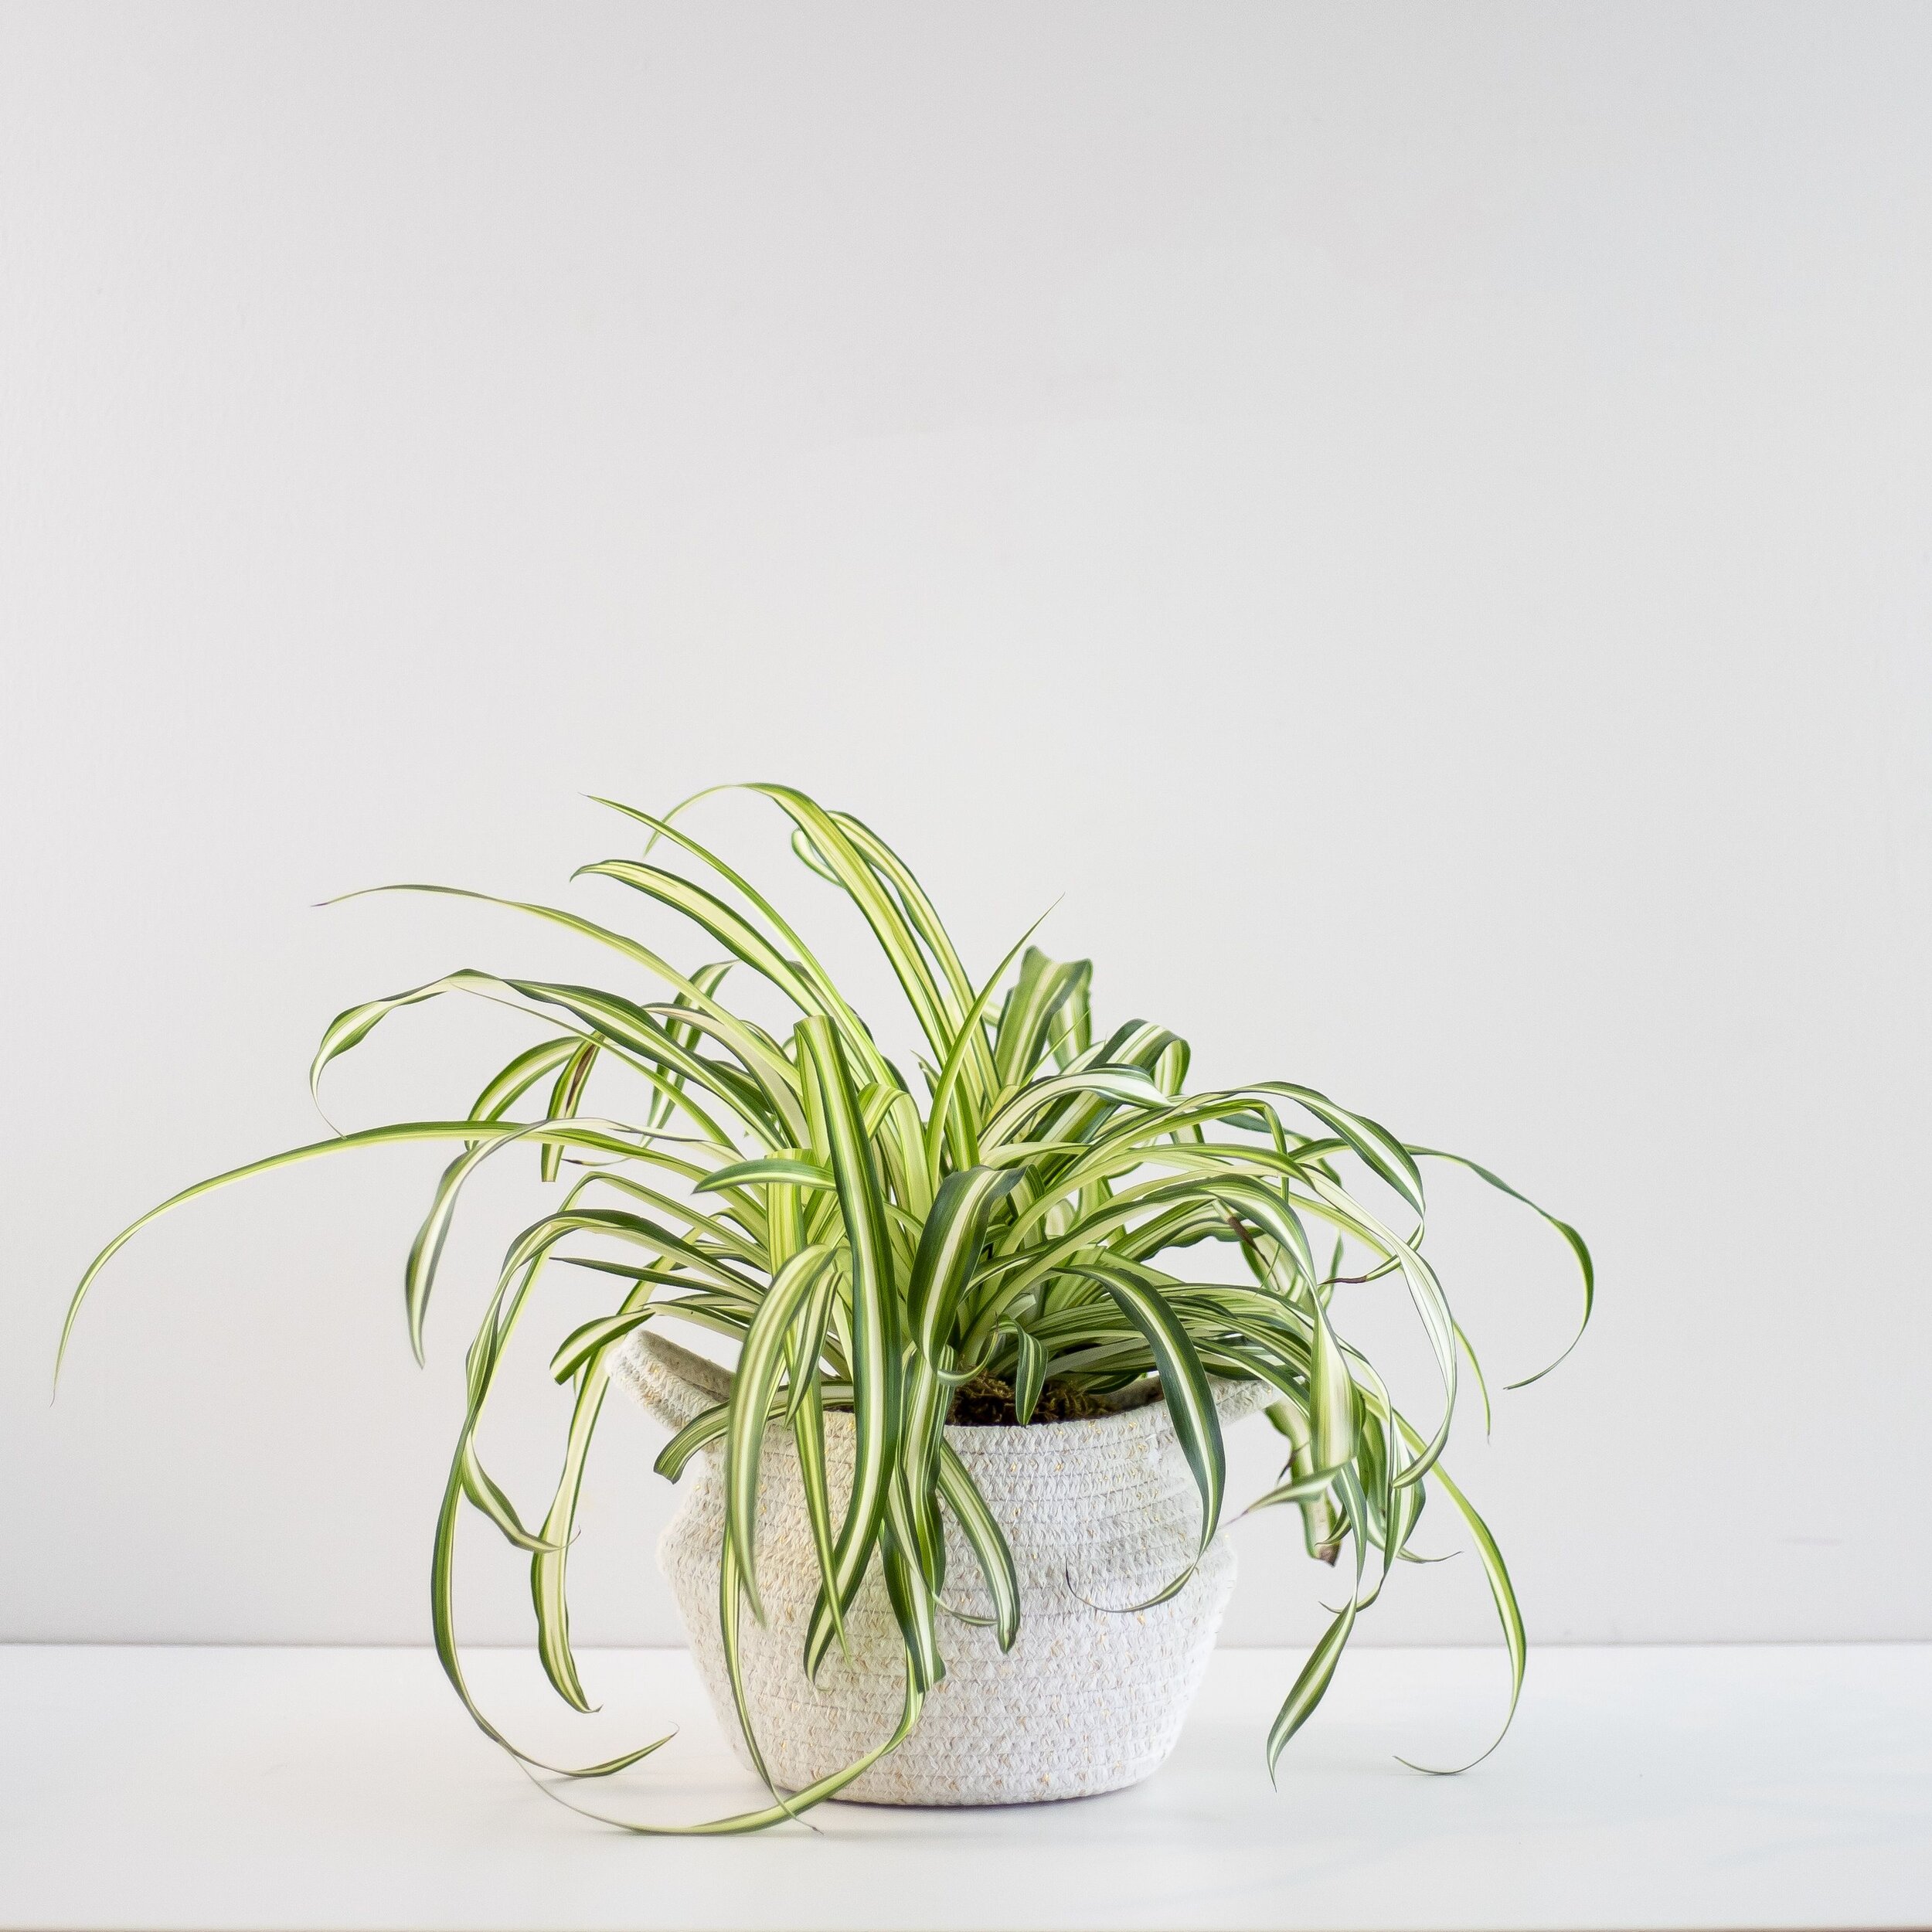
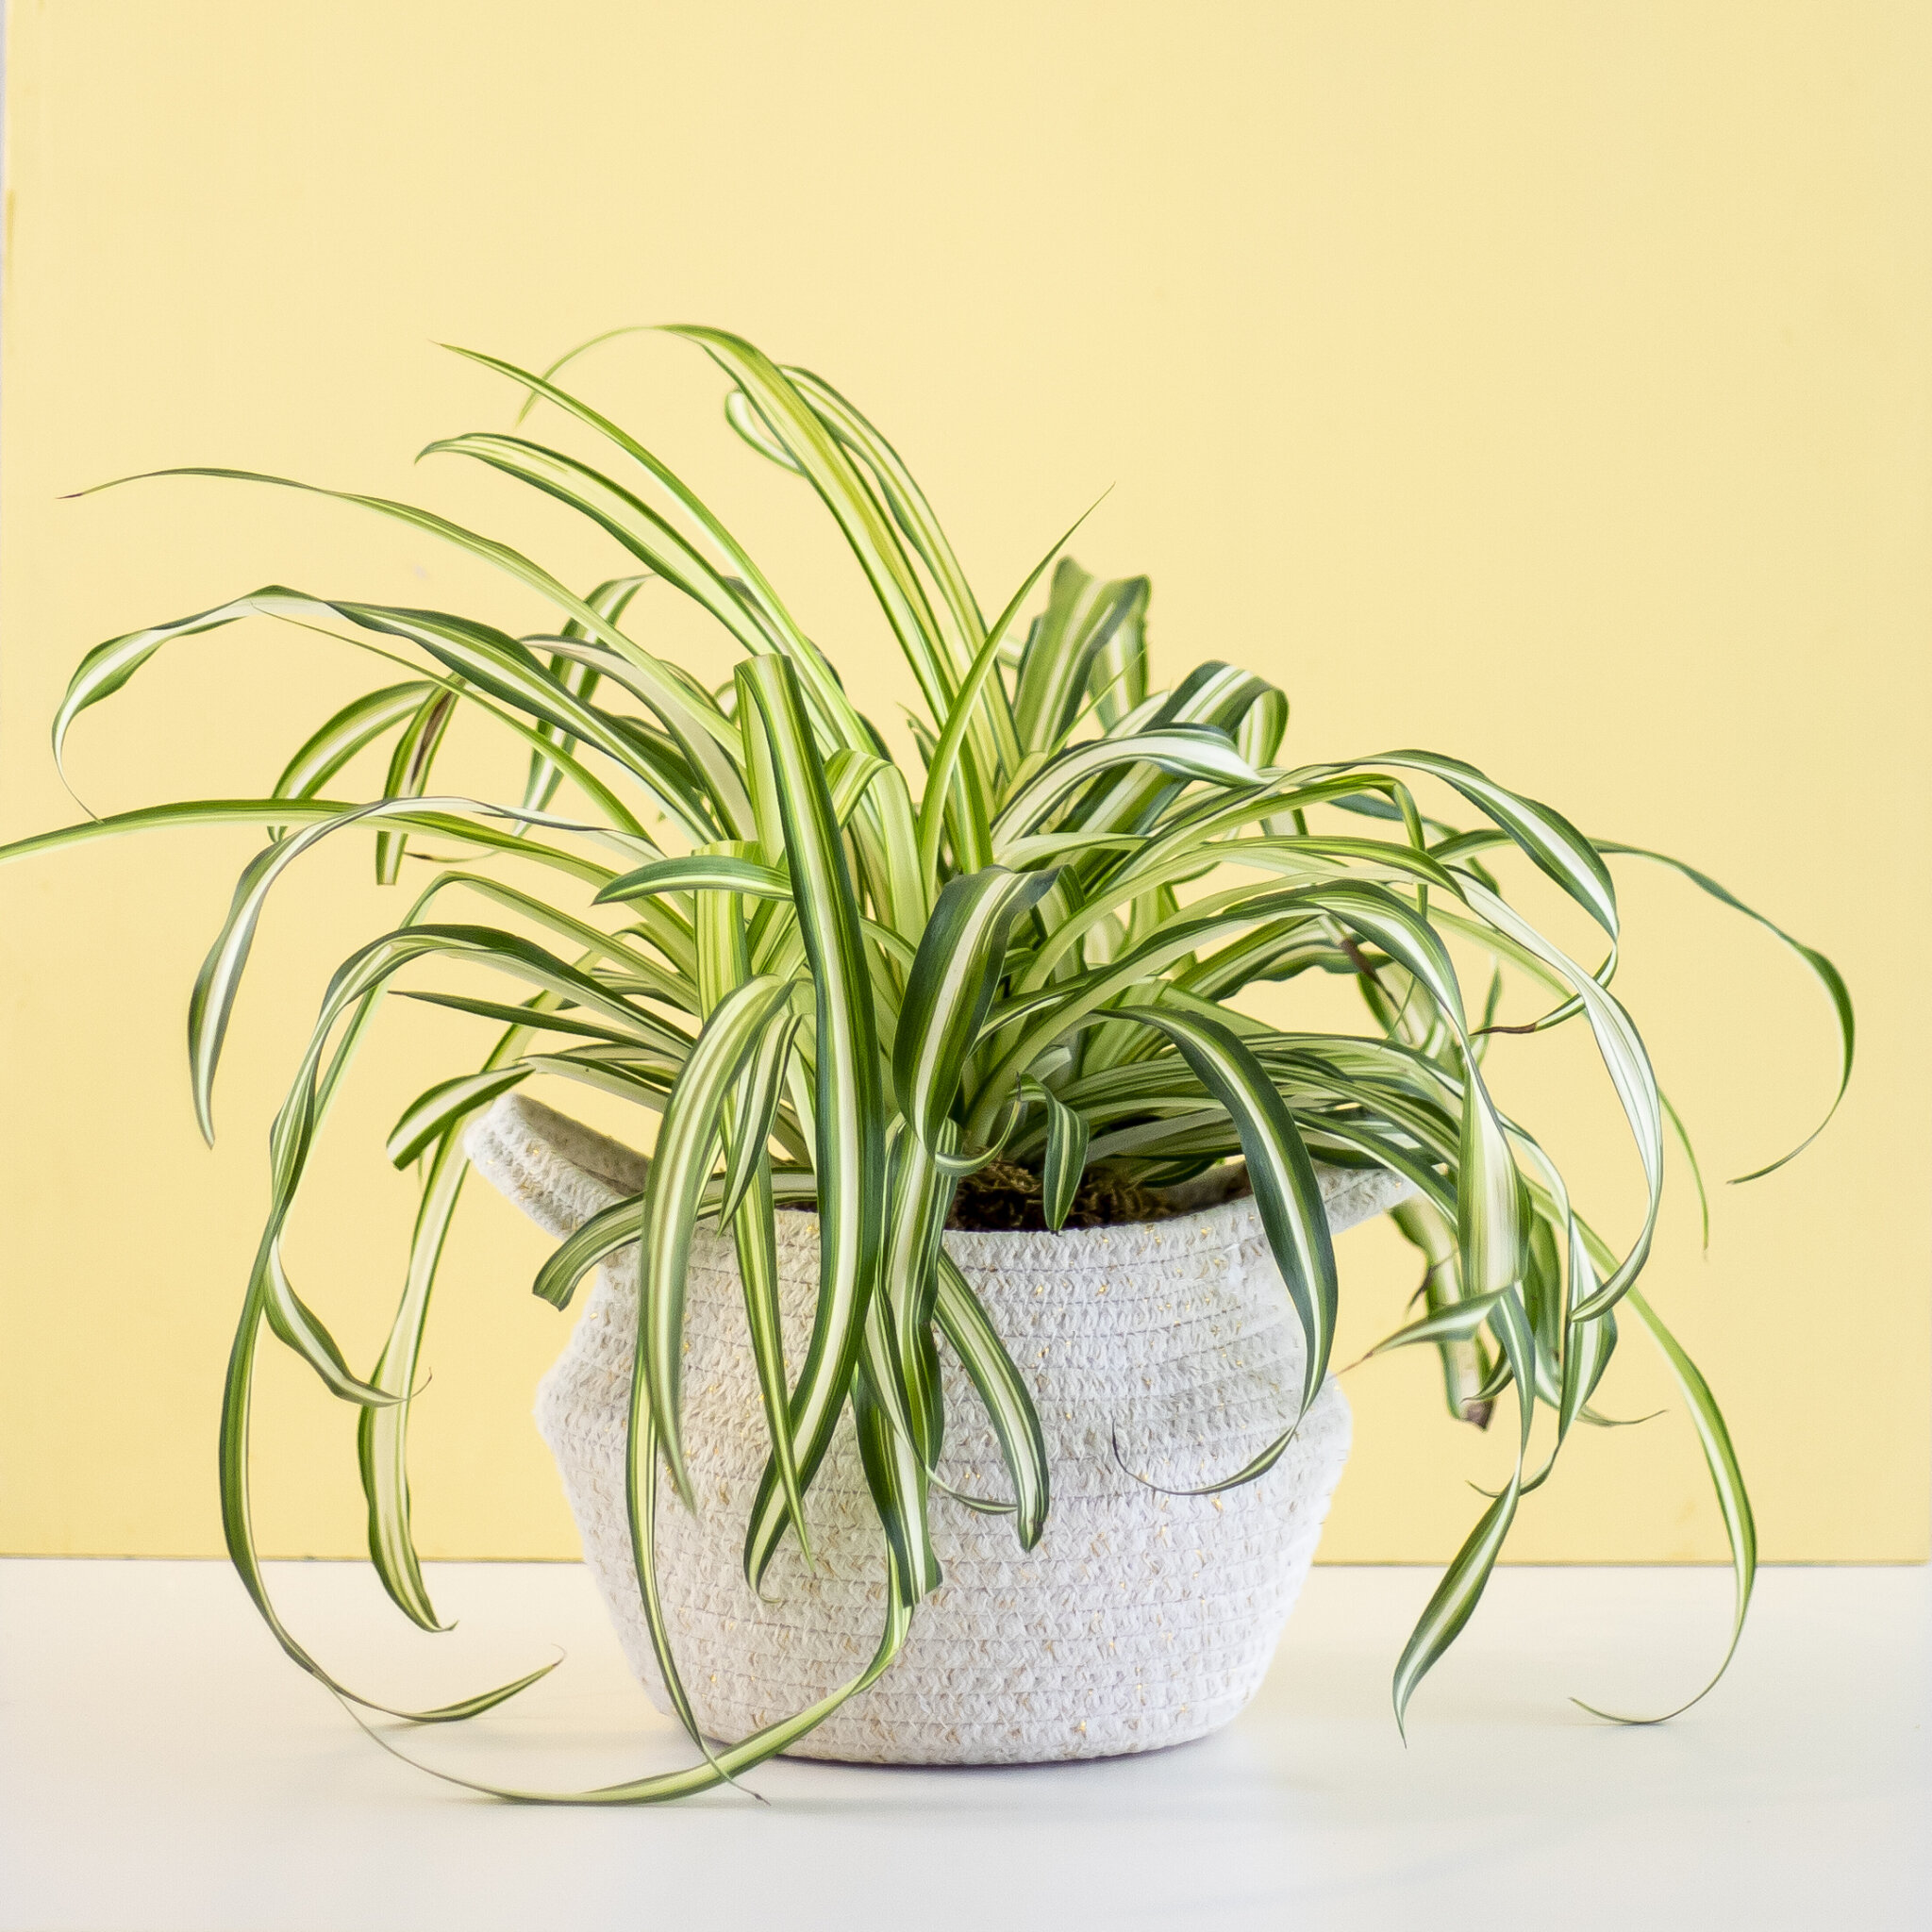
Spider Plant
Plant Care
Step 1: Pop Open Your Spider Plant!
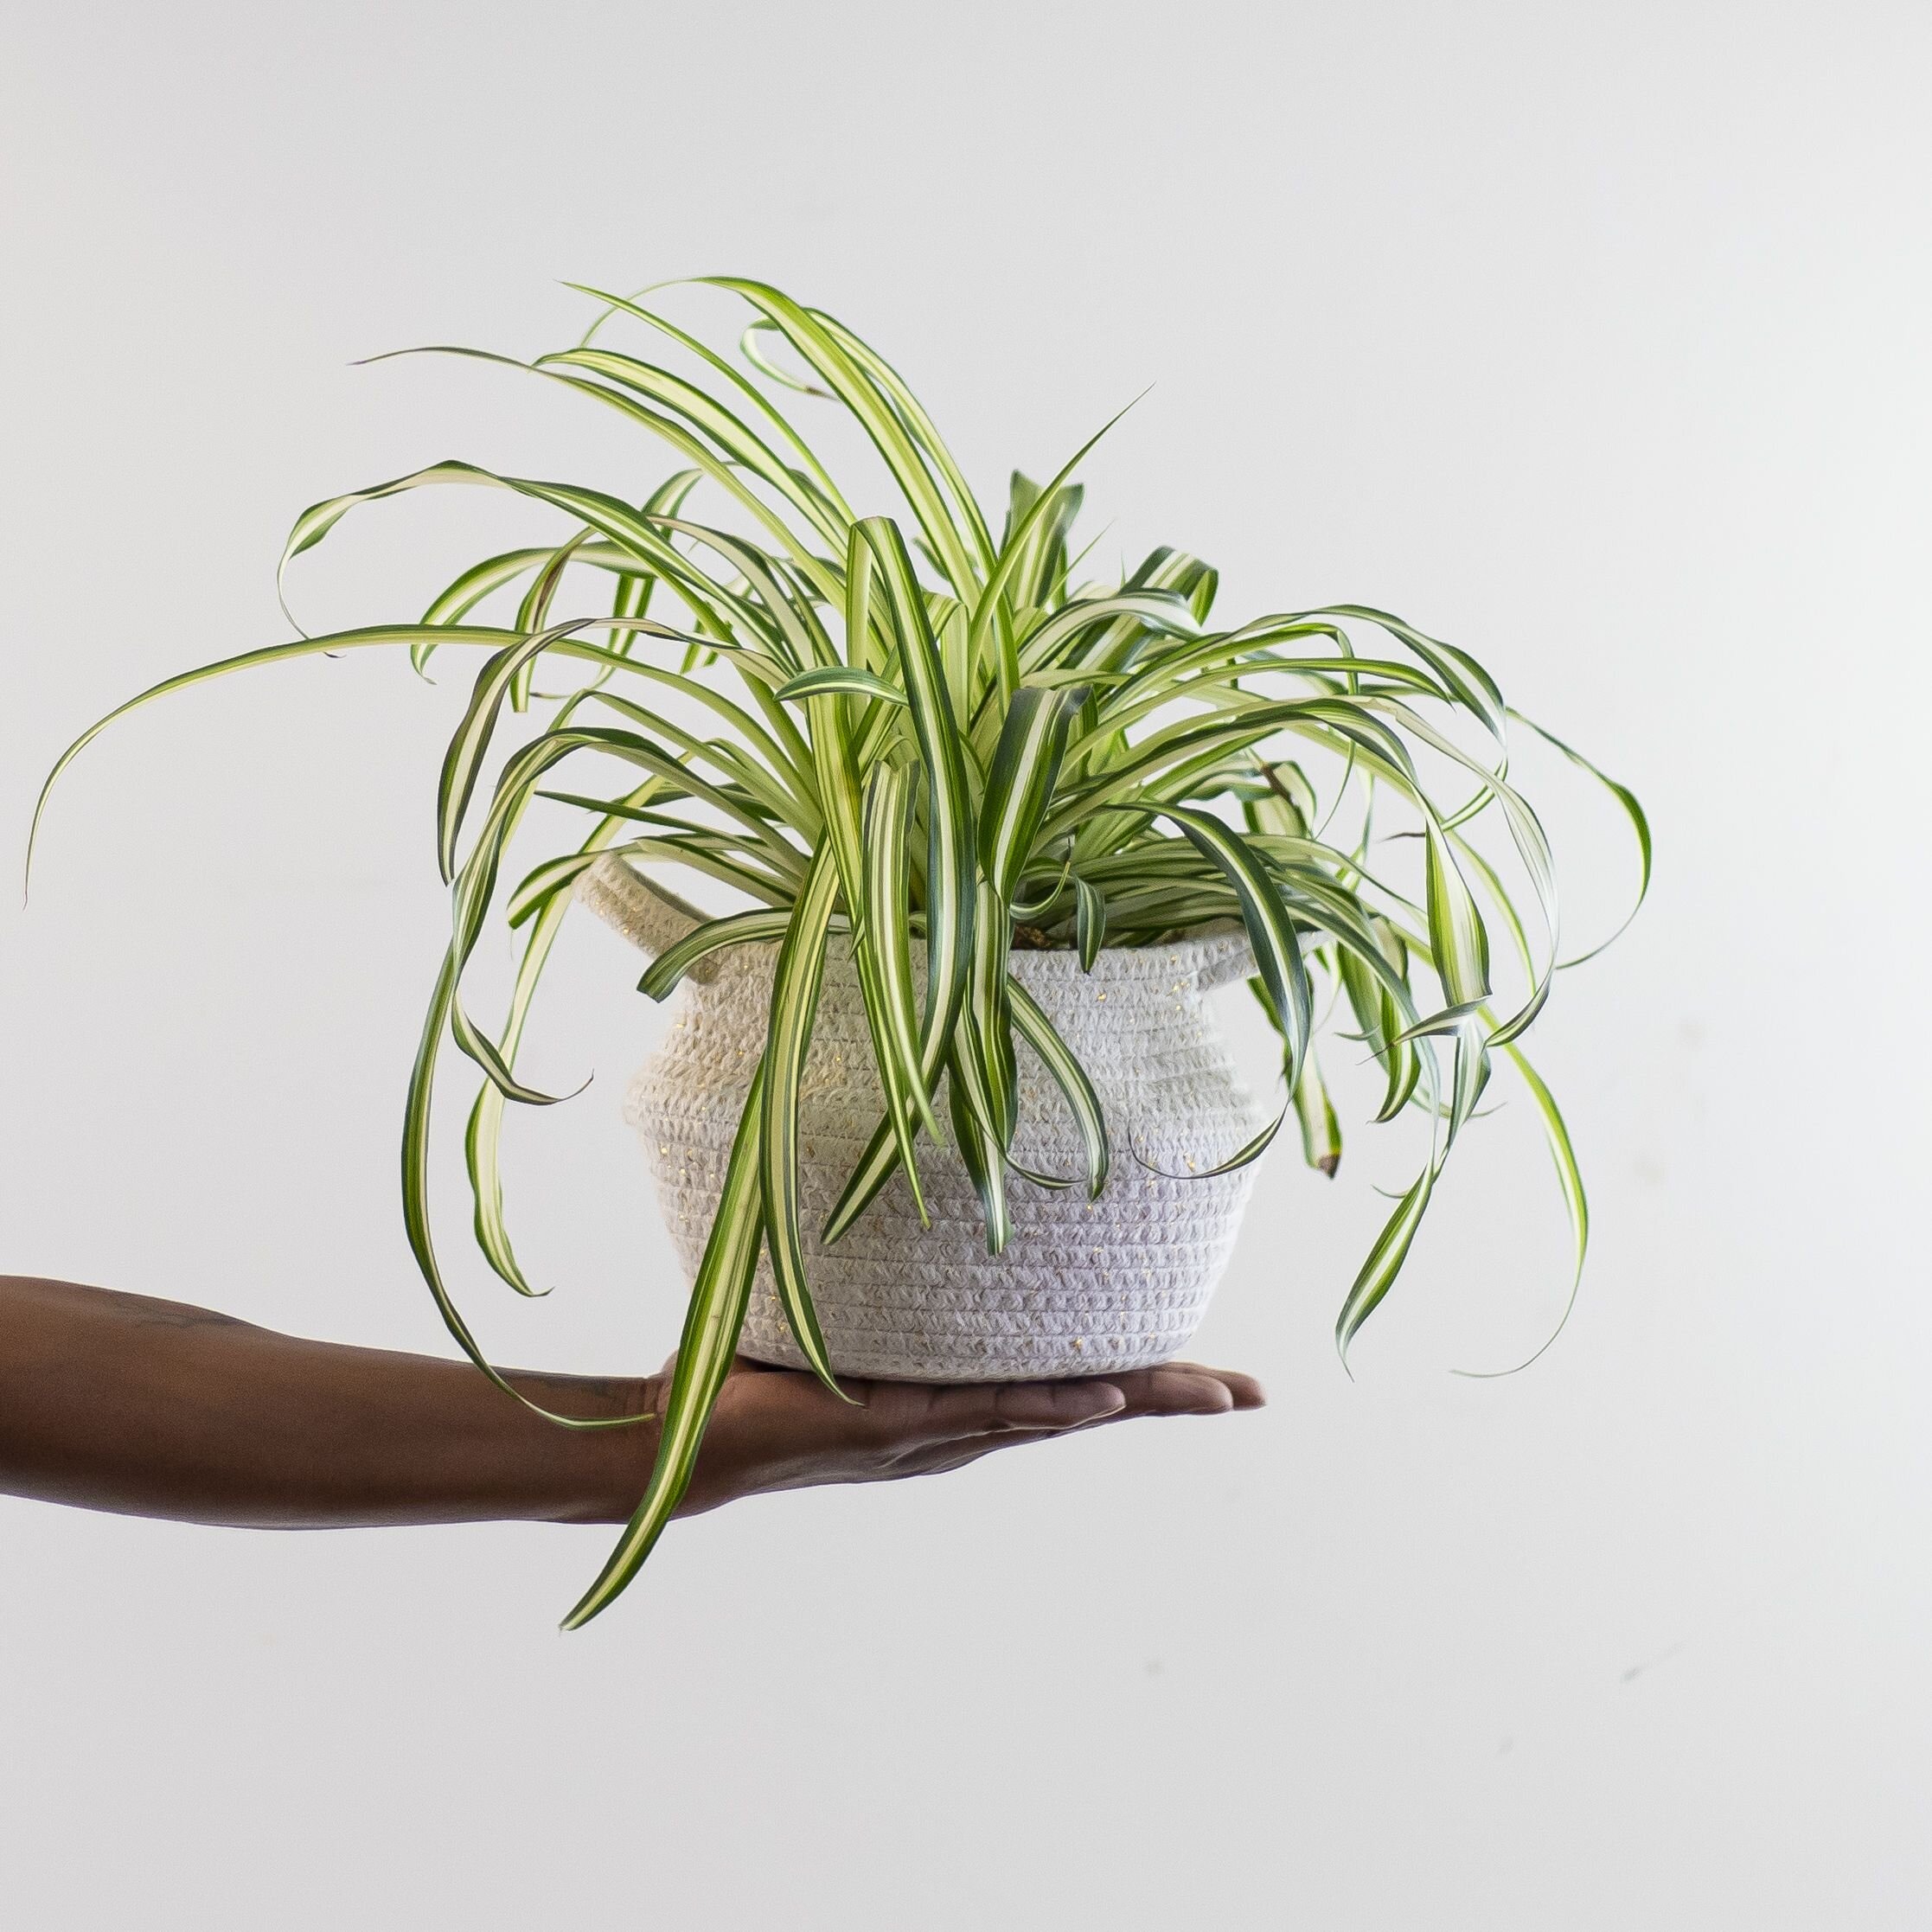
Upon delivery, carefully unbox your chlorophytum comosum (aka the spider plant) and discard the packaging. If you see any loose or shifted dirt, give your spider plant a little shake to level it out.
Step 2: Think Through An H2O Routine
Your spider plant does best with a watering schedule that allows its soil to dry out completely between drinks of water. To be sure it’s time for a drink, press into 1-2 inches into the soil - if the soil is dry and ready for hydration, it won’t stick to your skin.
Depending on the enivornment, your watering schedule could range from once or twice a week to as long as a few weeks!
Step 3: Nestle It Somewhere Kinda Bright
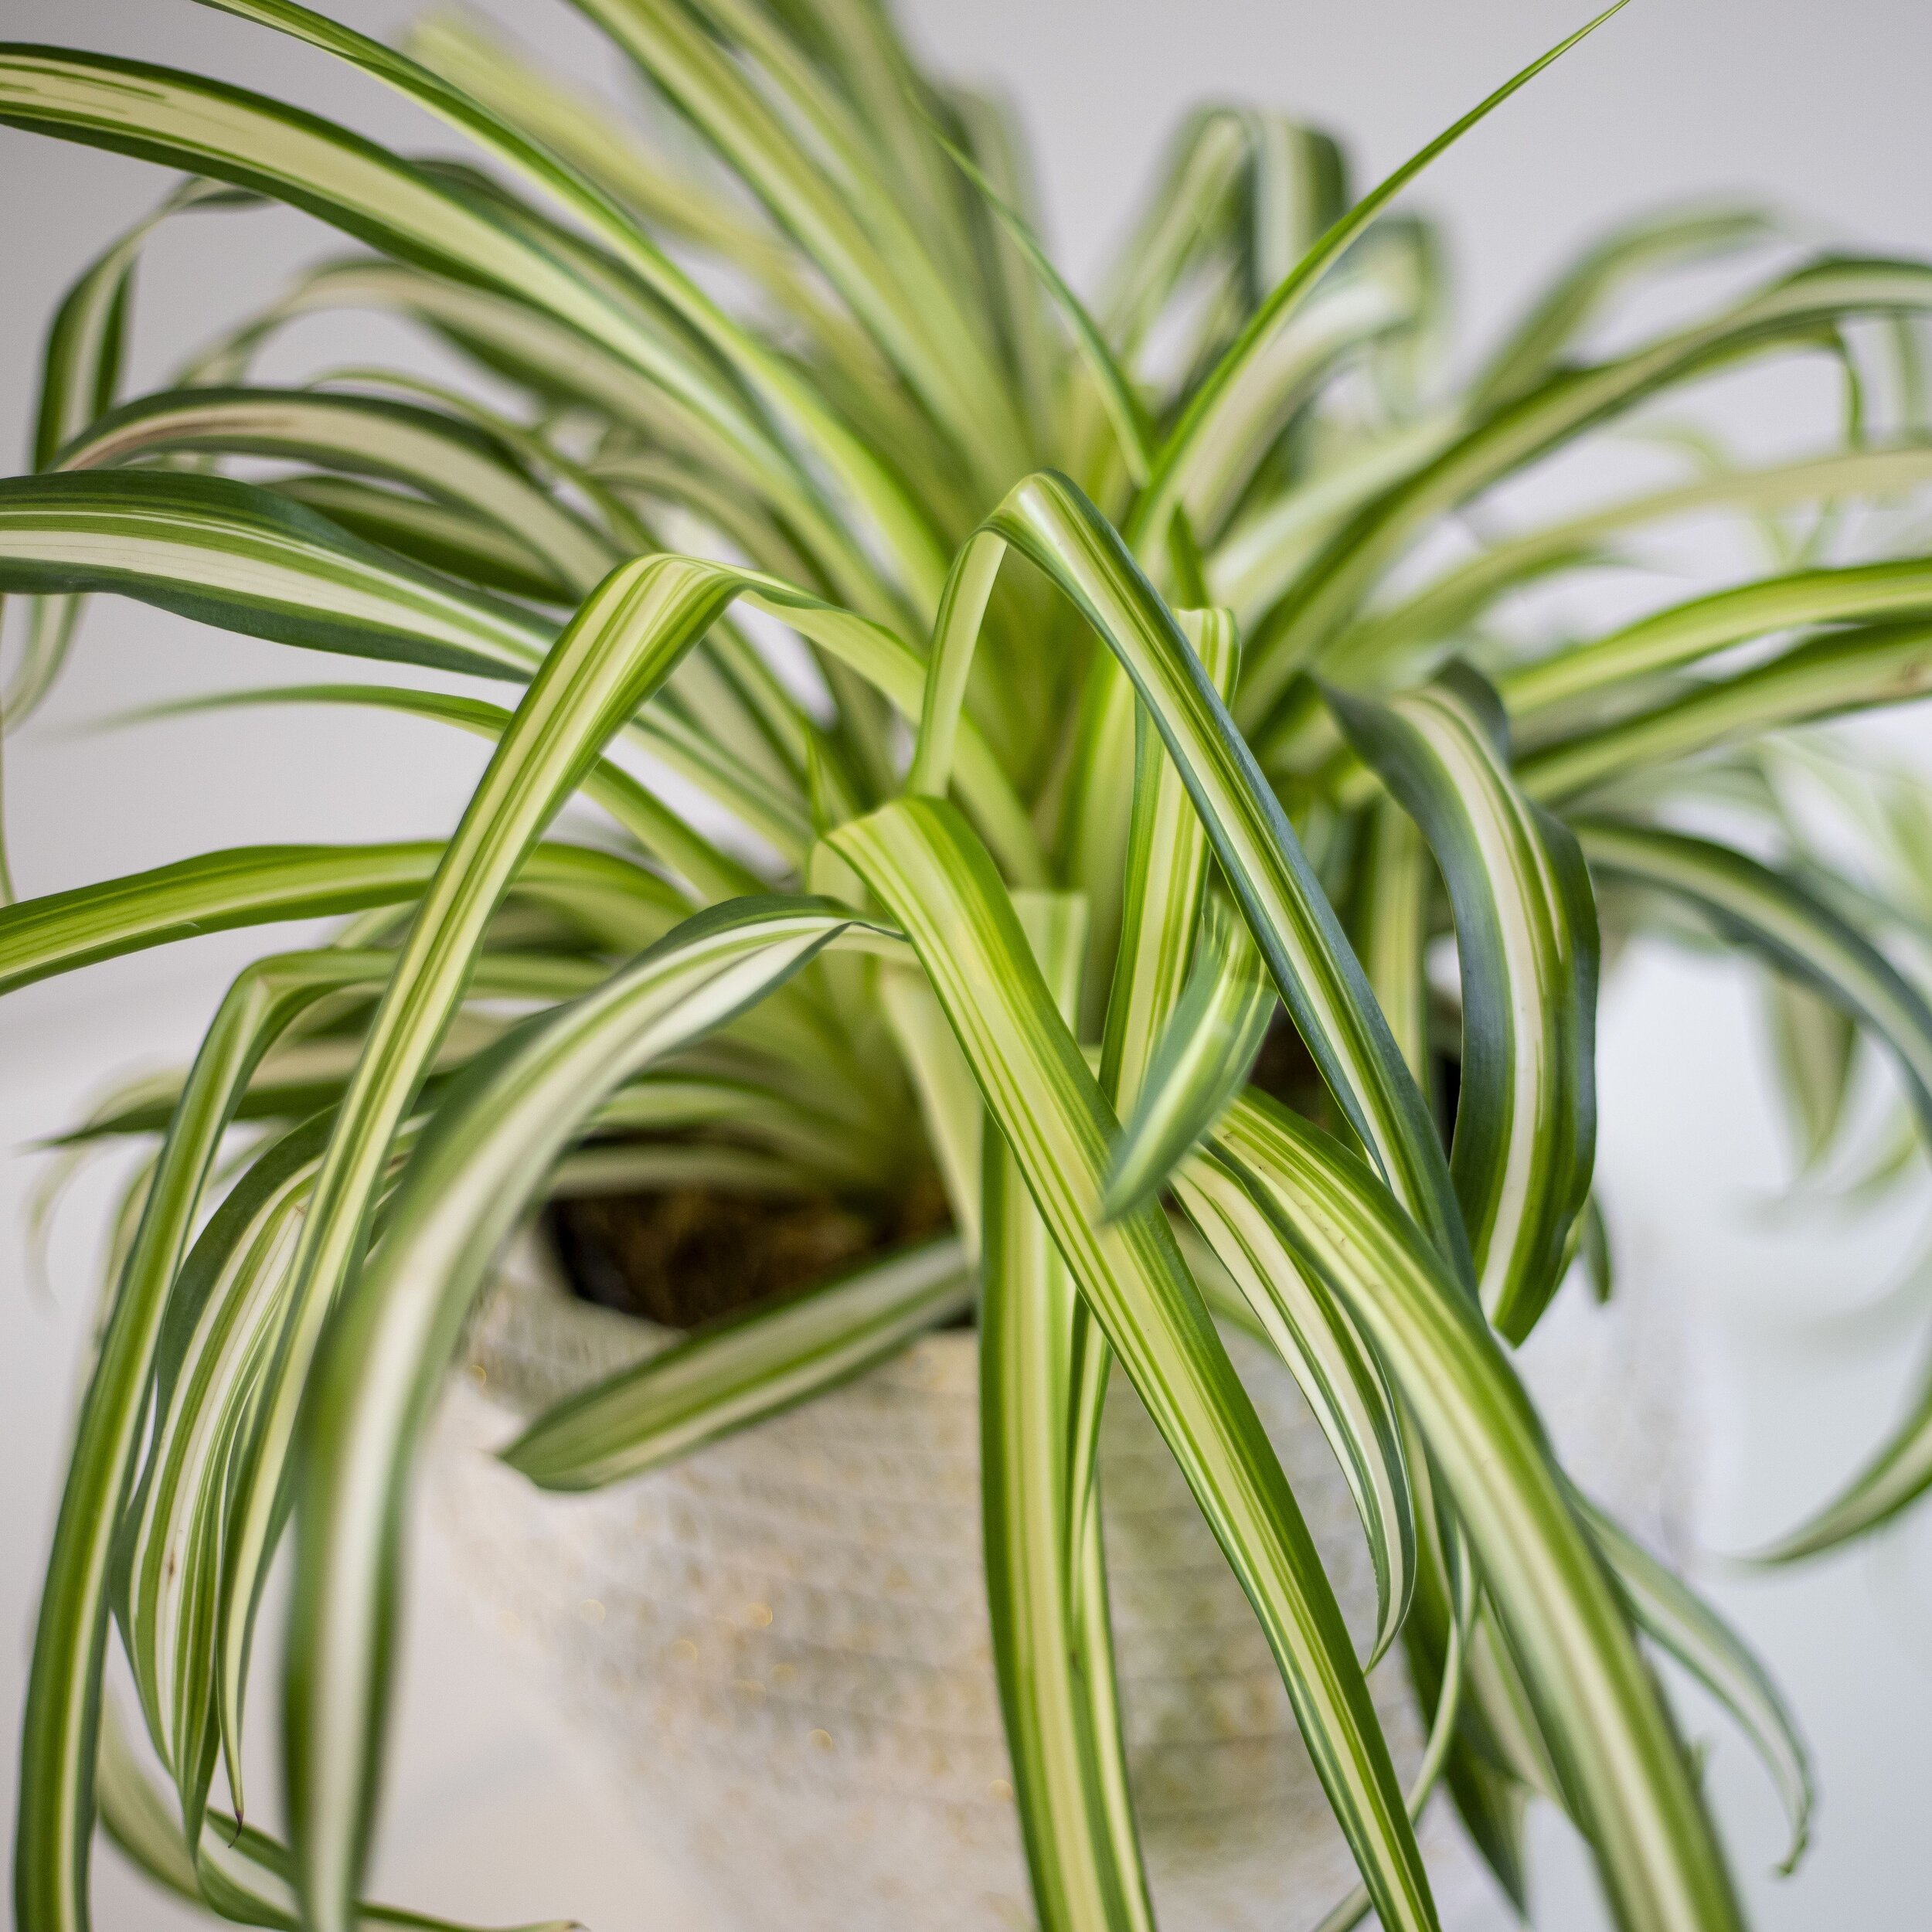
When it comes to finding your spider plant a home, choose an area that has lots of indirect sunlight. How to know what’s right? Find your blooming beauty a few feet away from your brightest window in the house. We love to place this plant on a shelf or hang them up so their luscious leaves can grow and trail (up to 10 ft!).
Bonus Tips!
Seeing droopy or curled leaves? This may mean your spider plant is getting too much water or not enough. Not to worry - just keep them in a shaded area and let that soil dry out 1-2” deep, let it fully drain, and it should be good as new.
Seeing browning leaves? This may mean your spider plant gets too much direct sunlight in its current spot, or you’re watering them too lightly. Try relocating your plant or watering a touch more to help!