
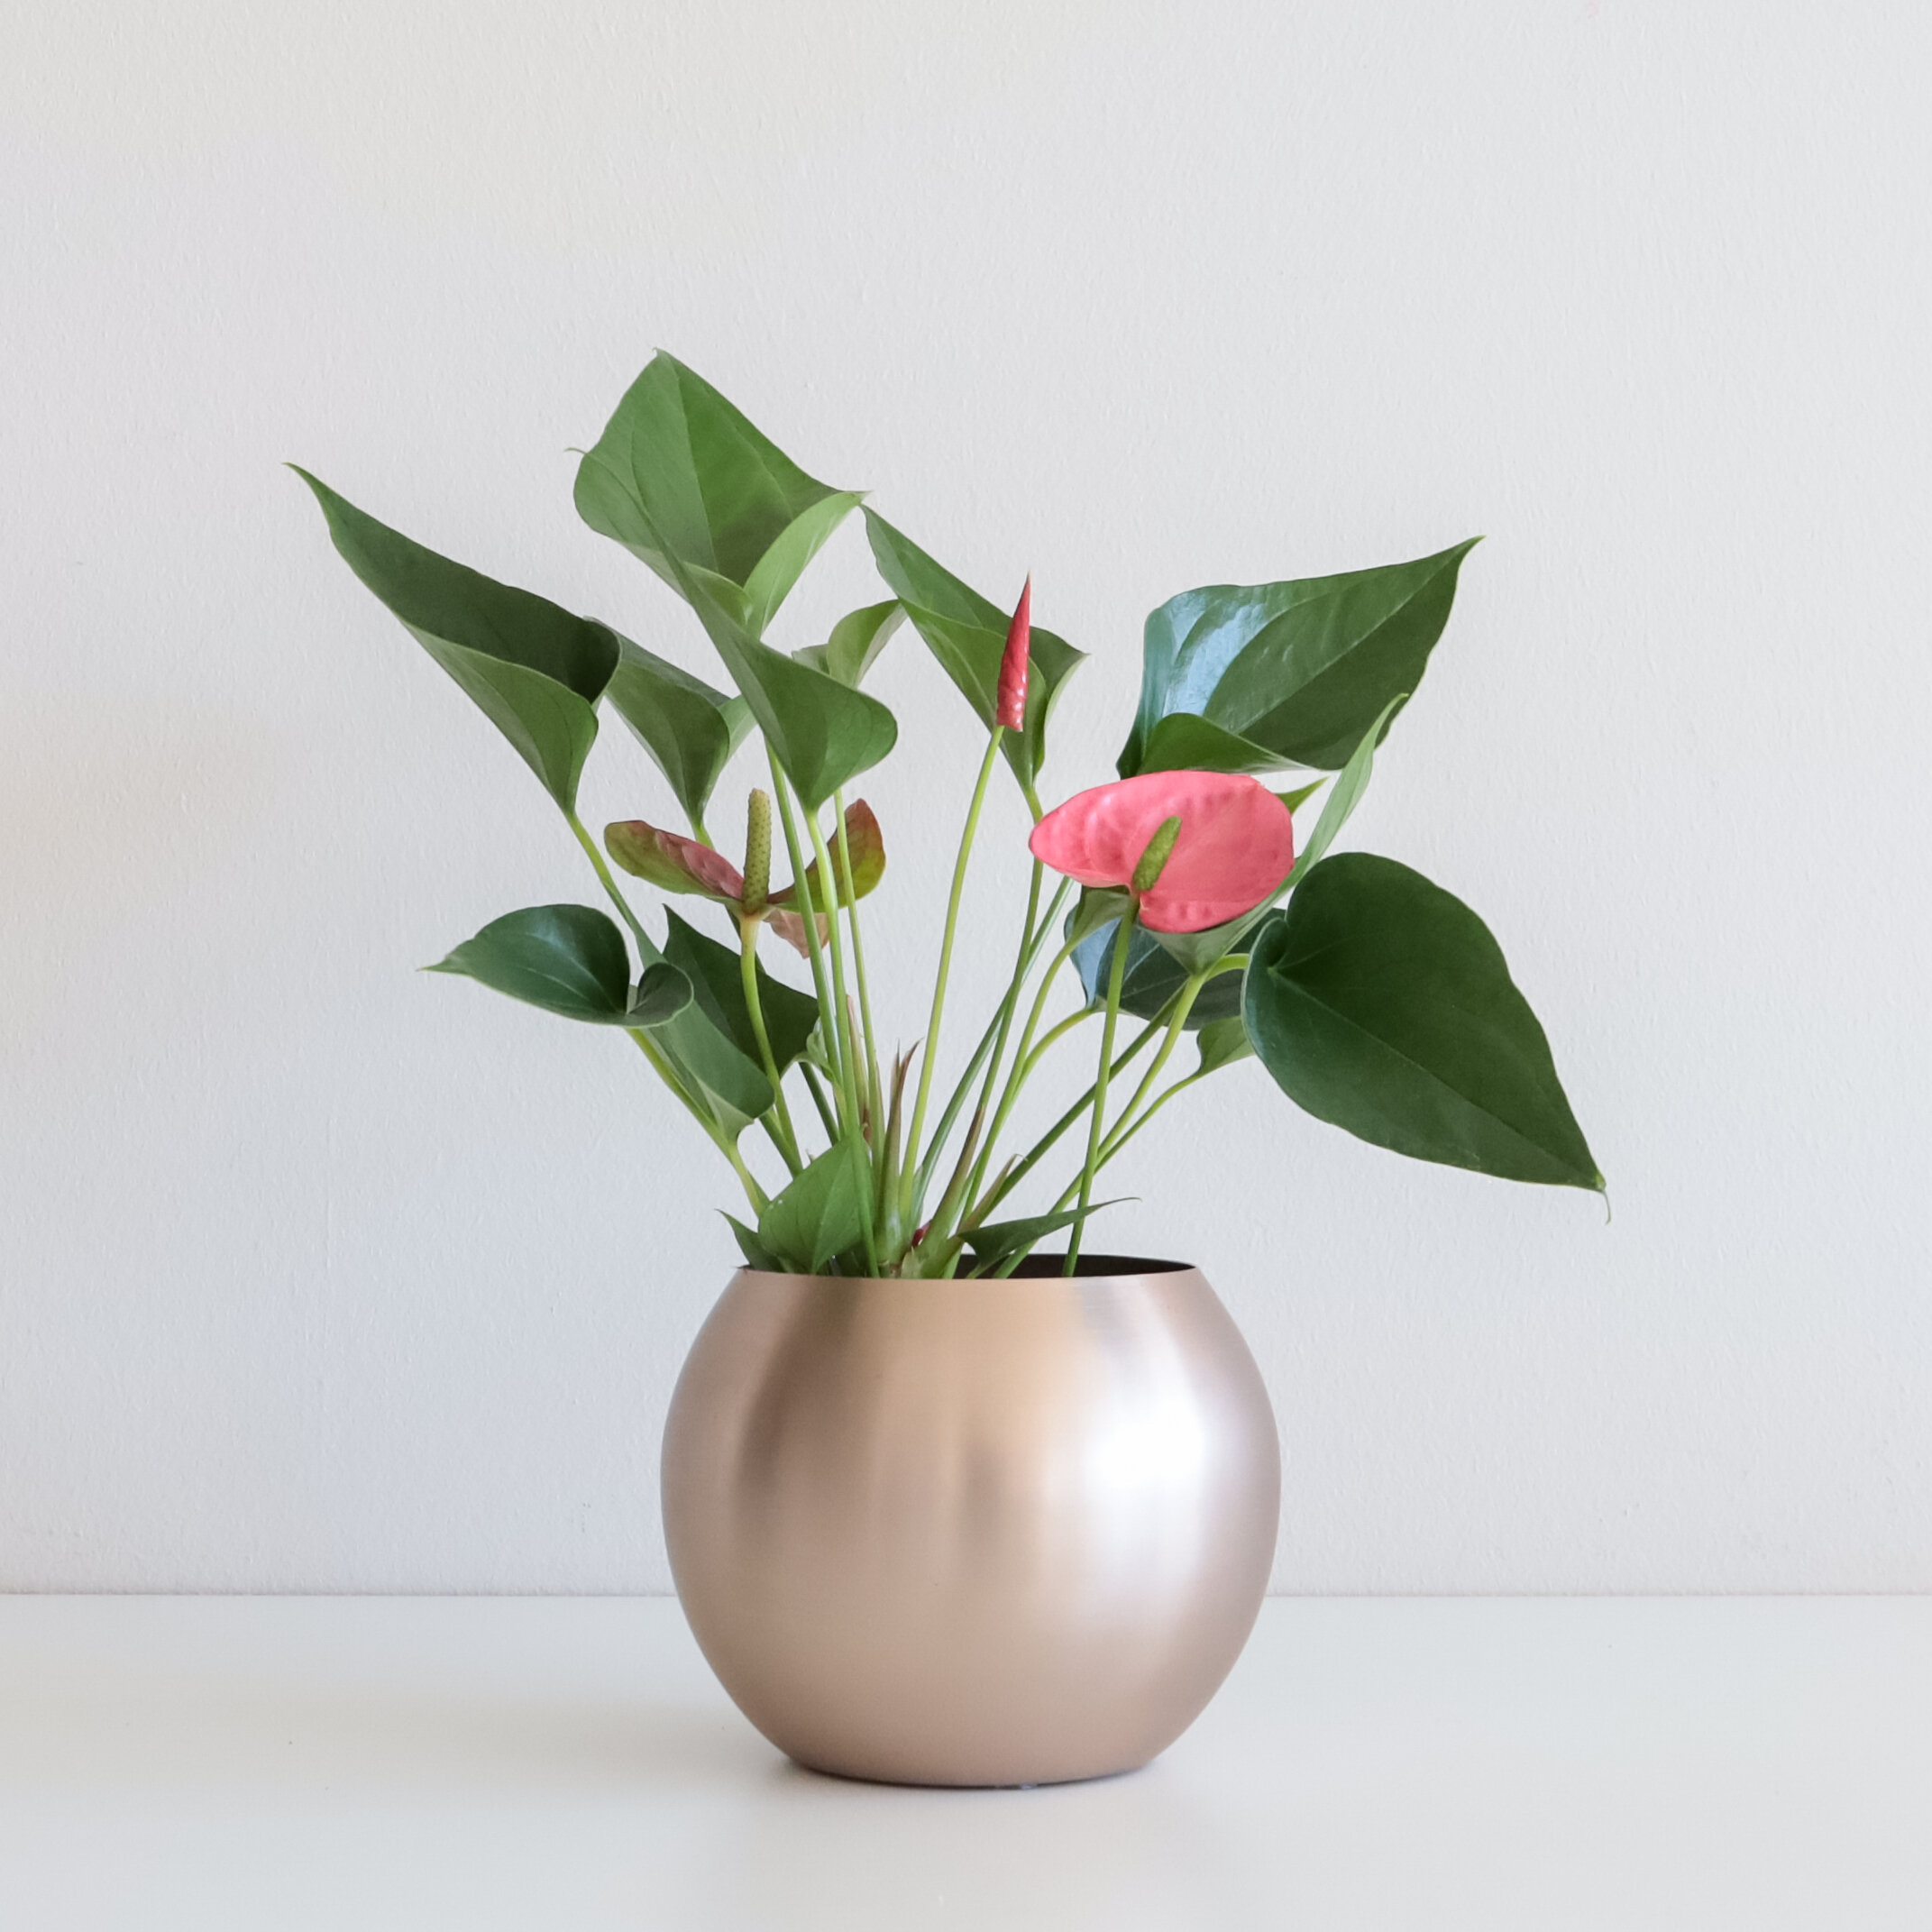
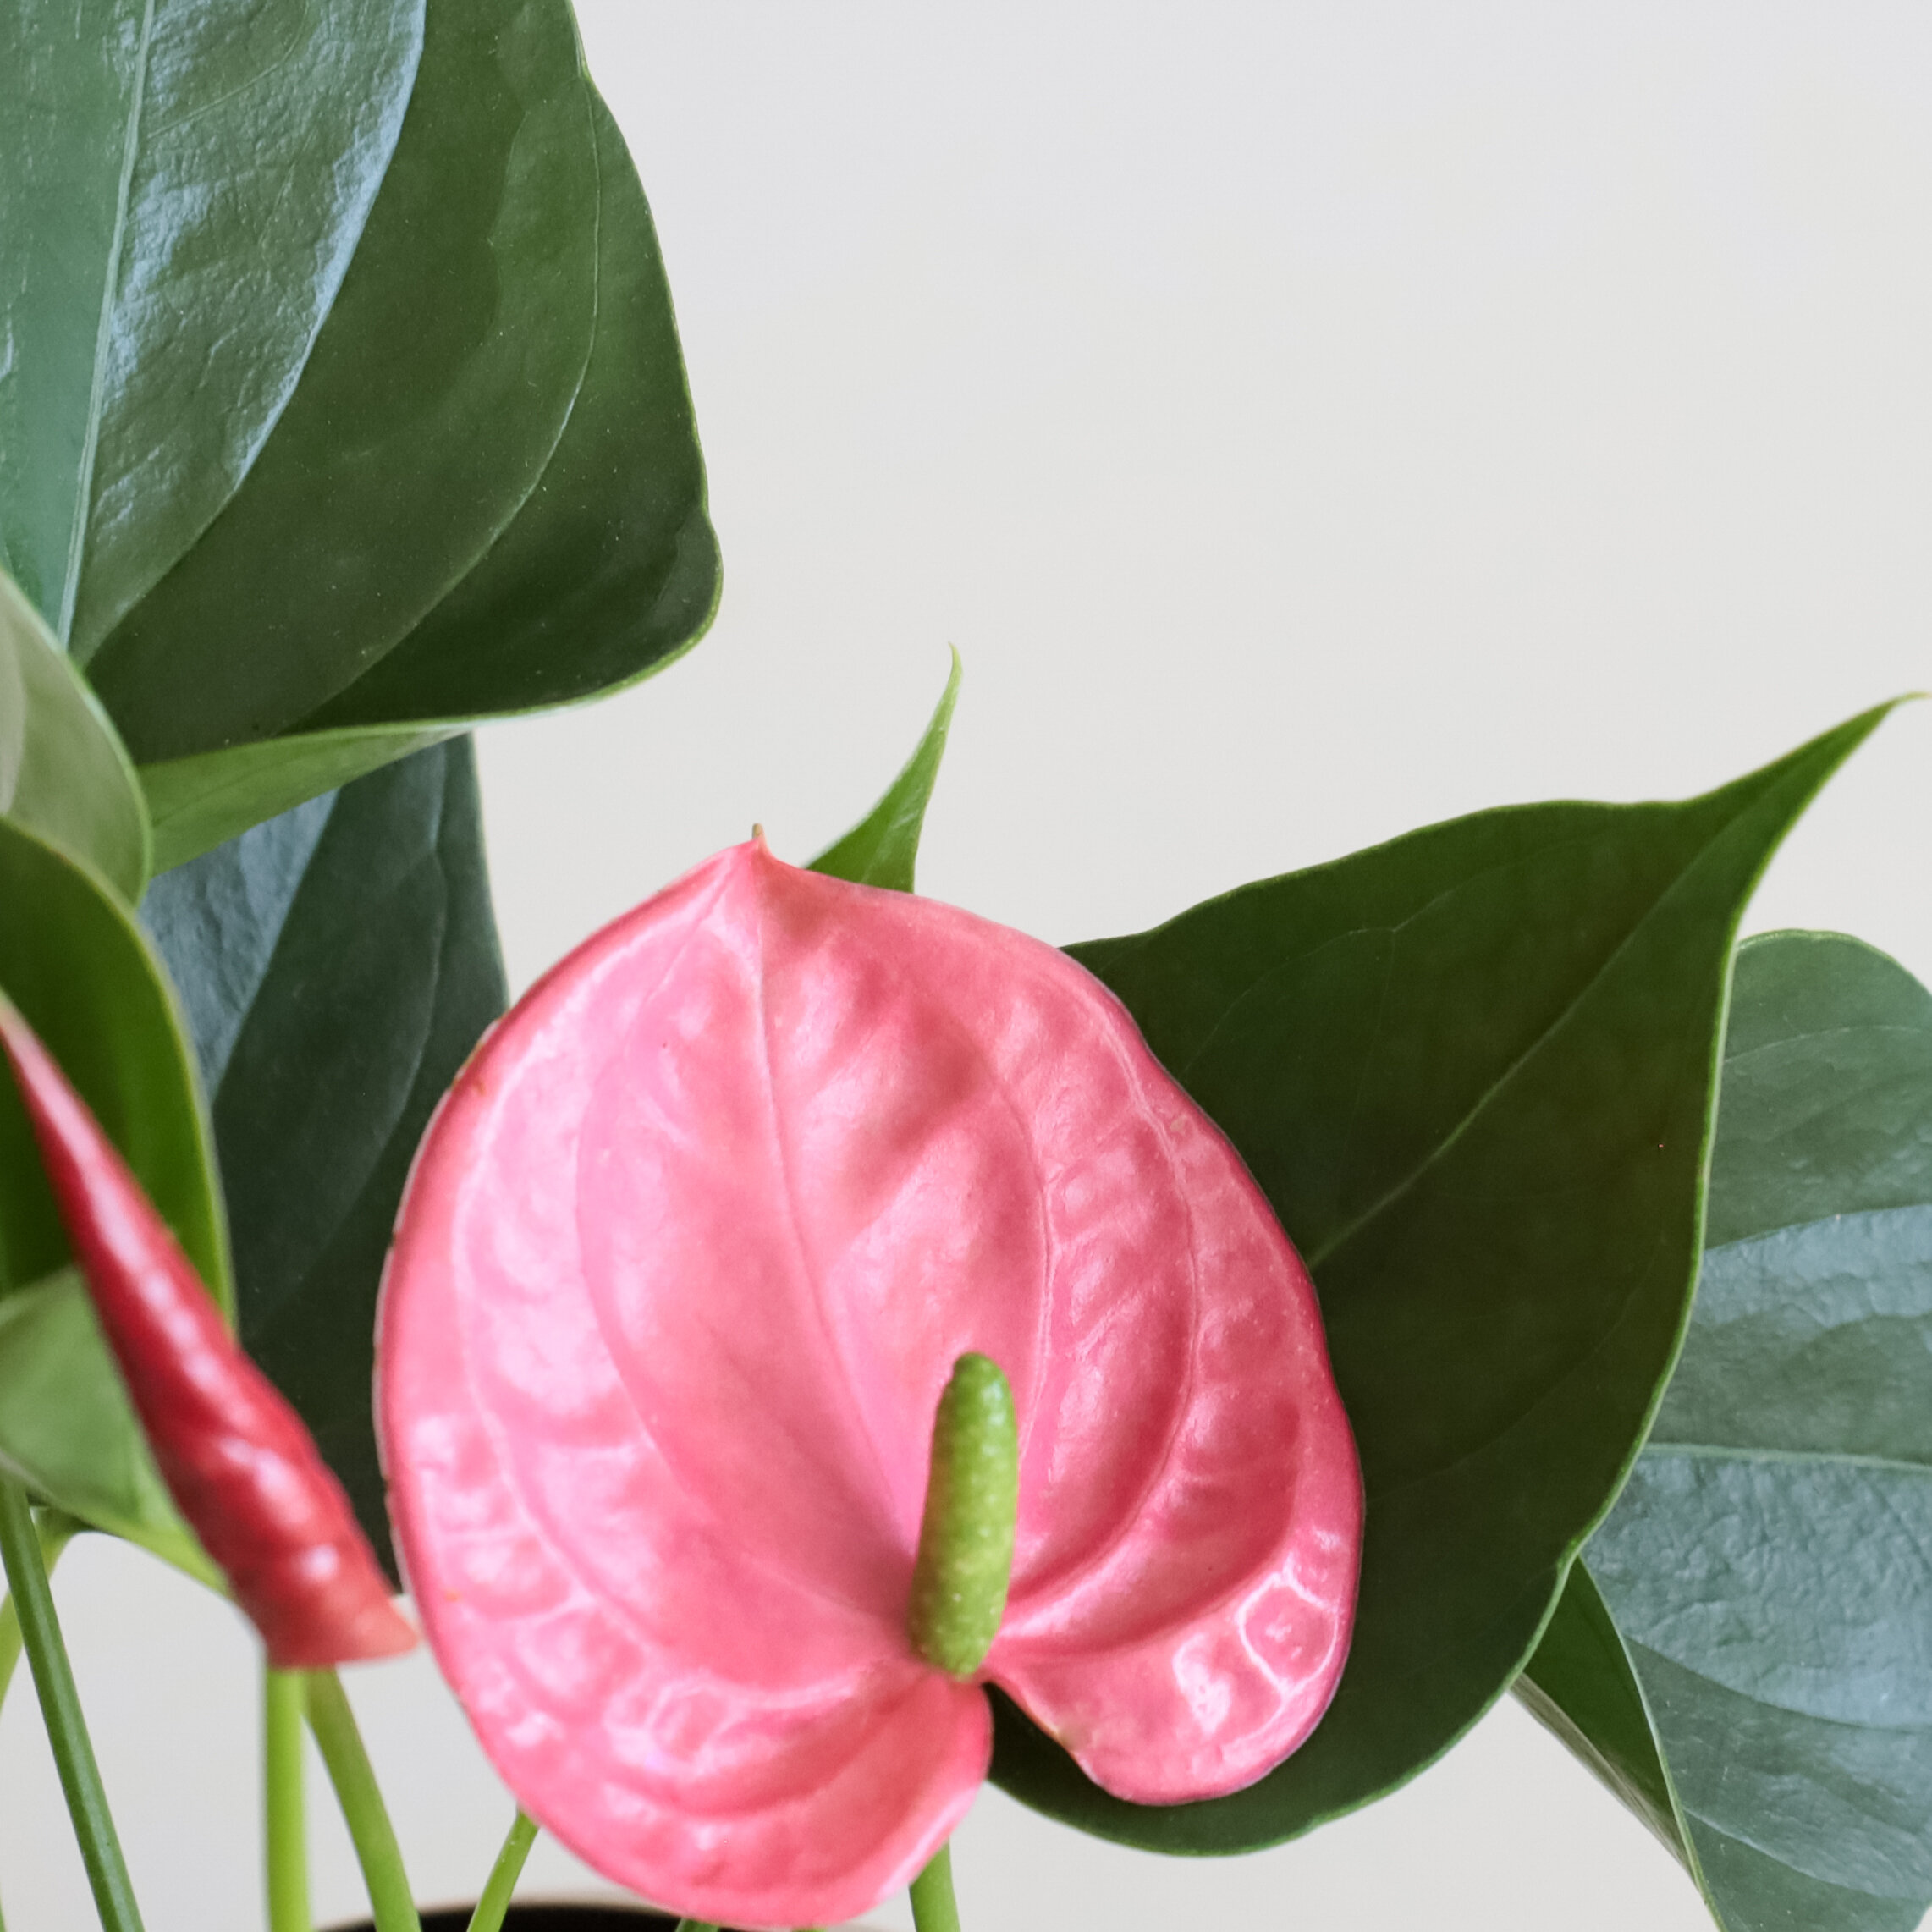
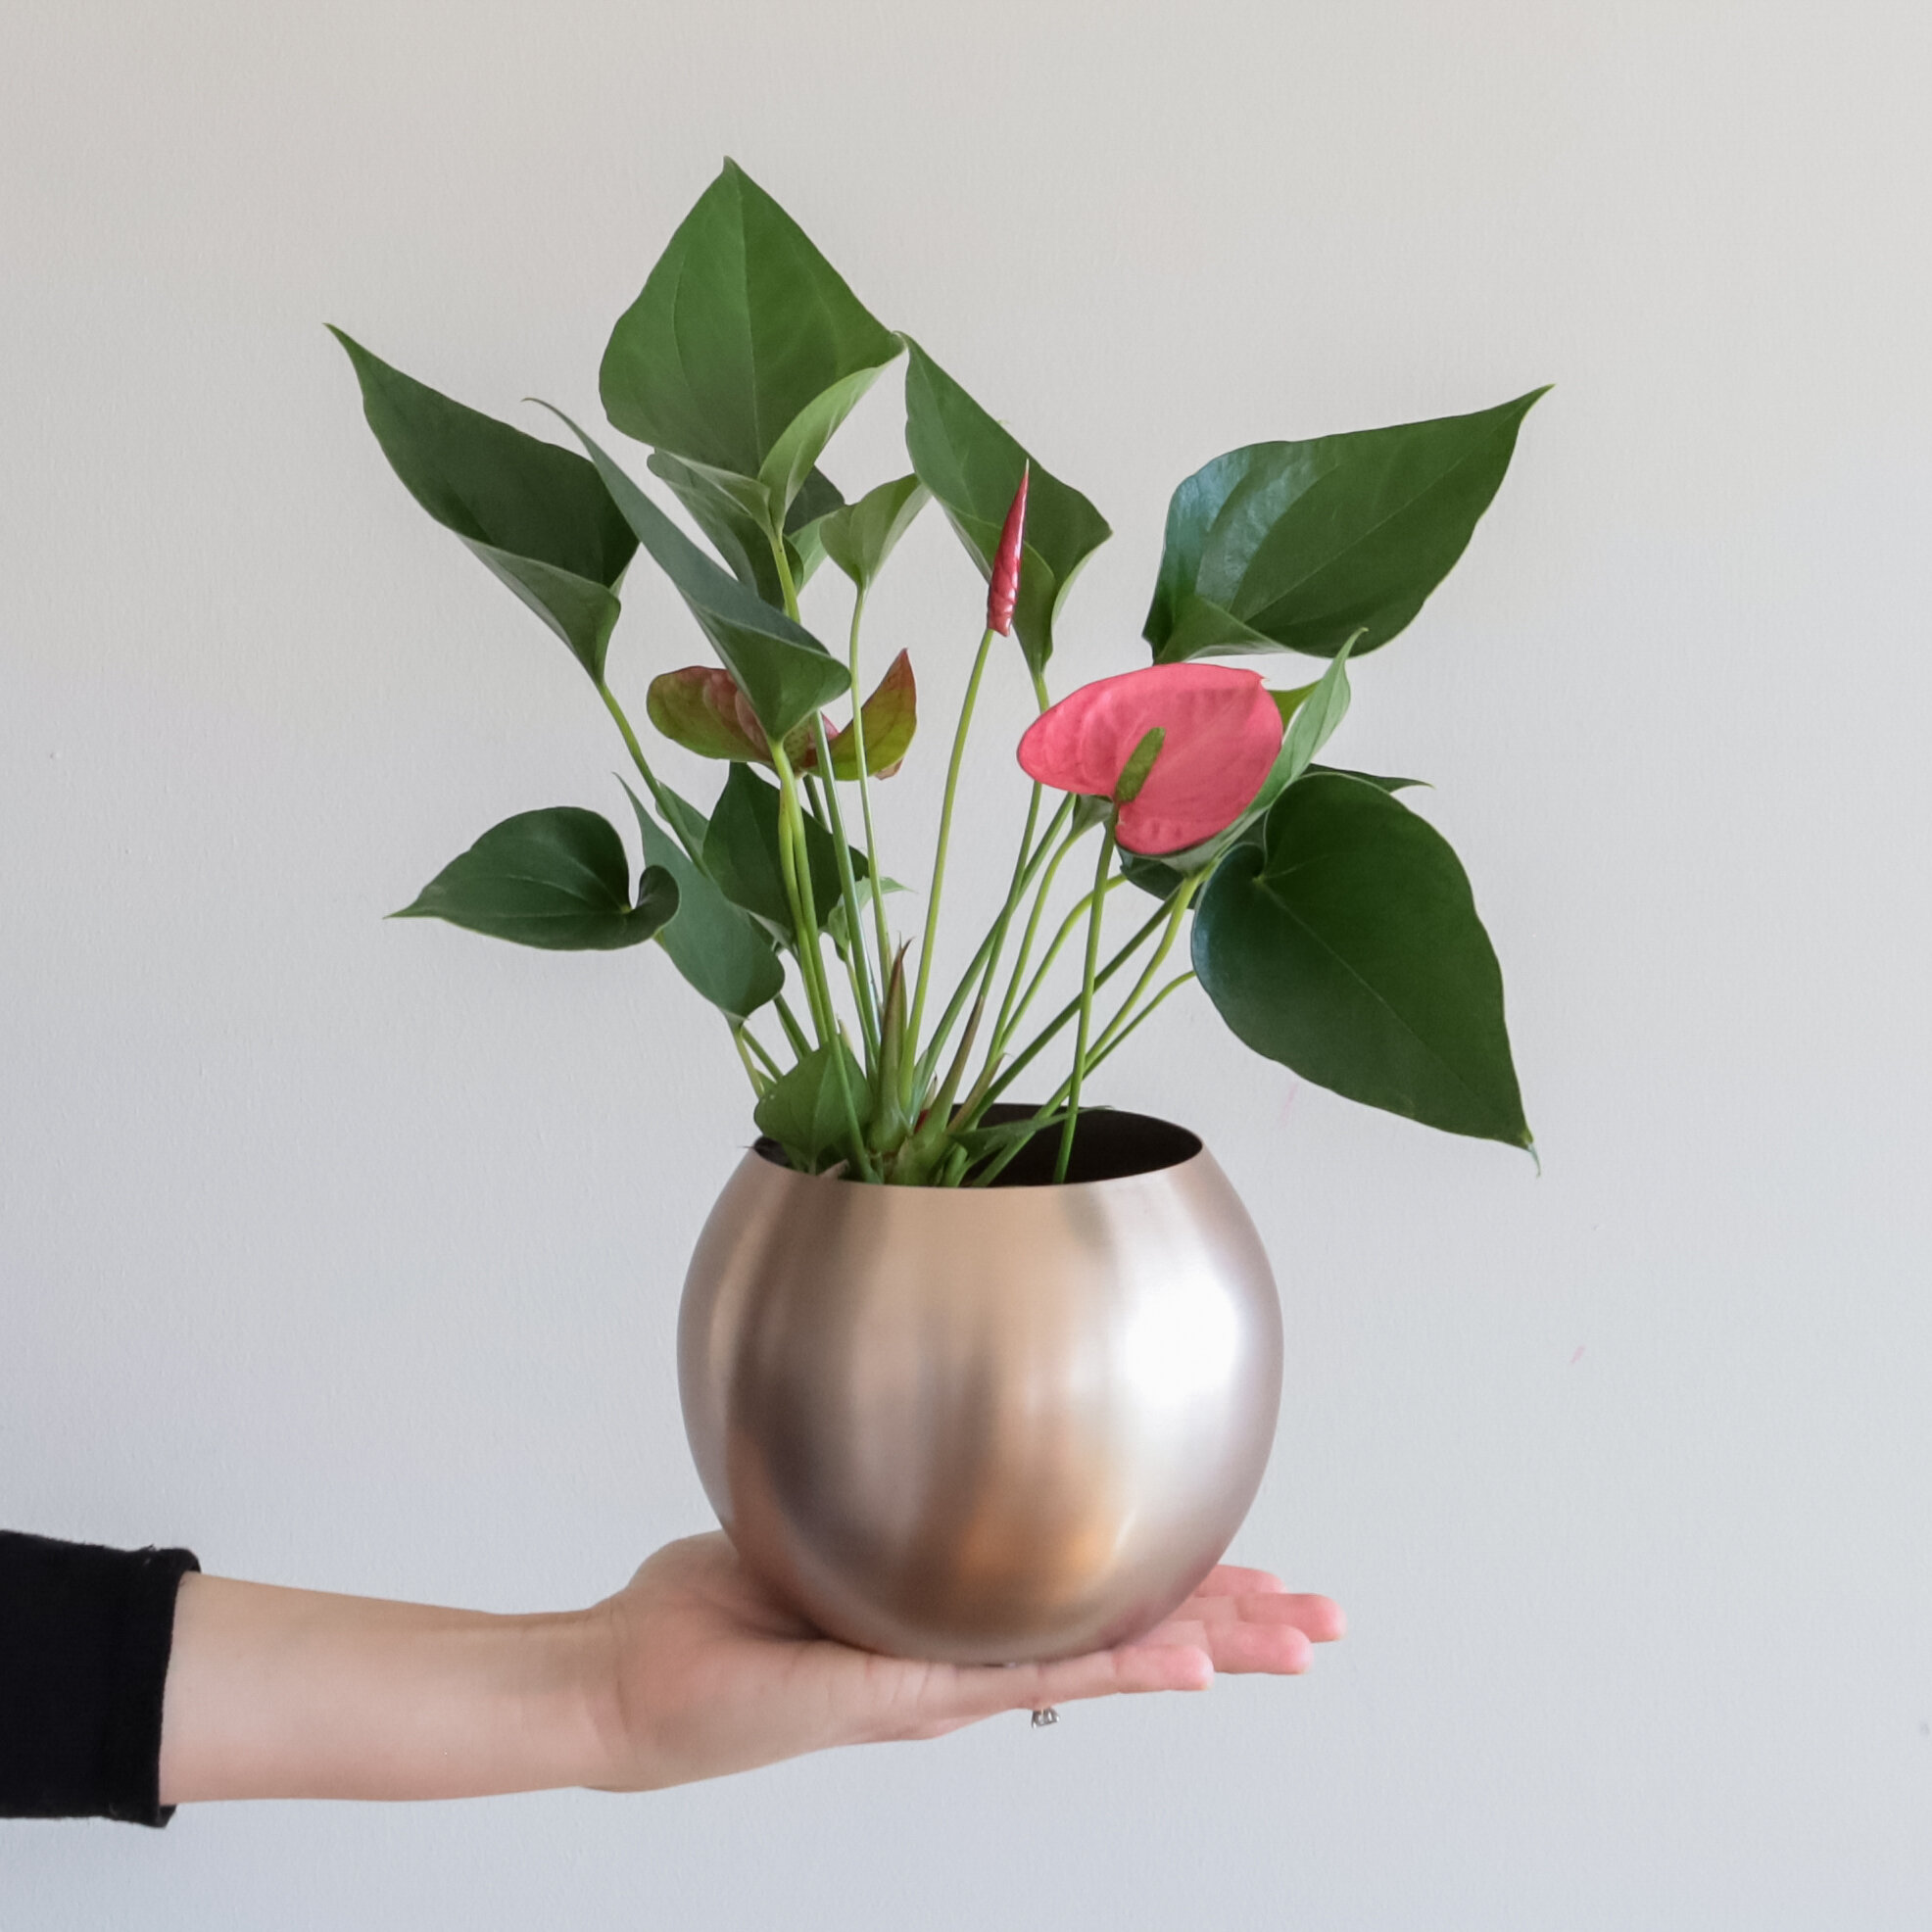
Anthurium
Plant Care
Step 1: Unwrap Your Anthurium Plant
After carefully removing your anthurium from the box and its wrappings, shake off any excess dirt that might have escaped from the plant during shipping. Handle its foliage and other living elements carefully and discard any packaging elements. To make caring for your plant a snap, we’ve nestled it in a draining plastic pot underneath her basket, so don’t get rid of this!
Step 2: Get To Watering!
To water, simply pull up the plastic pot to remove it from its decorative vessel and into the sink. Turn on the faucet (low!) and let the water run into the soil until it begins to run through the drainage hole on the bottom. Let the excess water drain in the sink and then place the plant back in her basket!
Set up a watering schedule that allows your soil to dry out completely in between sessions. To test, stick your finger about 1” or 2” into the soil. Dry soil won’t stick to your skin - that’s the sign that your plant pal is ready for more H20! Depending on the temperature and moisture level in your space, this may be once or twice a week or as long as a few weeks.
Step 3: Place Your Plant
When it comes to finding your anthurium a spot in your home, choose an area that has lots of indirect sunlight. Anthurium plants love a good photosynthesis sesh but are more sensitive to direct sun. How to know what’s right? Find your blooming beauty a spot three or four feet from your brightest window. Signs that your plant pal is getting too much sun? Check for browning edges or leaves! This likely means your anthurium is getting sunburnt, so move it to a spot with a little less light!